Hello Block 7!
How is it going for you? Below is the FREE pattern for you to download.
When I first met this pattern, I was a bit anxious. it has been a while, but the last time I made a Dresden Plate block it came out more wonky than I would’ve liked This one had a good result for me. It was not the perfect result I had imagined, but the block and I discussed it, and we decided we were good to go as is. LOL
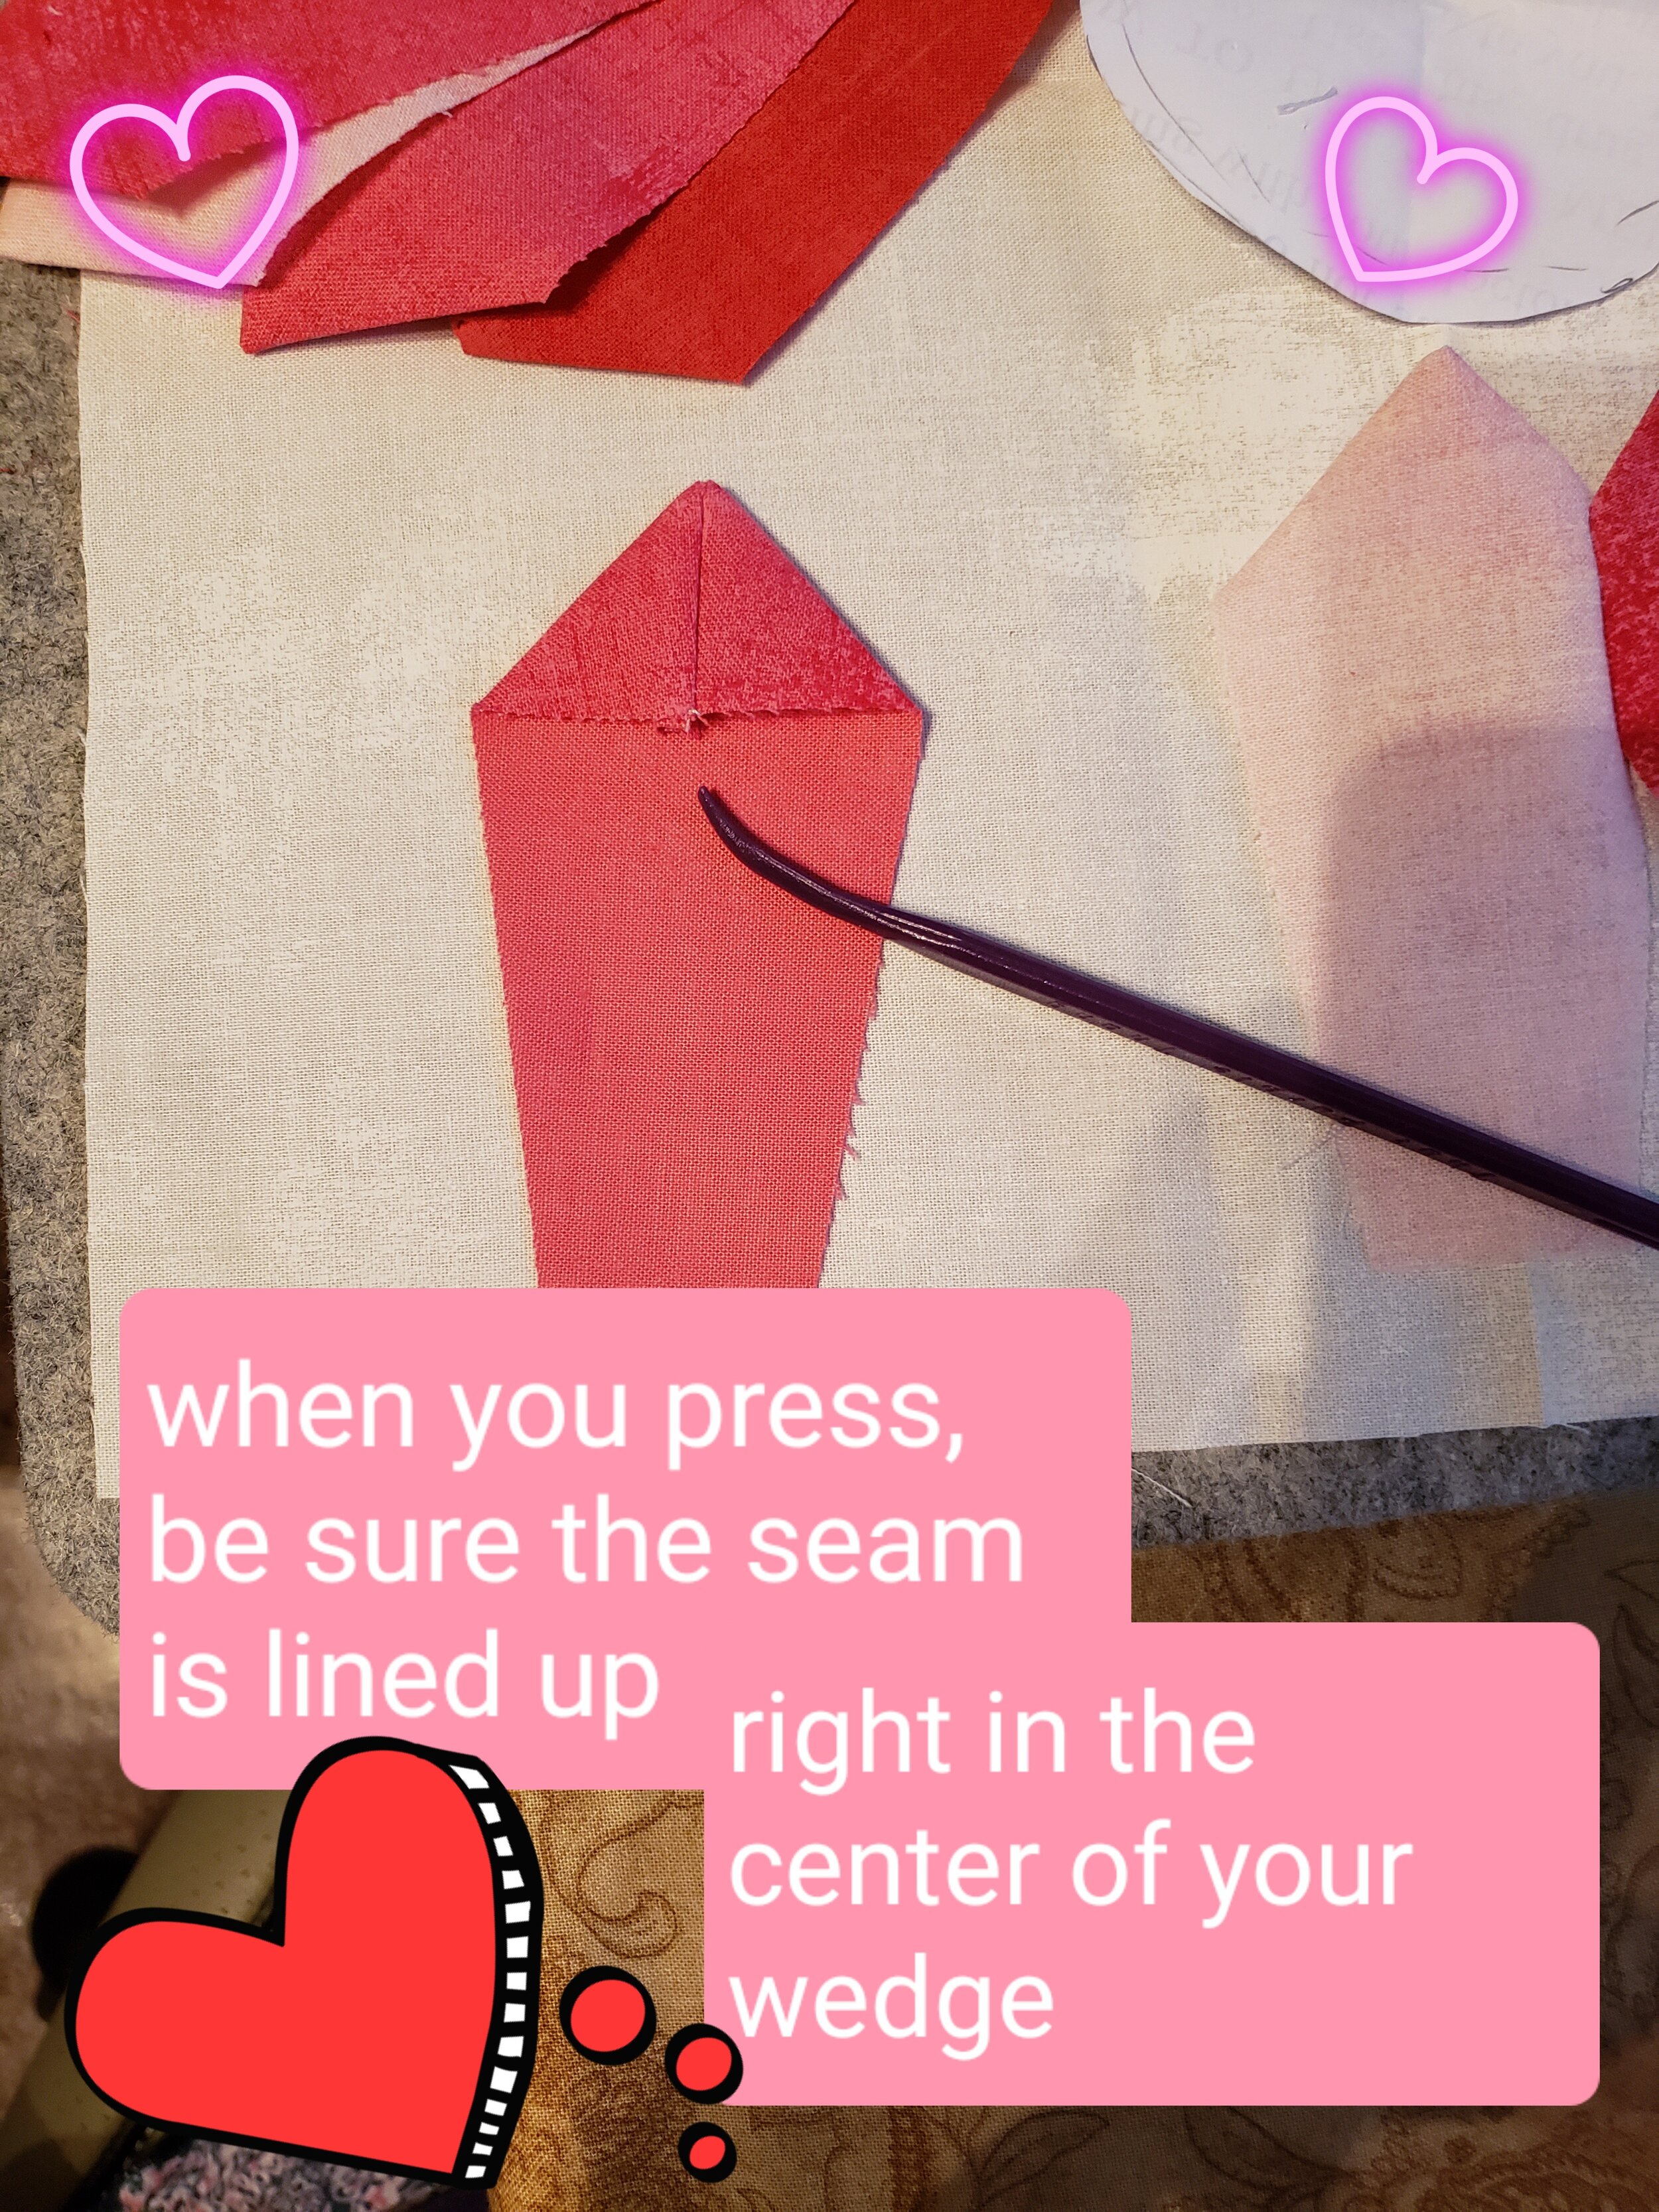
I think the pattern is well done and easy to follow. there are a lot of seams so I was careful to keep my seam allowance consistent. (I know, that is ALWAYS important). When making some simpler blocks , I can be more careless (lazy) and still have a good block in the end. I added a bunch of pictures to this post, if that might help anyone to make their block. Now let’s crack on and get to it.
If you would like to use the Stitch Pink Grunge fabrics pictured, You can shop HERE for these fabrics. We have a kit to make this quilt as pictured (while quantities last). These sampler blocks would also make a great scrappy quilt if you’d like to use your stash.
TODAY’S TIPS
FLIP AND FUSE APPLIQUE
A liitle bit about FLIP AND FUSE APPLIQUE
This is just one way to turn under your center circle edge for applique. You can use ANY method you’d like, or even simpler, you can just sew your circle in place without turning under the edges (raw edge applique).
Begin by:
placing (1)piece of fabric with (1) fusible interfacing piece that you have traced your circle on 9 circle template provided in pattern).
The right side of fabric should be touching the glue side of the fusible interfacing template.
Do not iron at this time.
Pin the interfacing and fabric together to secure.
Sew on the traced line of your circle ( the line you traced off the pattern template onto the smooth side of the interfacing) backstitching at the beginning and end of the seam to secure.
Cut out the circle a 1/4” outside of the stitch line.
Use a small pair of scissors to carefully cut a small hole in the fusible interfacing. Do not cut through the fabric. Make small clips in the seam allowance. Don’t cut through your stitching.
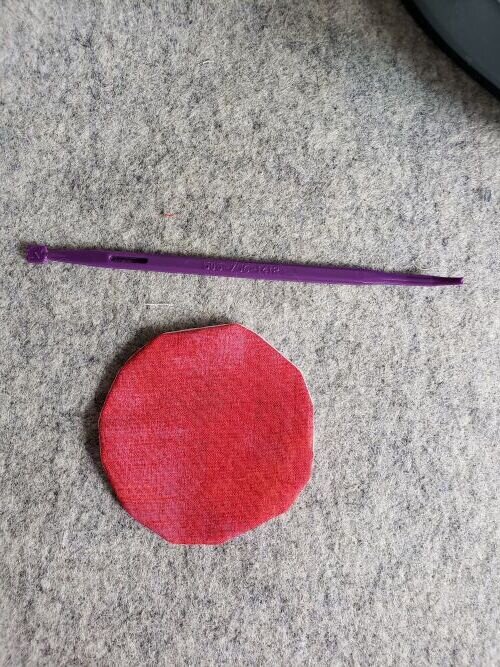
Pull the fabric through the hole carefully to bring the fabric right side out. The glue side of fusible interfacing should NOW be visible on the bottom of your circle shape. Use an applique turning tool or similar to smooth the edges of the circle
I made my center circle larger than the one pattern had . I decided in the end to use a light fabric for my center circle. I liked the ‘donut hole’ look better than a darker center.
Stitched down here with pink thread and a machine blanket stitch. You can use any stitch , or even stitch yours down by hand.
Free patterns are courtesy of the kind folks at Moda Fabrics.
Thank you for reading our blog. Until we blog again , be sure to take time out and Enjoy the Sew!®


