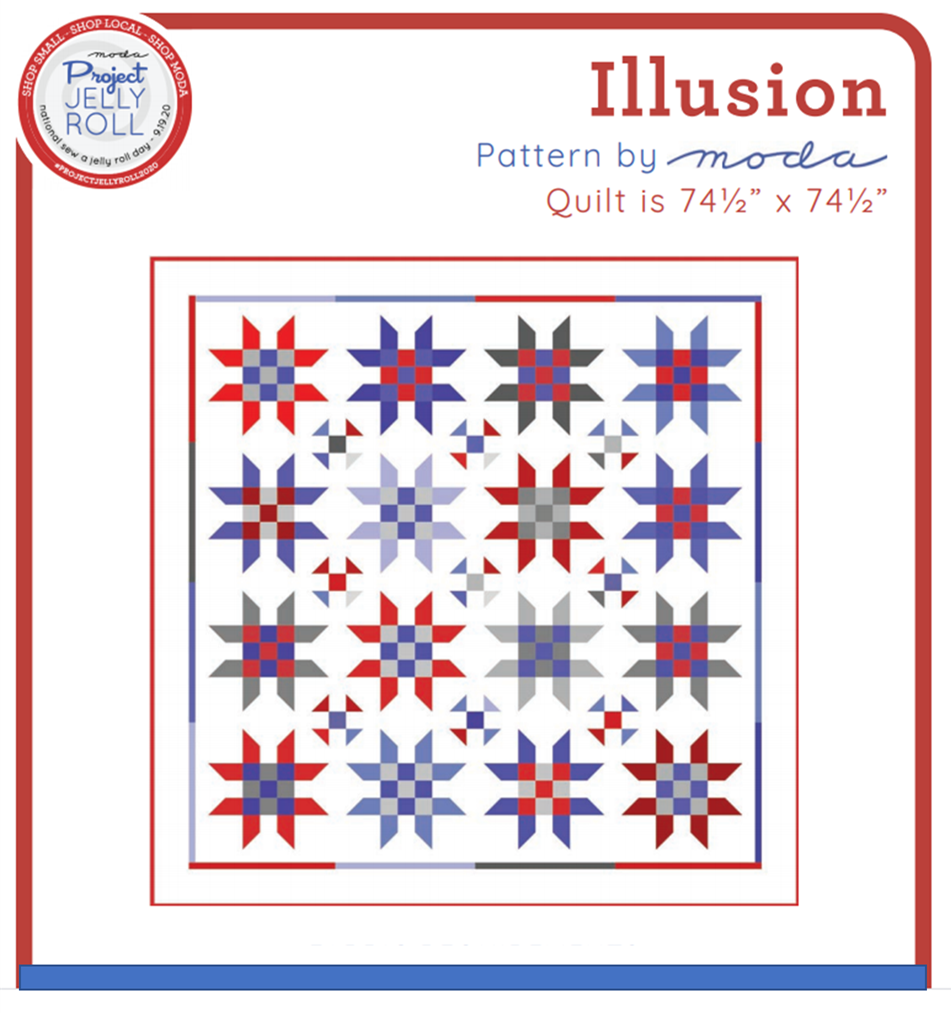
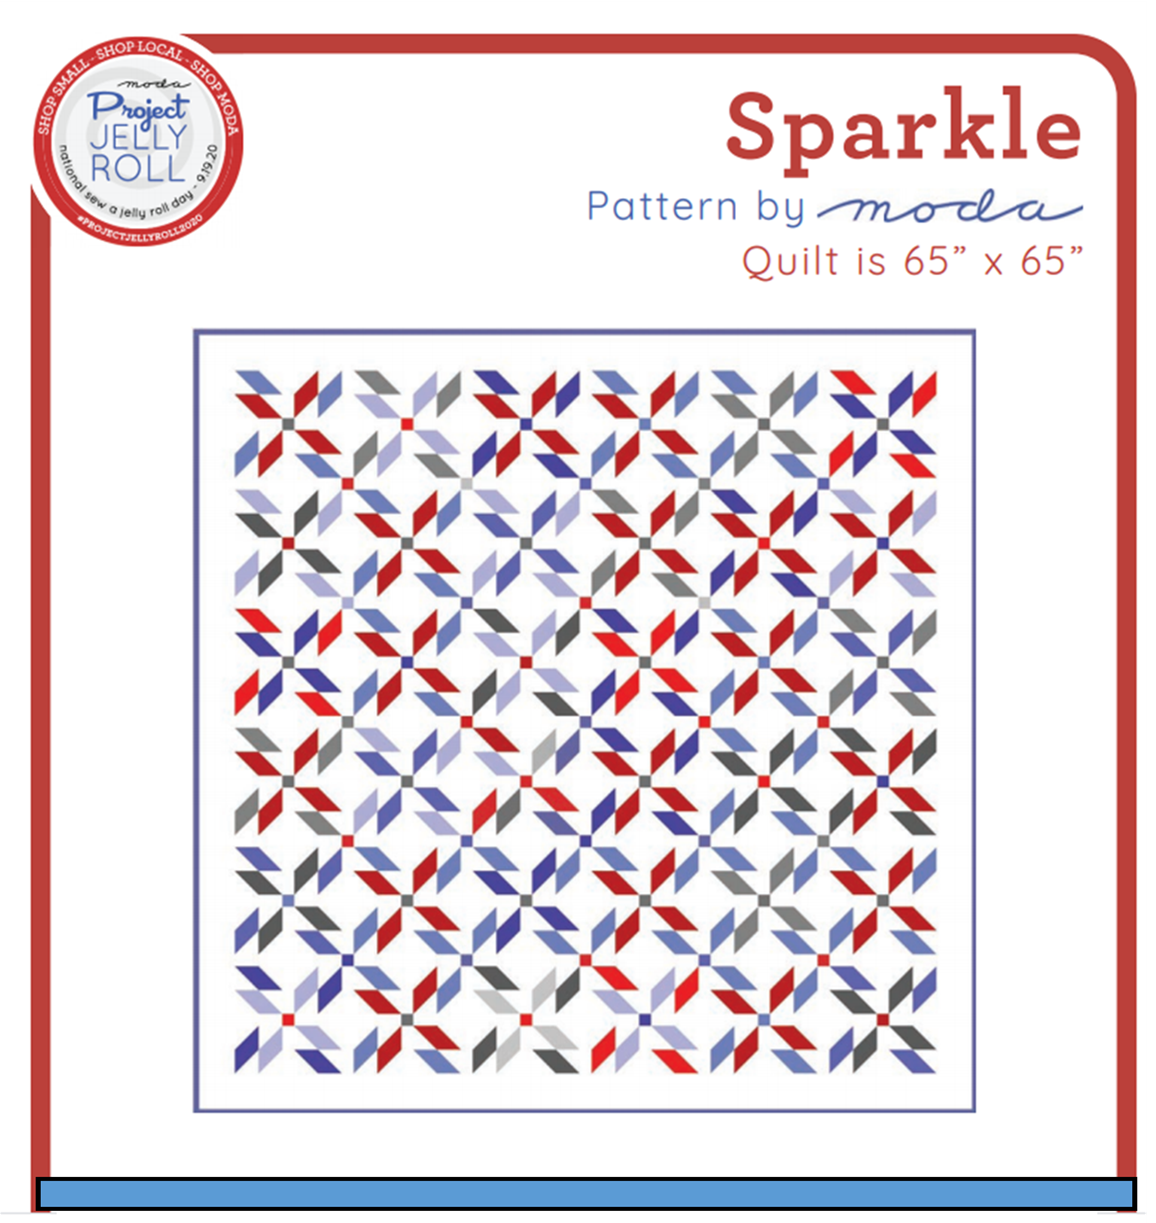
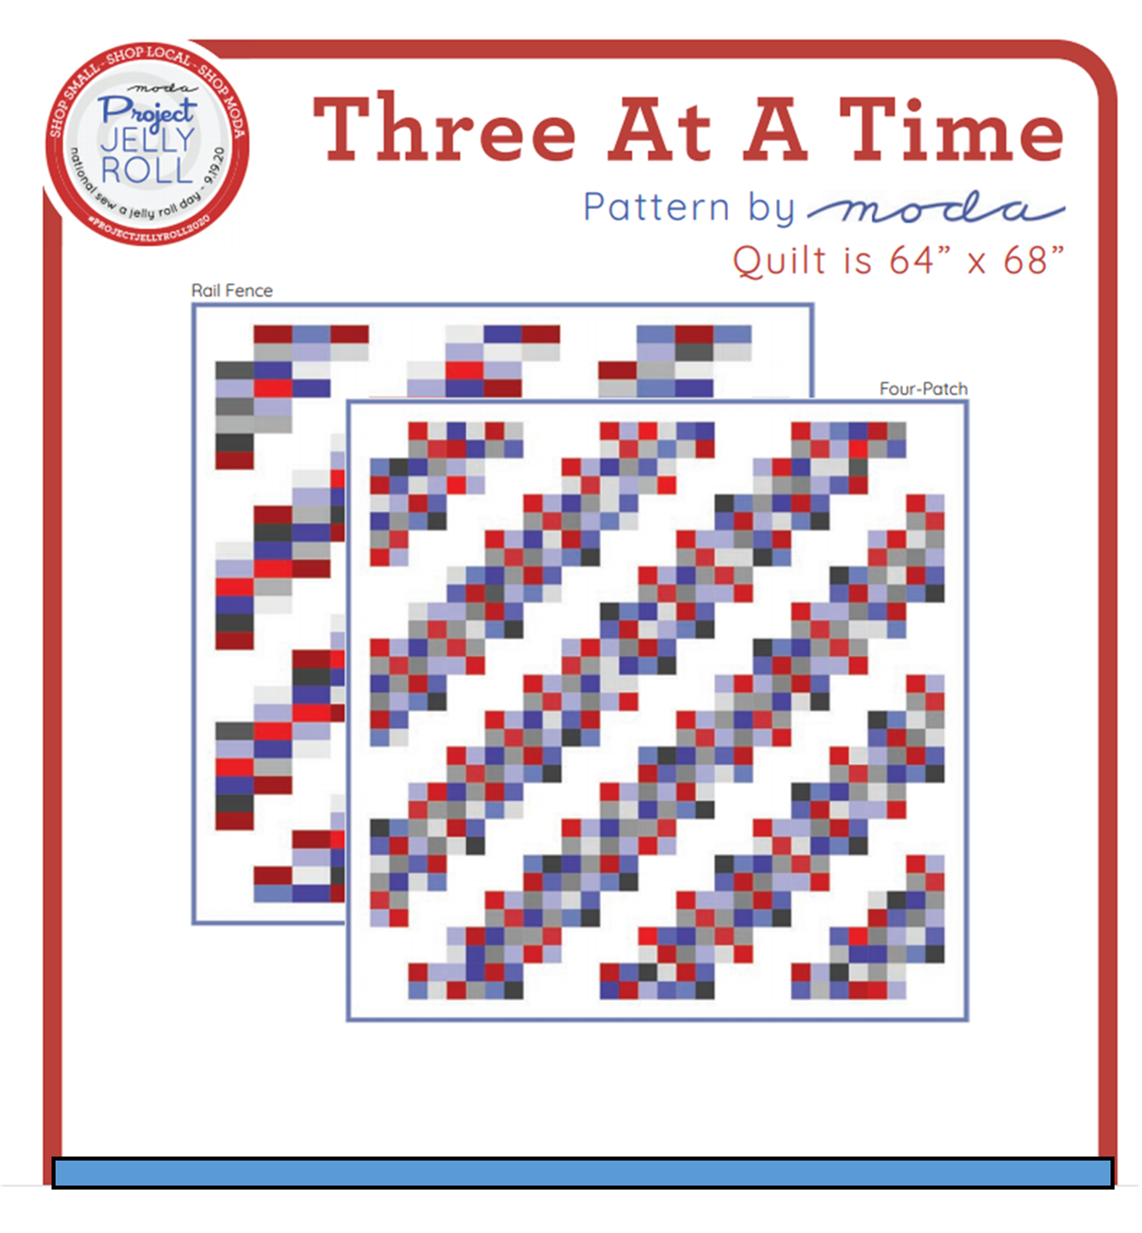
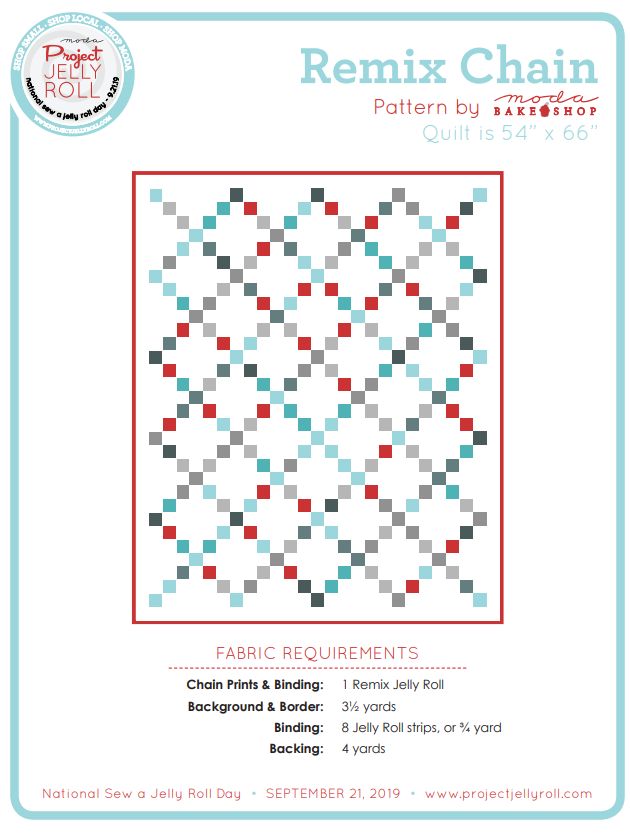
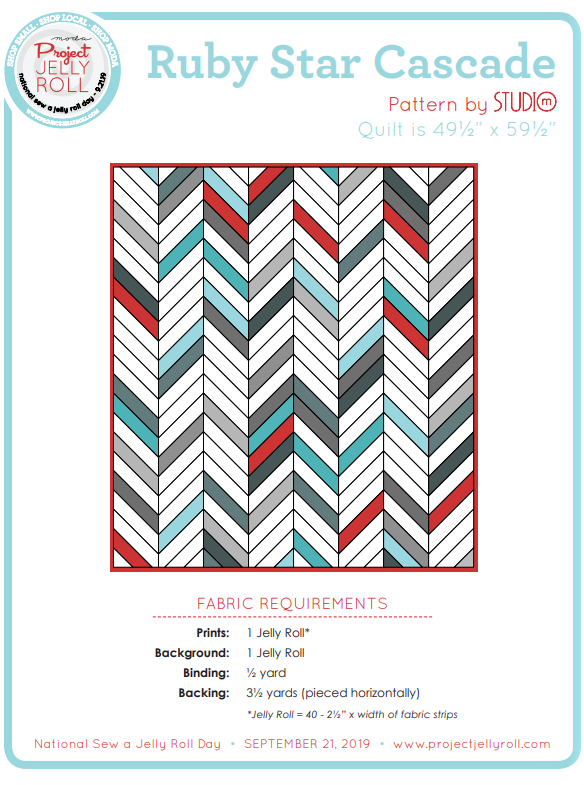
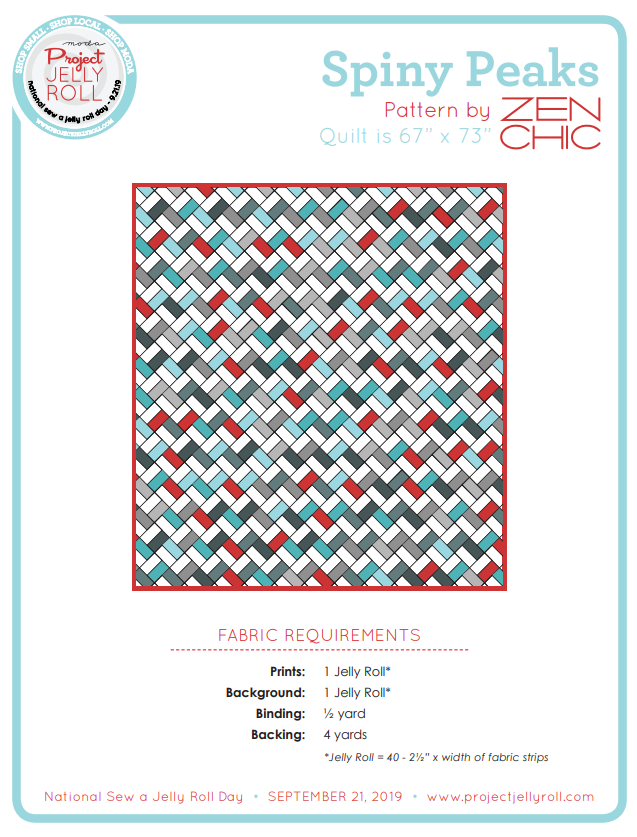
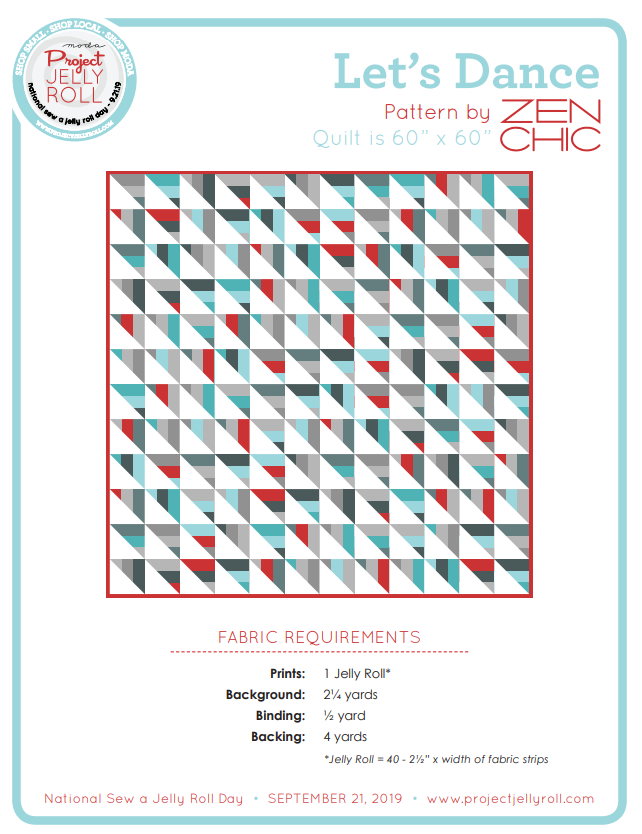
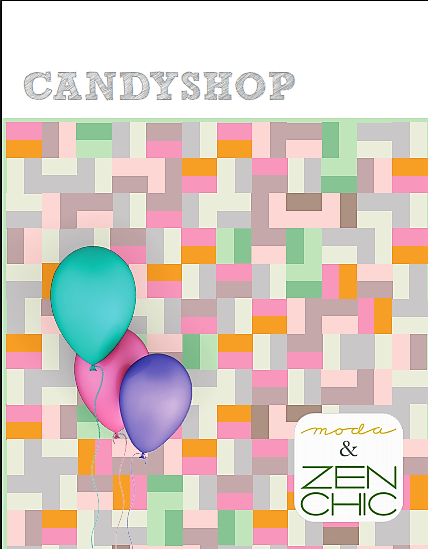
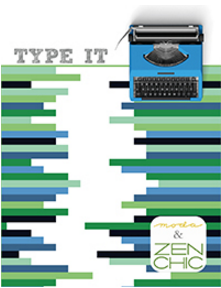
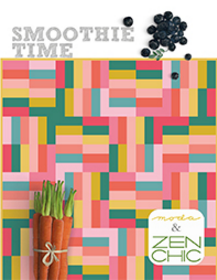
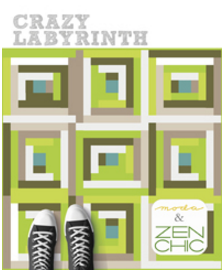
#PROJECTJELLYROLL2020 PATTERN REVEAL

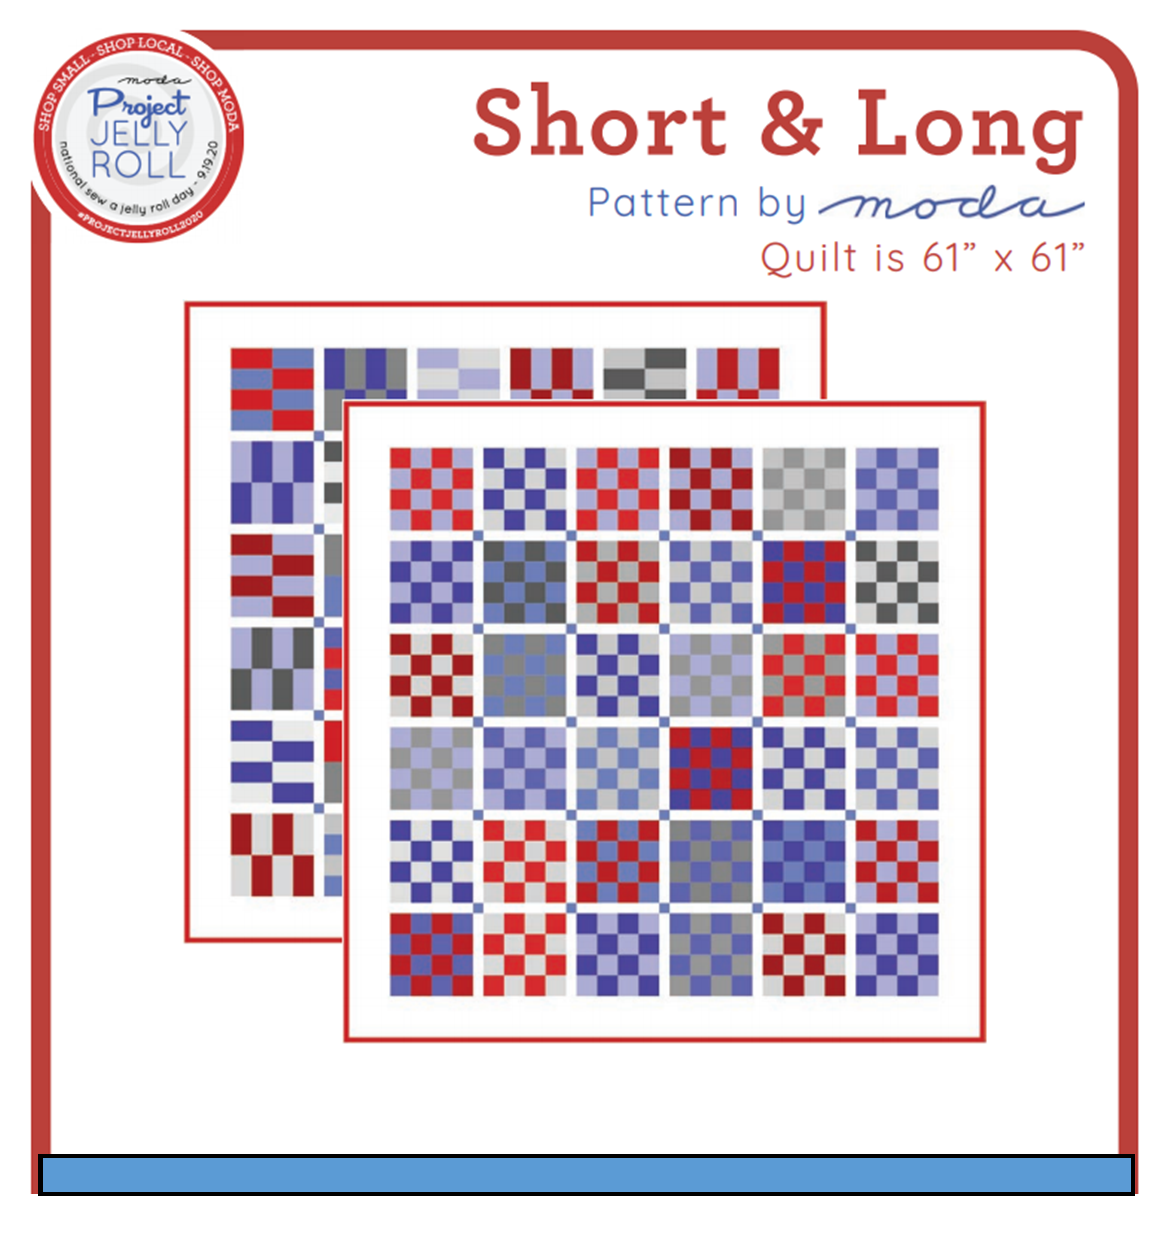
2020 JELLY ROLL PATTERNS NOW AVAILABLE FOR FREE DOWNLOAD

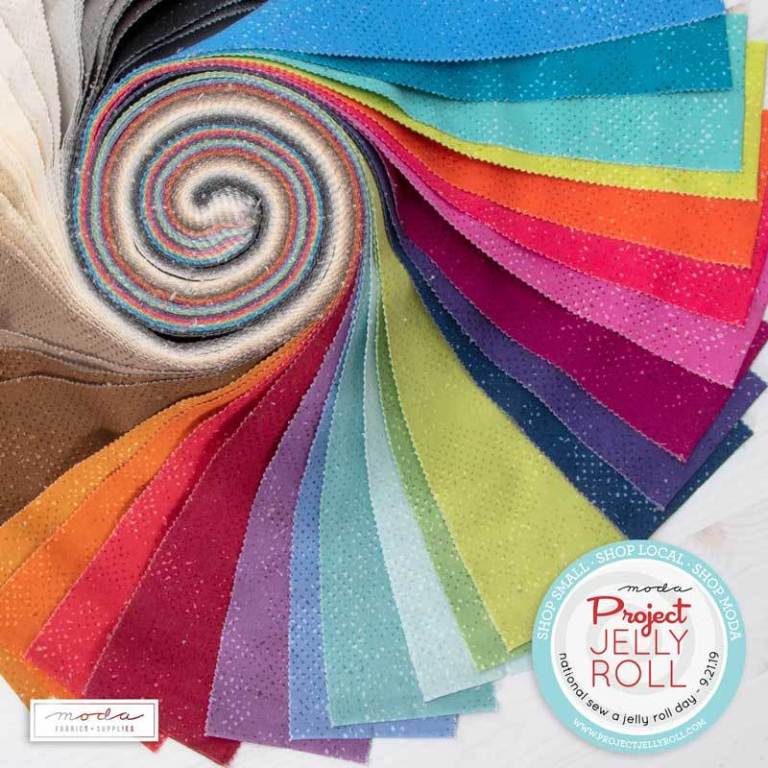
National Jelly Roll Day has arrived! Part of the day’s celebration are free Jelly Roll patterns from Moda fabrics, This year, Jelly Roll Day is a virtual event here at RCQ.

Welcome to our online shop. Please be our guest and help yourself to the day’s offerings.

Now that the big day is here, with Moda Fabrics United Notions'  permission, we can release  the much anticipated #projectjellyroll2020 patterns!

(scroll down for your free downloads).

If you are new to National Sew A Jelly Roll Day, scroll down abit further where you’ll find all the patterns from 2019 and 2018 too! Sew much fun ☺

A BIG thank you to Moda for providing these fabulous new patterns and everything they do to create this fun event for quilters everywhere.

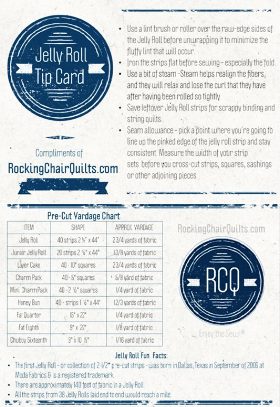
To start you off - here is a little gift from RockingChairQuilts.com : A Jelly Roll Tip Card and pre-cut yardage chart for you to copy, print out or keep as a handy reference on your smart phone or tablet.

HERE ARE 10 IDEAS FOR JELLY ROLL STRIPS AND SCRAPS:

  1. Make strip sets for 9-patch blocks

  2. Make strip sets for 4-patch blocks

  3. Cut strips 4 1/2" long. Use with 2 1/2" squares (Moda Candy squares work great) to create scrappy Flying Geese blocks.

  4. Sew strips together for a scrappy back.

  5. Make "framed" 9-patch blocks (1 Jelly Roll strip is enough to frame a 6" finished 9-patch.

  6. Make a "coins" quilt using left over Jelly Roll pieces.

  7. Make Log Cabin blocks.

  8. Make piano key borders for a scrappy quilt.

  9. Make kitchen accessories: pot holders, place mats, mug rugs, or coasters.

  10. Make scrappy binding by cutting Jelly Roll strips into fourths and then sewing together as many pieces as needed for the length desired.

  11. ___________________________ Fill in # 11 with your own amazing JELLY ROLL TIP . Please enter your tip by commenting below:


#PROJECTJELLYROLL2020 PATTERNS

(click on each to download your FREE pattern)


And

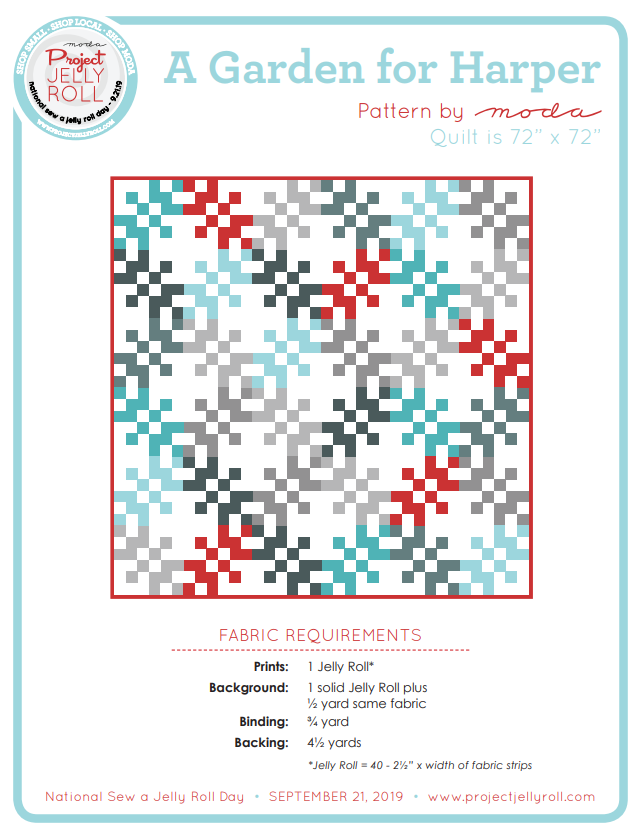
HERE ARE THE FREE PATTERNS FROM 2019

(In case you missed them last September)

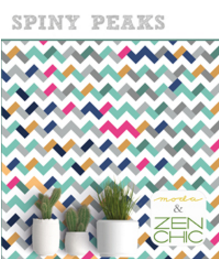
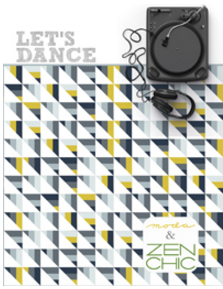
( courtesy of zen chic, ruby star society and Moda fabrics )

HOO-RAY! 

  • 5 new and re-mixed designs for 2019

  • The 6 iconic patterns from 2018 (in case you missed ‘em)

Post pictures of any Jelly Roll projects you are working on (or even the ones that you finish ) on Facebook , Instagram, Twitter. Use the #projectjellyroll2020 to share your fun with everyone who enjoys a  Moda Jelly Roll.


Love a Jelly Roll? If you are hungry for more Jelly Roll goodness be sure and visit ModaBakeShop.com  

Lots of jelly roll patterns there, all free for you to enjoy.


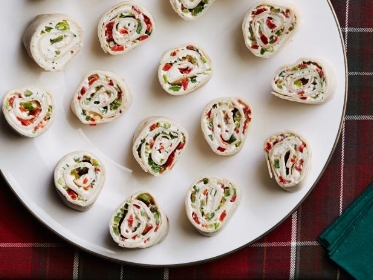
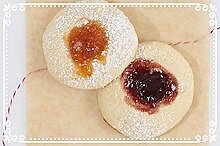
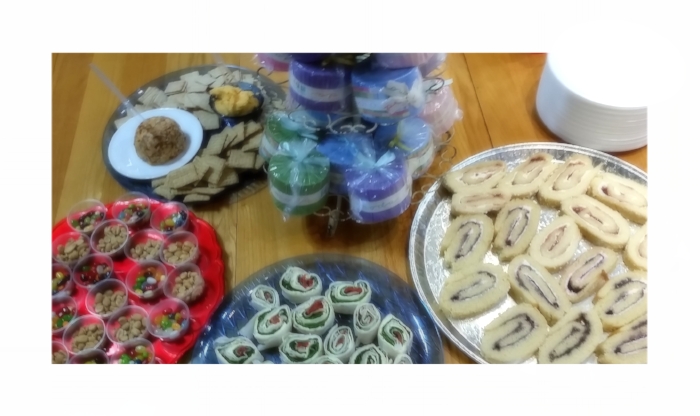
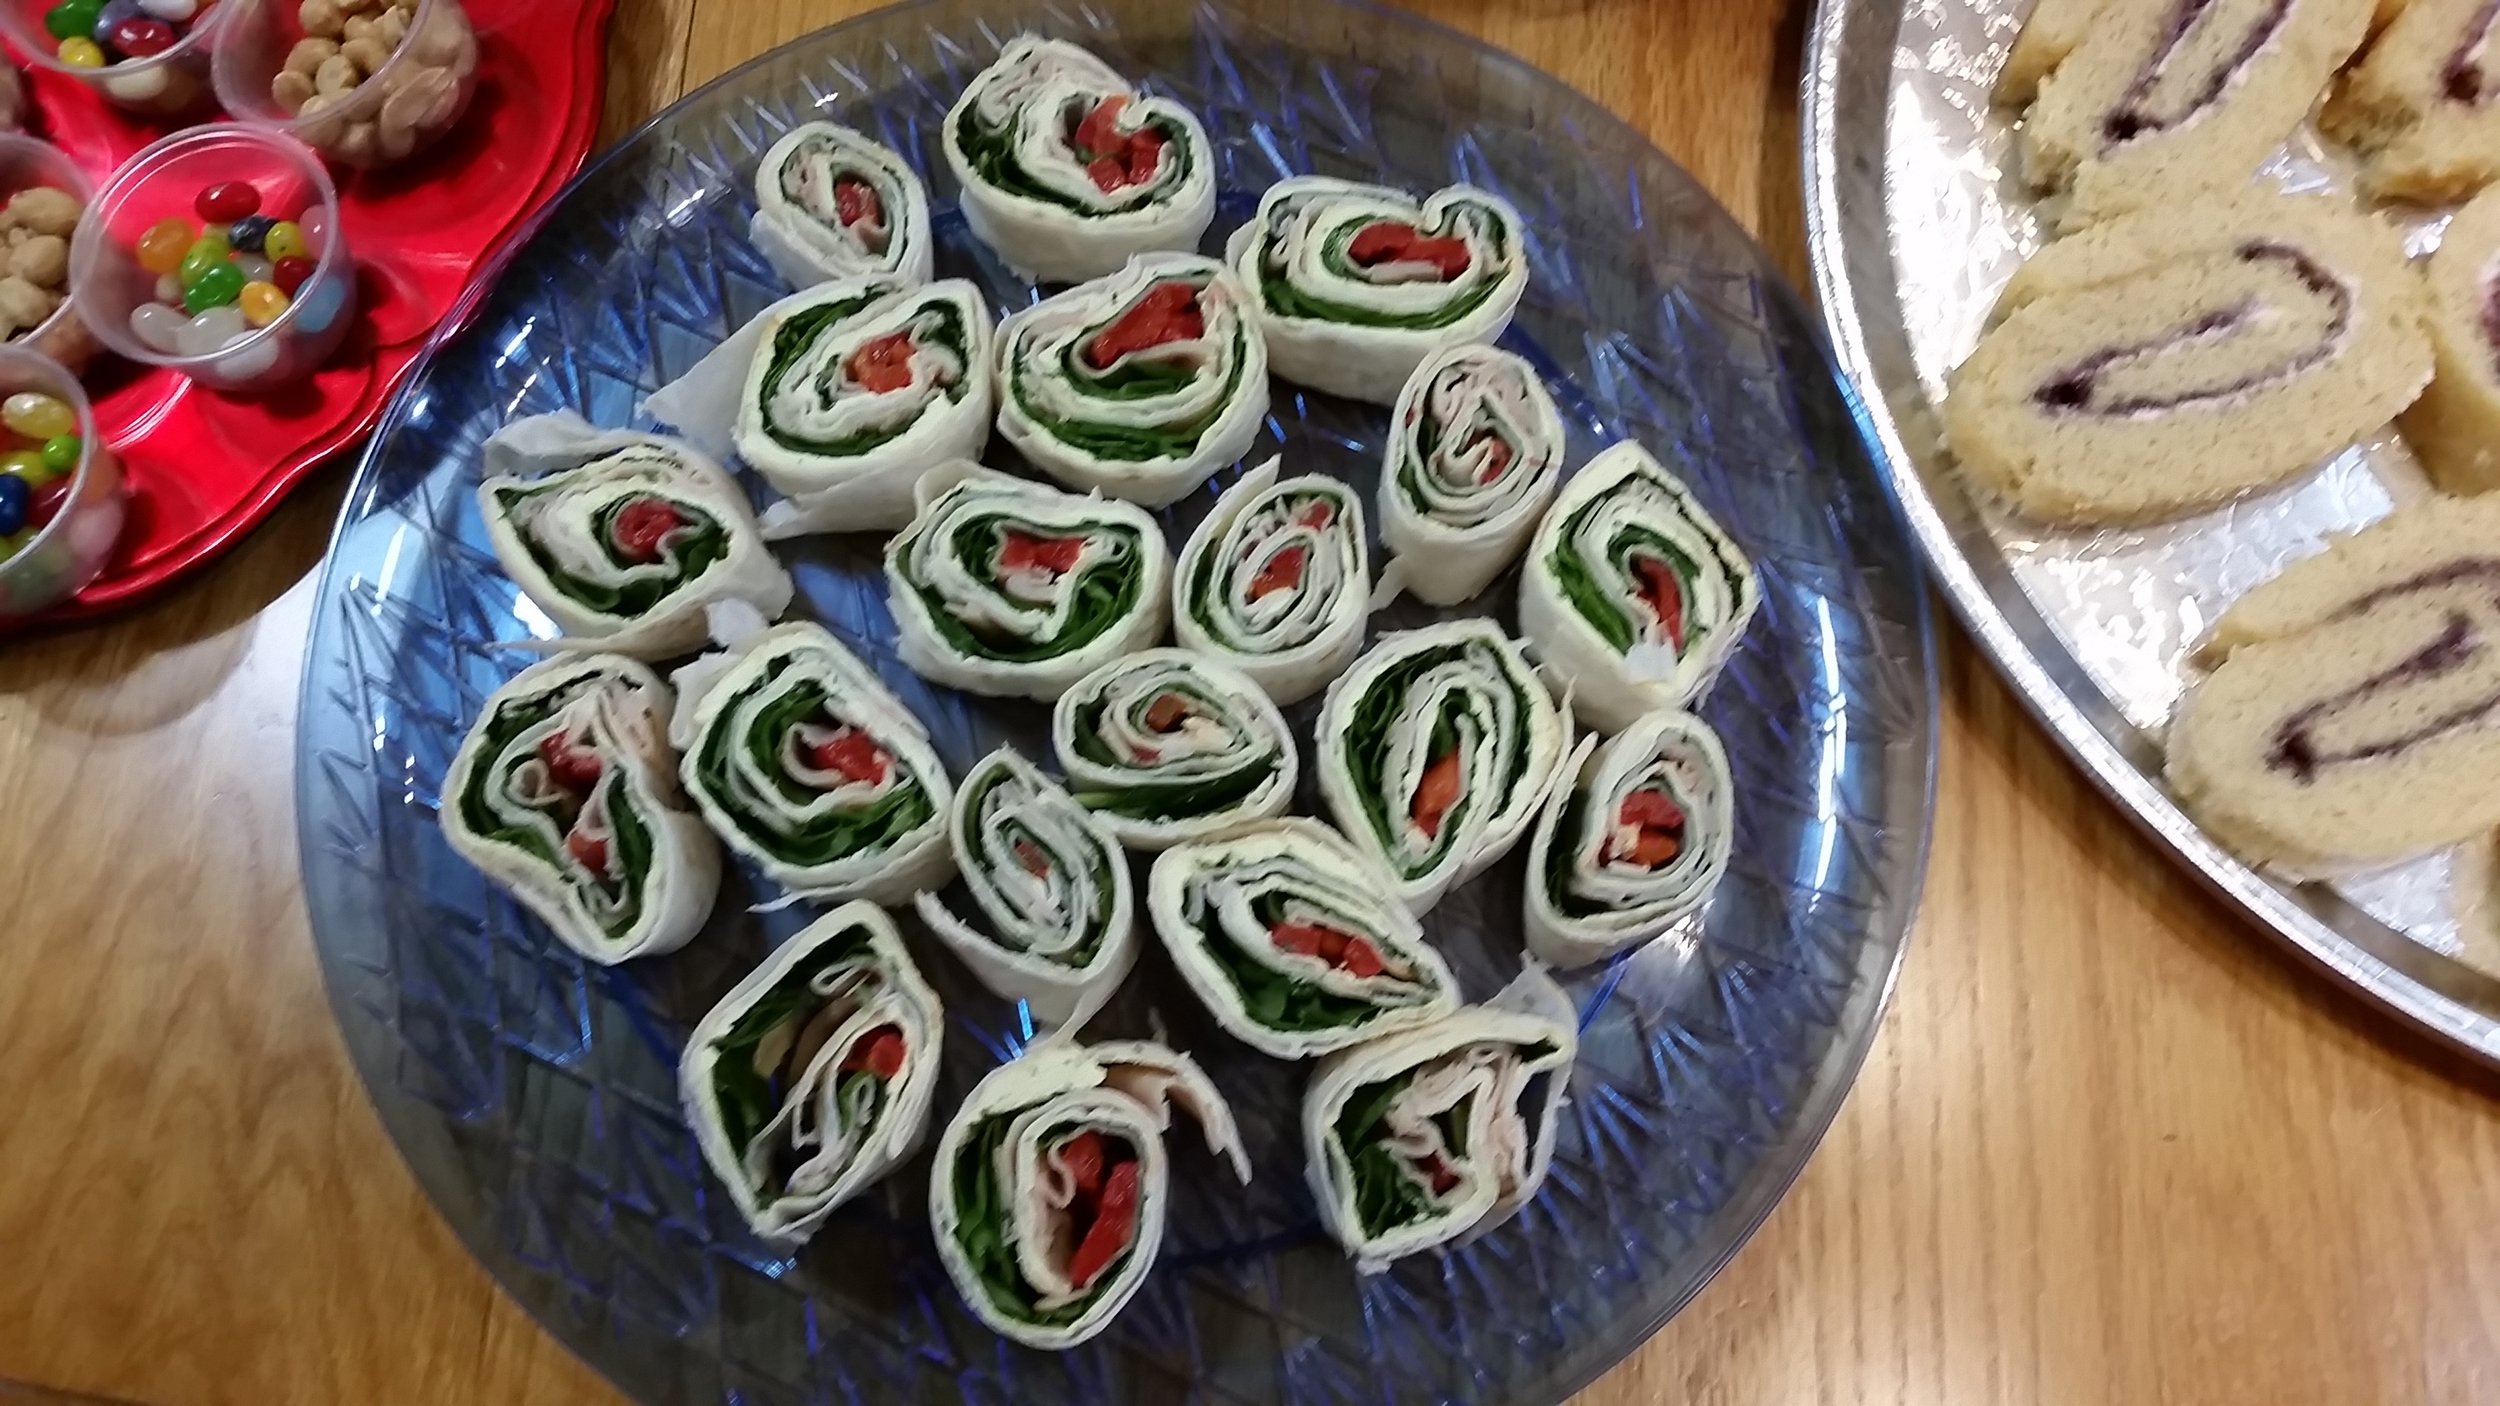
We shared some yummy Jelly Roll themed snacks here at the quilt shop on previous Jelly Roll Days.  Something so yummy bears repeating. Here they are for you to make and enjoy.


Thanks so much for your participation in the the big JR day, and thank you for reading my blog . Share comments below. Until we blog again, please take some time out to Enjoy the Sew!®

-Carol


Coming soon………..

Starts on October 1st

Starts on October 1st

Stitch along with us here on the RCQ blog starting on October 1st. Free sampler block patterns will be available as downloads each day. Stitch Pink, stitch scrappy, or choose another fabric collection, any which way, it’s all fun for you from Moda F…

Stitch along with us here on the RCQ blog starting on October 1st. Free sampler block patterns will be available as downloads each day. Stitch Pink, stitch scrappy, or choose another fabric collection, any which way, it’s all fun for you from Moda Fabrics! Subscribe to our blog below to get updates.


If you would like to receive an email when a new blog post is published you can sign up below:


Candy Corn Kaleidescope Quilt

Happy Halloween! Here’s a festive quilt for you to stitch.  We’ve made ours with the CGRDBSKL CREATIVE GRIDS 45 DEGREE KALEIDOSCOPE DOUBLE STRIP QUILTING RULER if you don’t have this ruler you can use a similar 45° angled ruler (or template plastic to make a template to cut your triangle segments).

Here’s our quilt hanging in the shop for October. We used BELLA SOLIDS to make our quilt Two colors 9900 79 Ochre and 9900 60 Ivory. Scroll down for our mini-pictorial tutorial.

Here’s our quilt hanging in the shop for October. We used BELLA SOLIDS to make our quilt Two colors 9900 79 Ochre and 9900 60 Ivory. Scroll down for our mini-pictorial tutorial.

Creative Grids KALEIDOSCOPE RULER

Creative Grids KALEIDOSCOPE RULER

Need more details on cutting your shapes and block construction?

Watch Rachel Cross demonstrate the Kaleidoscope block and ruler in her video .


What you need:

·         Creative Grids Double Strip Kaleidoscope Ruler (CGRDBSKL) OR Creative Grids 45° Kaleidoscope & Dresden Plate Ruler (CGRTKAL45) or similar 45° angled ruler (or template plastic to make a template to cut your triangle segments)

·         2 ½ yards background (cream)

·         2 yards for blocks and binding (orange)

·         3 yards of backing fabric


Cut 2 1/2” strips from your fabric and sew into strip sets.

Cut 2 1/2” strips from your fabric and sew into strip sets.

Use your Kaleidoscope ruler or template to cut triangle segments from your strip sets.

Use your Kaleidoscope ruler or template to cut triangle segments from your strip sets.

Alternate your triangle segments and sew together.

Alternate your triangle segments and sew together.

Create your corner triangles by cutting 3 1/4” squares on the diagonal.

Create your corner triangles by cutting 3 1/4” squares on the diagonal.

Change the placement of your corner triangles to make the two different block styles you will need to create the kaleidoscope pattern in the featured quilt.

Change the placement of your corner triangles to make the two different block styles you will need to create the kaleidoscope pattern in the featured quilt.


vintage-halloween-witch-broomstick-boy-girl-postcard1.jpg


If you make this Quilt , we'd love to see your version, please share a photo with us:

WAYS TO SHARE a photo with us:

  • Add a photo in the comment section below ( you may need to log in to use this feature)

  • Post your photo on Instagram and tag us # rockingchairquilts

  • post your photo on our Facebook page- CLICK HERE to get to the Facebook page.

  • Tweet a photo @makeaquilt or tag us in your tweet @MakeAQuilt

  • send your photo in an email to me : Carol@RockingChairQuilts.com

  • If you live nearby you can pop in during SHOP HOURS each week we'll take photo of your quilt for you.

  • Please use the comments area below for comments and questions


Thank you for reading, until we blog again, take some time to Enjoy the Sew!® - Carol

SIGN UP HERE IF YOU'D LIKE TO RECEIVE AN EMAIL WHEN A NEW BLOG POST IS PUBLISHED

#PROJECTJELLYROLL PATTERN REVEAL

2019 JELLY ROLL PATTERNS NOW AVAILABLE FOR FREE DOWNLOAD

National Jelly Roll Day has arrived. Part of the day’s celebration are free Jelly Roll patterns from Moda fabrics, While we’d love to have you visit the little shop on Meadow Street, we know everyone reading this is not close enough to travel here for our National Jelly Roll Day doings. If you can stop in, printed copies will be available here at RCQ for all our guests. 

Now that NSAJRD is here, with Moda Fabrics United Notions'  permission, we can release  the much anticipated #projectjellyroll patterns here on our blog today (scroll down for your free downloads).

A BIG thank you to Brigette Heiland of Zen Chic , the Ruby Star Society and Moda for providing  these NSAJRD patterns.

To start you off - here is a little gift from RockingChairQuilts.com : A Jelly Roll Tip Card and pre-cut yardage chart for you to copy, print out or keep as a handy reference on your smart phone or tablet.  If you are nearby and can come into the shop we will give you a tip card when you buy a Jelly Roll (while supplies last) If you visit the shop for Jelly Roll Day be sure to ask about the in store specials on Jelly Rolls and Jelly related patterns , books etc.


HERE ARE 10 IDEAS FOR JELLY ROLL STRIPS AND SCRAPS:

  1. Make strip sets for 9-patch blocks

  2. Make strip sets for 4-patch blocks

  3. Cut strips 4 1/2" long. Use with 2 1/2" squares (Moda Candy squares work great) to create scrappy Flying Geese blocks.

  4. Sew strips together for a scrappy back.

  5. Make "framed" 9-patch blocks (1 Jelly Roll strip is enough to frame a 6" finished 9-patch.

  6. Make a "coins" quilt using left over Jelly Roll pieces.

  7. Make Log Cabin blocks.

  8. Make piano key borders for a scrappy quilt.

  9. Make kitchen accessories: pot holders, place mats, mug rugs, or coasters.

  10. Make scrappy binding by cutting Jelly Roll strips into fourths and then sewing together as many pieces as needed for the length desired.

  11. ___________________________ Fill in # 11 with your own amazing JELLY ROLL TIP . Please enter your tip by commenting below:


HERE ARE YOUR FREE PATTERNS

( courtesy of zen chic, ruby star society and Moda fabrics )

HOO-RAY! 

  • 5 new and re-mixed designs for 2019

  • The 6 iconic patterns from 2018 (in case you missed ‘em)

Post pictures of any Jelly Roll projects you are working on (or even the ones that you finish ) on Facebook , Instagram, Twitter. Use the #projectjellyroll to share your fun with everyone who enjoys a  Moda Jelly Roll.


Love a Jelly Roll? If you are hungry for more Jelly Roll goodness be sure and visit ModaBakeShop.com  

Lots of jelly roll patterns there, all free for you to enjoy.


We shared some yummy Jelly Roll themed snacks here at the quilt shop on previous Jelly Roll Days.  Something so yummy bears repeating. Here they are for you to make and enjoy.


Thanks so much for your participation in the the big JR day, and thank you for reading my blog . Share comments below. Until we blog again, please take some time out to Enjoy the Sew!®

-Carol


If you would like to receive an email when a new blog post is published you can sign up below:
 

#modablockheads2 Quilt Along

Summer:  we're just hours away from the first day of Summer 2018 , Why not spend summertime days enjoying a quilt a long?

That's my plan.

It's summer 2018  & I'm a blockhead, er.....I've chosen to be a Moda Blockhead.

20180616_094747.jpg

MODA Fabric + Supplies has launched Moda Blockheads Round 2. Every Wednesday (started on June 6th,2018) a new FREE block pattern is released.  All the blocks are from Moda Designer's  and the patterns will be avaialble on their blogs.  Visit the Moda Blog HERE for all the info, links to the patterns and they even have a Blockheads Facebook group.

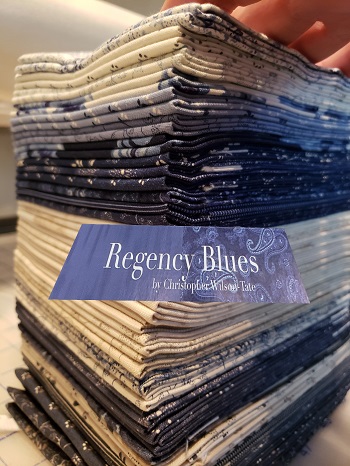
It's  been alot of fun for me so far.  You can make you blocks your own way , use your stash or get something new.  I have been looking for the right project to sew with the new Christopher Wilson-Tate REGENCY BLUES fabrics from Moda and BLockheads round 2 is it!

I'm using Christopher's FAT QUARTER BUNDLEand  my background is 5 yards of BELLA SOLID INDIGO 9900 218But you could also use one REGENCY BLUES FAT EIGHTHS BUNDLE and one REGENCY BLUES CHARM PACK and 5 yards of background for the BLockheads…

I'm using Christopher's FAT QUARTER BUNDLE

and  my background is 5 yards of BELLA SOLID INDIGO 9900 218

But you could also use one REGENCY BLUES FAT EIGHTHS BUNDLE and one REGENCY BLUES CHARM PACK and 5 yards of background for the BLockheads2 quilt.

Bella Solid Indigo 9900-218  .Still not sure how much fabric to gather up? CLICK HERE to go to Moda's fabric requirement guidelines and FAQ page about Blockheads Round2

Bella Solid Indigo 9900-218  .

Still not sure how much fabric to gather up? CLICK HERE to go to Moda's fabric requirement guidelines and FAQ page about Blockheads Round2


Block 1 is Stellar Star from Lynne Hagmeier/Kansas Troubles

clock 1 reduced.jpg

 Visit her blog for your pattern- http://kansastroublesquilters-lynne.blogspot.com/


Block 2 is Buckeye Beauty and it's from Barbara Groves and Mary Jacobson of Me & My Sister Designs.

Visit their blog for your pattern - http://www.meandmysisterdesigns.com/blog/

BLOCK 2 Buckeye Beauty

BLOCK 2 Buckeye Beauty


BLOCK 3 Pennysylvania

BLOCK 3 Pennysylvania

Block 3 is Pennsylvania by Carrie Nelson.  Link to the Pattern HERE and stop in on the Moda Blog HERE for all the info. I like this one! It was so quick to make, and I think I  will make about 30 of them (scrappy blues) into a pleasing throw quilt

I'm a quite a happy camper (summer sew along camper) now that I have broken open my bundle of beautiful Regency Blues.  I even made a shirt out of it to wear on my next trip. I will see if I can get a picture of that.  It's in my suitcase right now and I dare not open that thing back up since I finally got it zipped ☺


Are you sewing along this summer ? Online, at your local shop, with a group or club? If you have a tale to tell, please share it in the comments below.  There are SEW many to choose from.  Whether you are sewing on your own or in a group....until we blog again, be sure to take time out to Enjoy the Sew!®

-Carol


Post Script  STILL TIME TO ENTER GIVEAWAY: If you didn't already enter our fabric bundle giveaway from my last blog post, CLICK HERE to get to that post and enter for a chance to win this bundle (ends on June 25th , 2018)

PRIZE BUNDLE : CONTEST ENDS  6 • 25 • 2018

PRIZE BUNDLE : CONTEST ENDS  6 • 25 • 2018

SIGN UP BELOW IF YOU WOULD LIKE TO GET AN EMAIL WHEN A NEW BLOGPOST IS PUBLISHED

Breezy Bear Quilt

It's time to share the first Bear Paw block project we have put together for the summer shop hop season. 

Read more

#PROJECTJELLYROLL PATTERNS

NOW AVAILABLE FOR DOWNLOAD

nsajrd-logo2 sml.jpg

We woke up this morning with the happy realization that the first annual National Jelly Roll Day had finally arrived.  A banner day was thoroughly enjoyed by everyone here at RCQ and all our guests. 

Now that the daylight has vanished from the Illinois prairie we can, with Moda Fabrics United Notions'  permission, release  the much anticipated #projectjellyroll patterns here for you as free downloads

A BIG thank you to Brigette Heiland of Zen Chic and Moda for providing  these NSAJRD patterns.

To start you off - here is a little gift from RockingChairQuilts.com : A Jelly Roll Tip Card and pre-cut yardage chart for you to download and keep as a handy reference.  If you are nearby and can come into the shop we will give you one when you buy a Jelly Roll (while supplies last)


jelly roll GIVEAWAY • congratulations to our 20 winners

Maxine Euto

Debbie Chenoweth

Sandra Dzurny

Jennifer Kralik

Tessa Hutchinson

Justine Wills

Lisa Soderland Fitzgerald

Allison Church Bird

Lynette Kleinau

Janie McCombs


Kay Opilka

Paula Fortino

Rene' Gorbold

Cheryl Paarlberg

Kathy Chynoweth

Connie Overlay

Sandie Swartz

James Adams

Kathryn Frederick

Penny Stromberg


HERE ARE 10 IDEAS FOR JELLY ROLL STRIPS AND SCRAPS:

  1.  Make strip sets for 9-patch blocks
  2.  Make strip sets for 4-patch blocks
  3.  Cut strips 4 1/2" long. Use with 2 1/2" squares (Moda Candy squares work great) to create scrappy Flying Geese blocks.
  4.  Sew strips together for a scrappy back.
  5.  Make "framed" 9-patch blocks (1 Jelly Roll strip is enough to frame a 6" finished 9-patch.
  6. Make a "coins" quilt using left over Jelly Roll pieces.
  7. Make Log Cabin blocks.
  8. Make piano key borders for a scrappy quilt.
  9. Make kitchen accessories: pot holders, place mats, mug rugs, or coasters.
  10. Make scrappy binding by cutting Jelly Roll strips into fourths and then sewing together as many pieces as needed for the length desired.
  11. ___________________________ Fill in # 11 with your own amazing JELLY ROLL TIP .  Please enter your tip by commenting below:

HERE ARE YOUR FREE PATTERNS courtesy of zen chic and moda fabrics - HOO-RAY! 

Post pictures of any Jelly Roll projects you are working on (or even the ones that you finish ) on Facebook , Instagram, Twitter. Use the #projectjellyroll to share your fun with everyone who enjoys a  Moda Jelly Roll.


Love a Jelly Roll? If you are hungry for more Jelly Roll goodness be sure and visit ModaBakeShop.com  

Lots of jelly roll patterns there, all free for you to enjoy.


We enjoyed some yummy Jelly Roll themed snacks here at the quilt shop today.  If you got too busy to stop by ( or just live somewhere else in the world ) we thought it would be nice to share the recipes here. 

 
368715_thumbprint-cookies_1x1.jpg

Thank you Kathy for bringning us cookies!


#projectjellyroll 2017 SNAPSHOT GALLERY


Thanks so much for your participation in the the big JR day, and thank you for reading my blog . Until we blog again, please take some time out to Enjoy the Sew!®

-Carol


If you would like to receive an email when a new blog post is published you can sign up below:
 

National Sew a Jelly Roll Day• SAVE THE DATE • September 16, 2017


Save the date: SEPTEMBER 16. 2017

F3


#projectjellyroll
Plan to visit Rocking Chair Qullts, in store & online to be a part of National Sew a Jelly Roll Day and to experience F3
Wait, what?
What is F3 ?
Wait a minute - that looks like math.
F3= fabric + fun + food

(OK, that still looks like math , but I think I like this kind of math) ☺ read on.........

Moda Fabrics / United Notions has designated the 3rd Saturday in September of every year as National Sew A Jelly Roll Day to encourage collectors to tear open a Moda Jelly Roll and make something for themselves, as a gift or for charity!  It ca…

Moda Fabrics / United Notions has designated the 3rd Saturday in September of every year as National Sew A Jelly Roll Day to encourage collectors to tear open a Moda Jelly Roll and make something for themselves, as a gift or for charity!  It can be a quilt or a tote bag, a pillowcase or something to wear, it doesn’t matter so long as we seize the day and celebrate the joy of being a maker. Share your day on social media with #projectjellyroll. You might even win a prize!

HERE'S WHAT'S HAPPENING AT ROCKINGCHAIRQUILTS.COM TO CELEBRATE NATIONAL SEW A JELLY ROLL DAY:


September 16th, come and party with us @  the Rocking Chair Quilts storefront in Grant Park, Illinois.

  • Door Prizes
  • Free Jelly Roll Patterns -  courtesy of Moda Fabrics
  • $ave on Jelly Rolls  
  • Snacks

If you are not nearby we'll offer the same enjoyment for our online friends:

  • Jelly Roll Giveaways (your online version of door prizes ☺)
  • Free downloadable Jelly Roll patterns- courtesy of Moda Fabrics
  • $ave on Jelly Rolls  in our online store
  • Snacks. So....maybe we can't send a snack through the interwebs, but we will share our jelly roll day recipes with you .
  • Plan your own event! If you can't visit a local shop that has an event, make plans, shake it down , roll it up, play and sew with friends.
    • -start planning with Moda's free checklist (download it below)

FABRIC+ FUN + FOOD = HOO-RAY!


At this writing, National Jelly Roll Day is still about a month away - but thanks to the folks at Moda, you can start planning for your Jelly Roll Day with this handy checklist: 


Stay Tuned: We will be hosting these events and have Jelly Roll "Specials" in store and online. To find out when things get started in September:

Like us on Facebook, subscribe to this blog below or sign up for our newsletter to stay updated on when these fun activities begin.

Moda has a website dedicated to #projectjellyroll.  CLICK HERE to visit.  It is SO pretty!


Thanks for reading - I hope you make some plans to join us , or plan your own jolly jelly event .

*Share photos of all your jelly doings with #projectjellyroll ON SOCIAL MEDIA

(and you may even win a prize - PROVIDED by Moda Fabrics United Notions)

Not on Facebook, Instagram or Twitter? You can email your pictures to me and I will share them for you. EMAIL me here: Carol@RockingChairQuilts.com

Until we blog again, Enjoy the Sew!®

-Carol


SUBSCRIBE TO THE RCQ BLOG : WHEN YOU SIGN UP HERE YOU"LL RECEIVE AN EMAIL WHEN A NEW BLOG POST IS PUBLISHED:


The Sharktown Dash: Baby quilt tutorial

FEATURING SHARKTOWN FABRICS FROM #RILEYBLAKEDESIGNS

Sharktown Dash Quilt 40" x 54"

Sharktown Dash Quilt 40" x 54"

Make this quick baby quilt, perfect for summertime naps, play or a gift for that special little one. This quilt features Sharktown fabrics by Shawn Wallace for Riley Blake Designs

It is so much fun to have this playful Riley Blake collection in the quilt shop this summer.  I stitched up this campshirt and sundress (with matching doll dress) using patterns from Olive Ann and Fishsticks .

Summertime togs for your toddler.

Summertime togs for your toddler.

These fabrics are adorable so I couldn't stop there. I  wanted to make a quilt with Sharktown . I wanted it to be something easy and sized right for little ones.  

We have been featuring the churn dash block in our summer programs here in the shop this year, so I  started my design with that . I plumped up  the size of the block pieces to make it quick to do and to feature the prints in the collection without cutting them into squares that were too small, and the Chubby Churn Dash block was the result

SHARKTOWN + CHURN DASH = SHARKTOWN DASH

The Sharktown Dash Quilt is so quick to make you'll have it put together in no time at all. Start with some of fabric designer Shawn Wallace's  Sharktown collection - stitch up six chubby churn dash blocks, add sashing, borders and you get this sweet Sharktown Dash quilt. (you could add more chubby churn dash blocks for a bigger quilt).

I fussy cut the 3" x 3" center squares

I fussy cut the 3" x 3" center squares


Sewing the 6 blocks:

Start by making 24 Half Square Triangle  (HST) units using the 5 7/8"  block squares and background squares.

Take one background square and one blue block square . Place squares RST (notice  how my  blue block fabric has a directional print)

Take one background square and one blue block square . Place squares RST (notice  how my  blue block fabric has a directional print)

Draw a diagonal line on the back of the light squares. Please note that because my blue block fabric is directional , I need to draw one of my diagonal lines in the opposite direction of the other line, This will keep all my HST positioned correctly…

Draw a diagonal line on the back of the light squares. Please note that because my blue block fabric is directional , I need to draw one of my diagonal lines in the opposite direction of the other line, This will keep all my HST positioned correctly   in the finished block.....or it is much easier to say it keeps all my sharks swimming in the right direction ☺

Stitch 1/4" seam on either side of your drawn line.

Stitch 1/4" seam on either side of your drawn line.

Cut apart on the drawn line.

Cut apart on the drawn line.

Press your HSTs open and position them as shown.

Press your HSTs open and position them as shown.

Arrange your HSts, the 3" center square, four 3" blue block squares and four 3" background squares as shown.

Arrange your HSts, the 3" center square, four 3" blue block squares and four 3" background squares as shown.

Sew all the block pieces together and press well, Square up your blocks to 13" x 13" (unfinished size)

Sew all the block pieces together and press well, Square up your blocks to 13" x 13" (unfinished size)

quilt assembly

Use the diagram below  to add your sashing strips and outer borders.

Quilt assembly diagram.

Quilt assembly diagram.

Layer your quilt top with batting and backing. Quilt as desired.

Bind, add a label and enjoy your finished quilt.

I quilted bubbles all over to finish my quilt.

Thank you so much for reading this blog post. If you decide to make this quilt, I hope you have as much fun as I did,

Until we blog again take time out to Enjoy the Sew!®- Carol


SIGN UP HERE TO RECEIVE AN EMAIL WHEN A NEW BLOG POST IS PUBLISHED:


#Moda Super Heroes on the Go

SUPER HEROES ON THE GO

Tote & Simple Wallet: A free pattern from RockingChairQuilts.com

Do you know Moda Man? The saga of how he saves a damsel in distress is captured forever on a fine cotton canvas. We have been enjoying this 'Super Heroes In Disguise' fabric from Moda United Notions here at RockingChairQuilts.com.  We first met Moda Man in Moda City at 2016 Fall Quilt Market in Houston. When this amusing fabric arrived here at the shop, we got busy and made this roomy Super Heroes on the Go Tote Bag and a simple wallet. This is a big, roomy tote because of its flat bottom .  It makes a great re-usable grocery tote - or maybe  it could be used to carry  a lot of quilty items out of your local quilt shop ;) Thanks so much to the kind folks at Moda Fabrics for keeping our quilting life full of wonderful choices!


TOTE MATERIALS:

 2/3 yard MODA ® Super Heroes canvas weight fabric for tote

1/3 yard Moda Bella Super Black Solid for handles

1/8 yard 44” wide Décor Bond (optional handle reinforcement)

Matching Aurifil thread

Optional: 12"x 8 1⁄2" cardboard for bottom


SIMPLE WALLET MATERIALS

 1/3 yard Super Heroes canvas fabric 

1/4 yard*  Moda Bella Super Black Solid for binding  *more  is needed if you want to make bias binding.

8” square Décor Bond (optional - gives your wallet some stiffness, leave it out if you want a flopsy wallet☺

Matching Aurifil thread


TOTE CUTTING:

Tote Fabric (Super Heroes canvas) • CUT two pieces 16"x12 ½” for front and back • CUT two piece 9" x 22" rectangles for sides and bottom

Handle fabric (black) •  Cut two pieces 5" x 44" for handles. • optional -  If you want your handles stronger- reinforce with Décor Bond – cut 2 pieces 1- 1/4” x 44” 

The 'Super Heroes In Disguise' fabric is directional so we have some tips for you on cutting out the bag panels.  Then, when you stitch them together your Super Heroes are all headed in the right direction on your finished tote.

Start with 2/3 of a yard of Moda Super Heroes canvas fabric.  Trim off the selvedge edges and the fold edge with a rotary cutter.  Keep the edges square and straight.

Start with 2/3 of a yard of Moda Super Heroes canvas fabric.  Trim off the selvedge edges and the fold edge with a rotary cutter.  Keep the edges square and straight.

Double thickness of canvas fabric is shown here.

Double thickness of canvas fabric is shown here.

cut out bag front and back, then cut 2 pieces 9" x 22" to make sides/bottom panel of your tote, as shown.

cut out bag front and back, then cut 2 pieces 9" x 22" to make sides/bottom panel of your tote, as shown.

Photo #8Put the two 9" x 22" side/bottom pieces right sides together  making sure the images will be facing upright  on both sides of your bag, then sew (or serge)  them together with 1/4" seam along the bottom 9" edge. (bottom center…

Photo #8

Put the two 9" x 22" side/bottom pieces right sides together  making sure the images will be facing upright  on both sides of your bag, then sew (or serge)  them together with 1/4" seam along the bottom 9" edge. (bottom center seam)

After stitching the bottom center seam the two 9" x 22" panels will face in opposite directions. Your side/ bottom panel piece should now measure 9” x 43 ½”. (see photo #8)


ASSEMBLY:

1. Fold  black handle pieces in half lengthwise and press. Open and fold edges in to middle. Refold and press.  Open handle fabric back out and Place cut strip of Décor Bond with one edge along center pressed line in fabric.  Press Dé…

1. Fold  black handle pieces in half lengthwise and press. Open and fold edges in to middle. Refold and press.  Open handle fabric back out and Place cut strip of Décor Bond with one edge along center pressed line in fabric.  Press Décor Bond in place,


3. Reinforce bottom corners of tote front and back with stay stitching ¼” from tote edge and clip corners to stay stitching. This will help ease the bag corner seam as you stitch the front and back pieces to the long  sides/bottom panel. P…

3. Reinforce bottom corners of tote front and back with stay stitching ¼” from tote edge and clip corners to stay stitching. This will help ease the bag corner seam as you stitch the front and back pieces to the long  sides/bottom panel. 

Place inside edge of handle 3" in from each edge of front. Top stitch both sides of handle  to bag, but STOP stitching about 5" from the top (see picture #4). Repeat with back piece.


2. After pressing Décor Bond in place, refold edges of handle fabric back to middle enclosing the strip of Décor bond inside the handle fabric. Baste with matching Aurifil thread along open edges of handle .

2. After pressing Décor Bond in place, refold edges of handle fabric back to middle enclosing the strip of Décor bond inside the handle fabric. Baste with matching Aurifil thread along open edges of handle .

4. STOP stitching about 5" from the top of the bag. Repeat with back piece. (you will finish stitching the handles down after you hem the top of your bag).

4. STOP stitching about 5" from the top of the bag. Repeat with back piece. (you will finish stitching the handles down after you hem the top of your bag).

5. Pin front piece RIGHT SIDES TOGETHER to the long seamed side/bottom panel 9" x 43 1/2" (clipping seam allowance to stay stitching where needed and pivoting at corners). Stitch. Repeat with back piece.

Press seams toward sides. Optional: seams can then be finished with zigzag stitching or serging. Be careful to keep handles free.


6.  Fold down 1 ½” all along top edge of tote and press. Now turn raw edge under 1⁄4" and press. Pin in place if needed.  Then stitch top hem in place keeping handles free. 

6.  Fold down 1 ½” all along top edge of tote and press. Now turn raw edge under 1⁄4" and press. Pin in place if needed.  Then stitch top hem in place keeping handles free. 

 
Screenshot (145).png

7. Now ....where you had left the top 5” of the handles free from the bag- it is time to stitch those down. SO Continue top stitching handles to outside of tote and all along handle edges, over basting. To secure, reinforcing by stitching an X or a box  at top edge of tote.

8. Optional: Cover 12" x 8 1/2" cardboard rectangle with fabric and place in bottom of tote. Sometimes instead of cardboard I cut my tote rectangles out of old rotary cutting mats that have gotten too cut up to use for anything else. They don't bend or get soggy like cardboard sometimes does ☺.


SIMPLE WALLET

CUTTING:  

  • Cut 2 rectangles 8” x 4 ¼” canvas (outside wallet piece) *NOTE: because your outside wallet fabric is directional you will cut 2 rectangles 8” x 4 ¼”  then pivot  one of the rectangles  180 degrees . (See photo #9)  Now stitch the two 8 x 4 ¼” rectangles (right sides together) along the 8” edge. This stitched piece should now measure 8” x 8”. This is done so that the directional print of your SUPER HEROES fabric will be going in the right direction when you look at the outside of your wallet. If you don’t mind where your superheroes are headed you can just cut one 8” x 8” square for the outside piece of your wallet.
  • Cut one 8" square* canvas (inside)
  • Cut one 8" square  Decor Bond (optional)

POCKETS from SUPERHEROES CANVAS (photo #10):

  • Cut two 8"x 7" (large pockets)
  • Cut two 8"x 4" (smallest pockets)

from Moda Bella Solid cut two 8"x 51⁄2" (middle pockets)

BINDING FABRIC: from Moda Bella Solid Cut one 1 1⁄2"x 34" (binding).  If you want to cut your binding fabric on the bias you will need more fabric than the 1/8 yard shown in materials list.

Photo # 10 : Cut  2 each of the 3 pocket pieces: small (canvas), middle (black) and large (canvas).

Photo # 10 : Cut  2 each of the 3 pocket pieces: small (canvas), middle (black) and large (canvas).

Photo #9

Photo #9

Photo #11: Press all pockets in half lengthwise, Right sides together

Photo #11: Press all pockets in half lengthwise, Right sides together

Photo #12: stack pressed pocket pieces, keeping raw edges even.

Photo #12: stack pressed pocket pieces, keeping raw edges even.

ASSEMBLY: Fold all pieces for pockets in half lengthwise and press (photo #11).   Place optional square of Décor Bond on the wrong side of the inside 8" wallet canvas fabric square, press to secure the Decor Bond to the wallet square. Put the inside and outside  8" wallet squares wrong sides together, with inside wallet fabric facing up. Beginning with largest pocket, place on inside aligning edges and bottom on top and bottom of wallet. Continue with each pocket. Baste around all edges. Catching in all layers.

FINISHING: Fold 1-1⁄2"x 34" BINDING piece in half lengthwise and press. Open and fold edges to middle. Refold and press.  Stitch binding to  of basted edge of simple wallet, pivoting/mitering at corners so they lay nicely. (or cut and apply binding with your favorite method). 


Thanks for reading -  I hope you will enjoy making a tote , This is a big, roomy tote because of its flat bottom .  It makes a great re-usable grocery tote - or maybe  it could be used to carry  a lot of quilty items out of your local quilt shop. It would be fun to make using other pretty fabrics as well. If you decide to make one,  please share a picture of your finished tote:

WAYS TO SHARE A PHOTO OF YOUR tote WITH US:

  • Post your photo on Instagram and tag us  # rockingchairquilts 
  • post your photo on our Facebook page- CLICK HERE to get to the Facebook page.
  • Tweet a photo @makeaquilt  or tag us in your tweet @MakeAQuilt
  • send your photo in an email to me : Carol@RockingChairQuilts.com
  • If you live nearby you can pop in during SHOP HOURS each week we'll take photo of your quilt for you.


  • Please use the comments area below for comments and questions


Until we blog again - Enjoy the Sew!® - Carol

SIGN UP HERE TO RECEIVE AN EMAIL WHEN A NEW BLOG POST IS PUBLISHED:

BE MY NEIGHBOR QUILT -A- LONG • FINALE• #MODABEMYNEIGHBOR • WEEK 16 •

WELCOME BACK TO THE NEIGHBORHOOD • WEEK 16 •

LAST WEEK / LAST PATTERN FOR THE BE MY NEIGHBOR QUILT-A-LONG

BROUGHT TO YOU BY THE GOOD FOLKS AT MODA FABRICS / UNITED NOTIONS

Hello neighbors (waving at you),

Posting this from sunny Commerce, Texas this weekend (Not too far from Moda Fabrics headquarters).  I am so fortunate to be able to travel here to attend our eldest daughter's commencement ceremony as she graduates from Texas A & M University.  Congratulations Katie!  A job well done and now that your book work and studying are finished.... in addition to the dynamic career advancemnet that awaits you, you'll  now have more time to get back to quilting.  Hurray- Hurrah!


And now let's get to what you came visiting here for, Block 16!

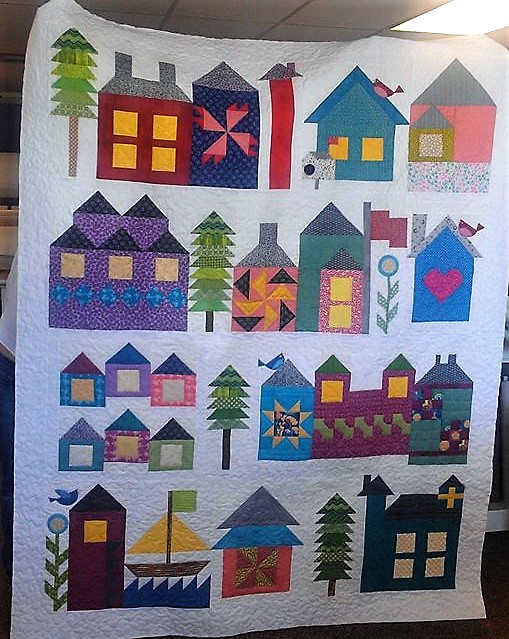
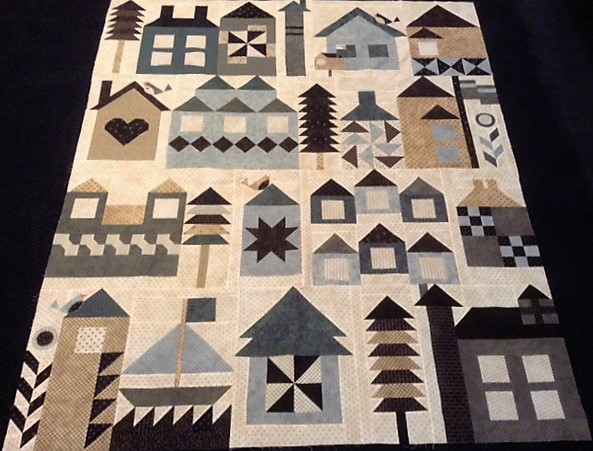
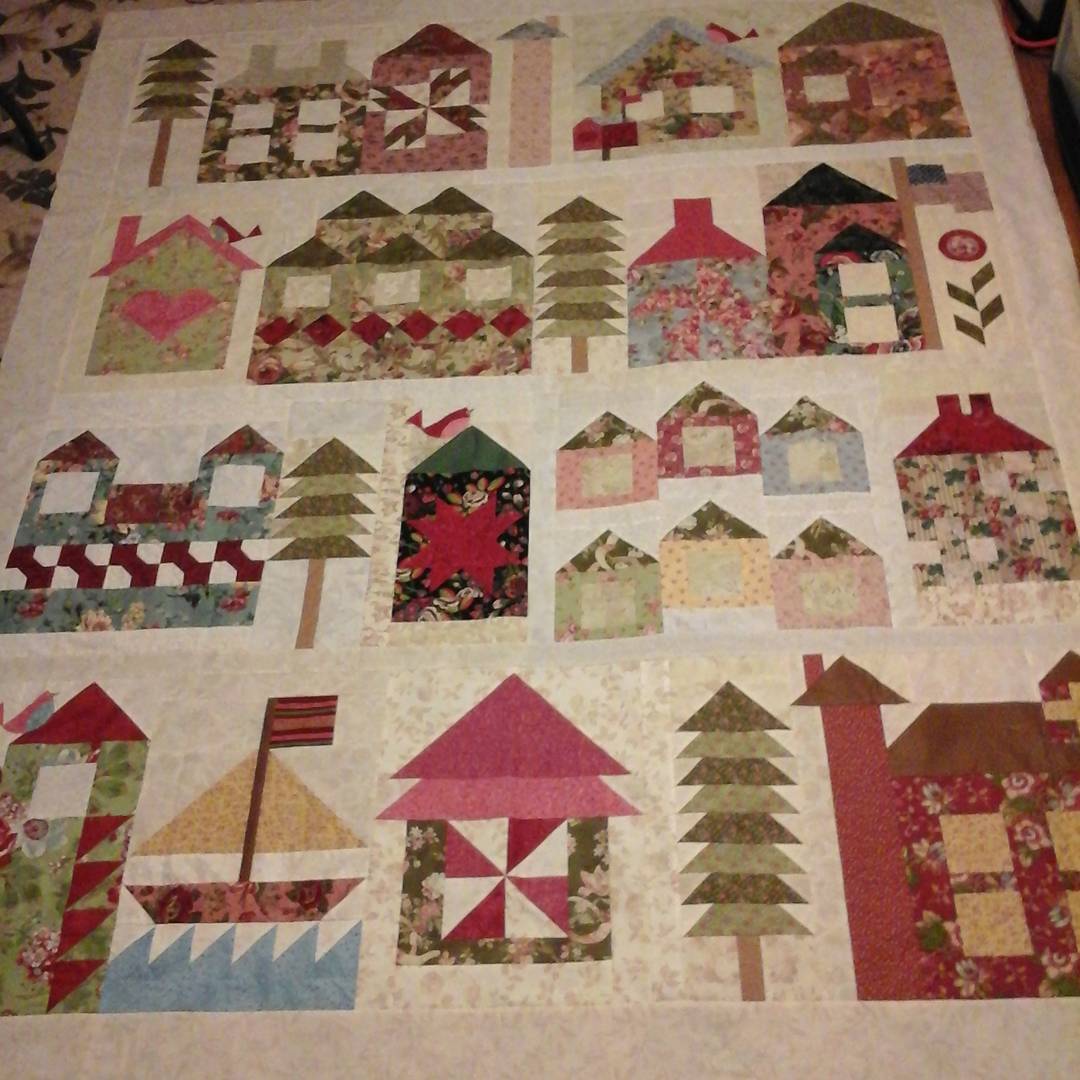
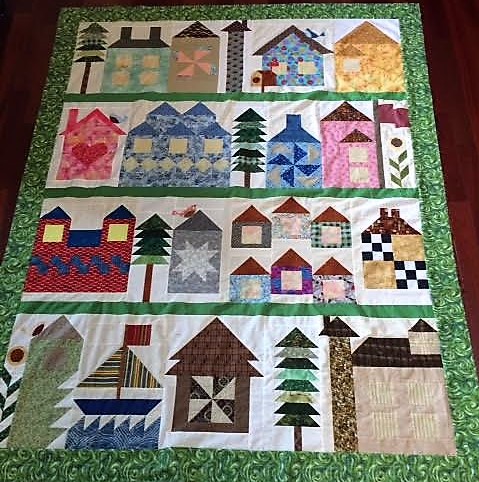
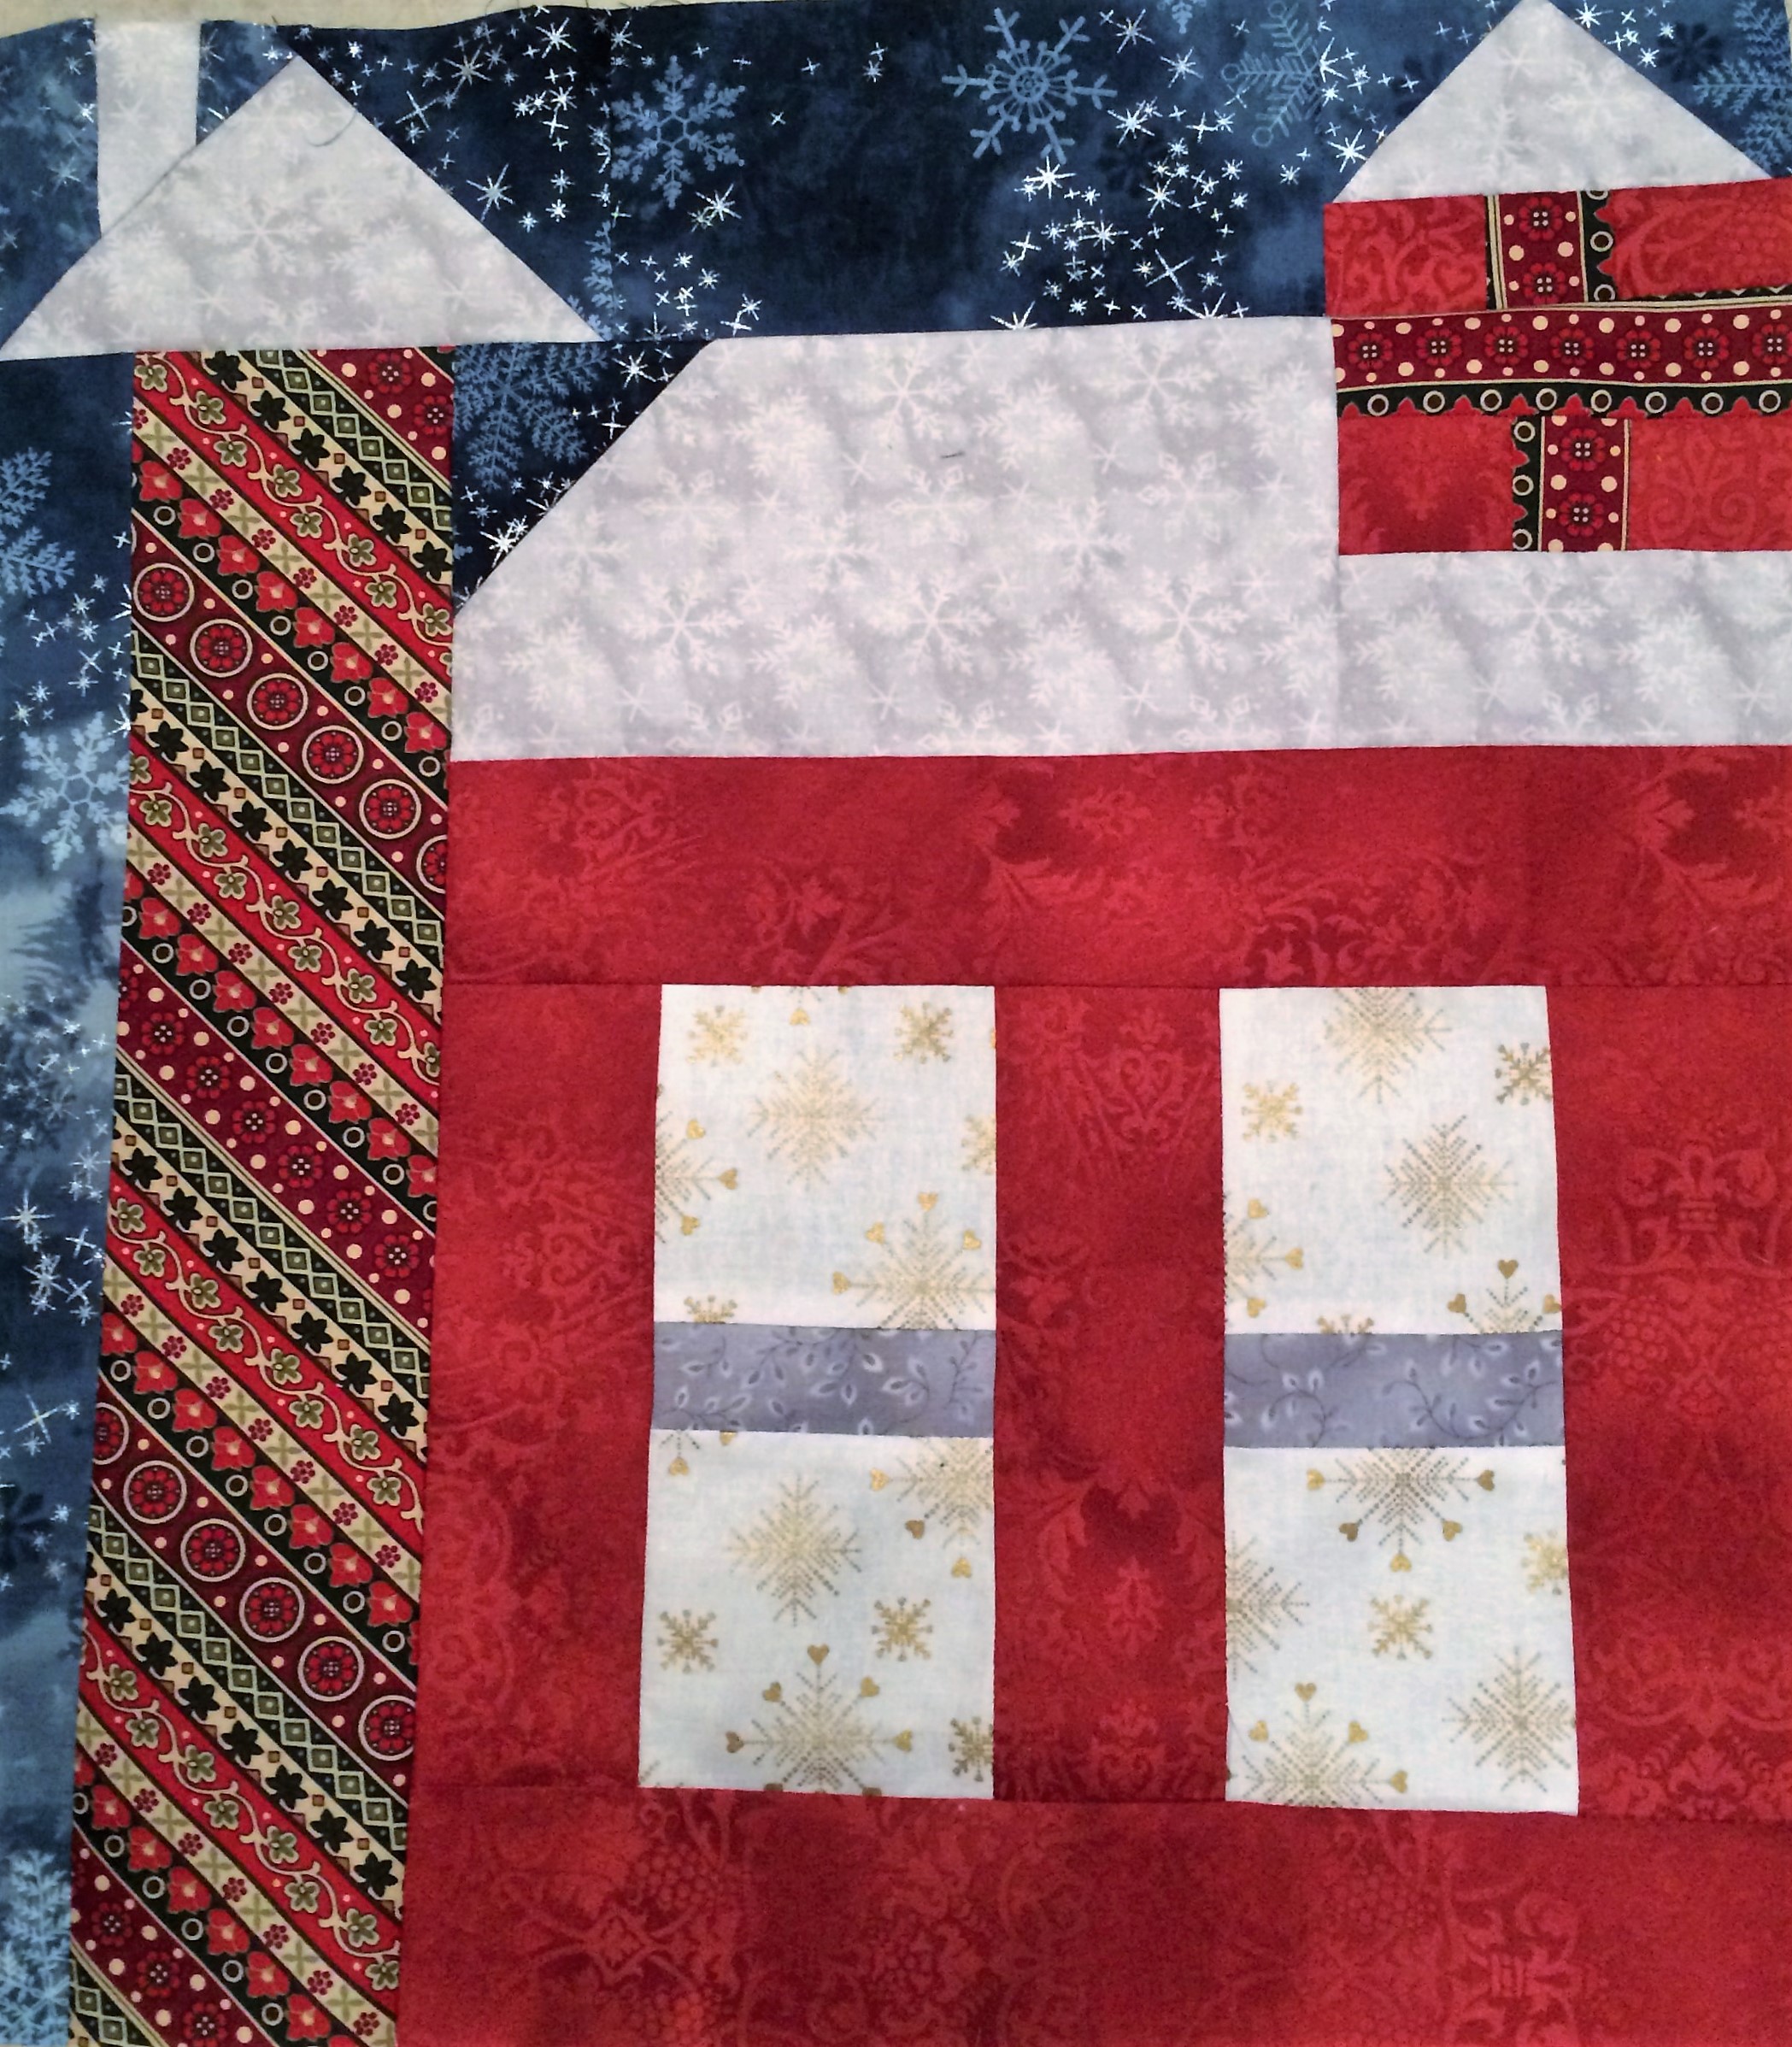
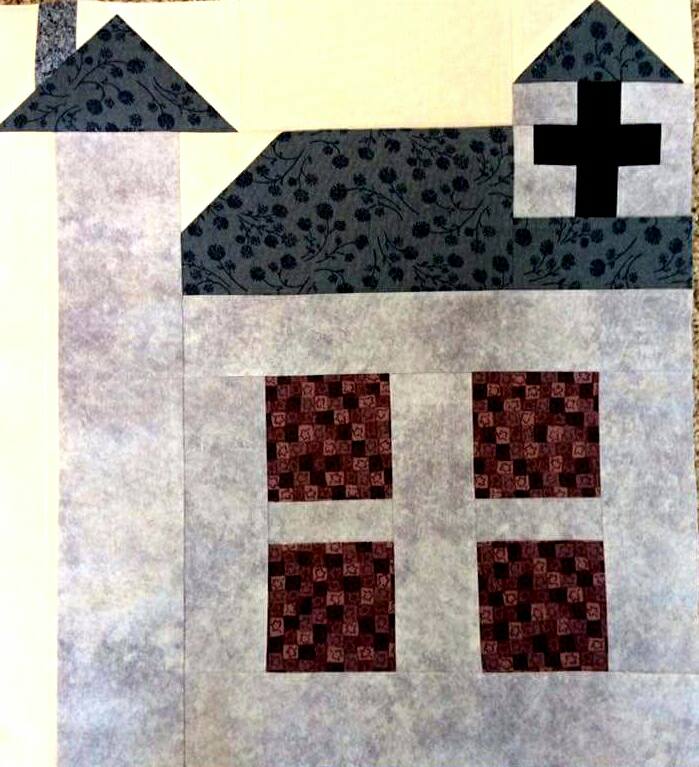
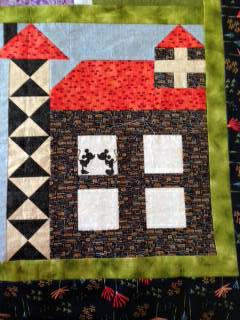
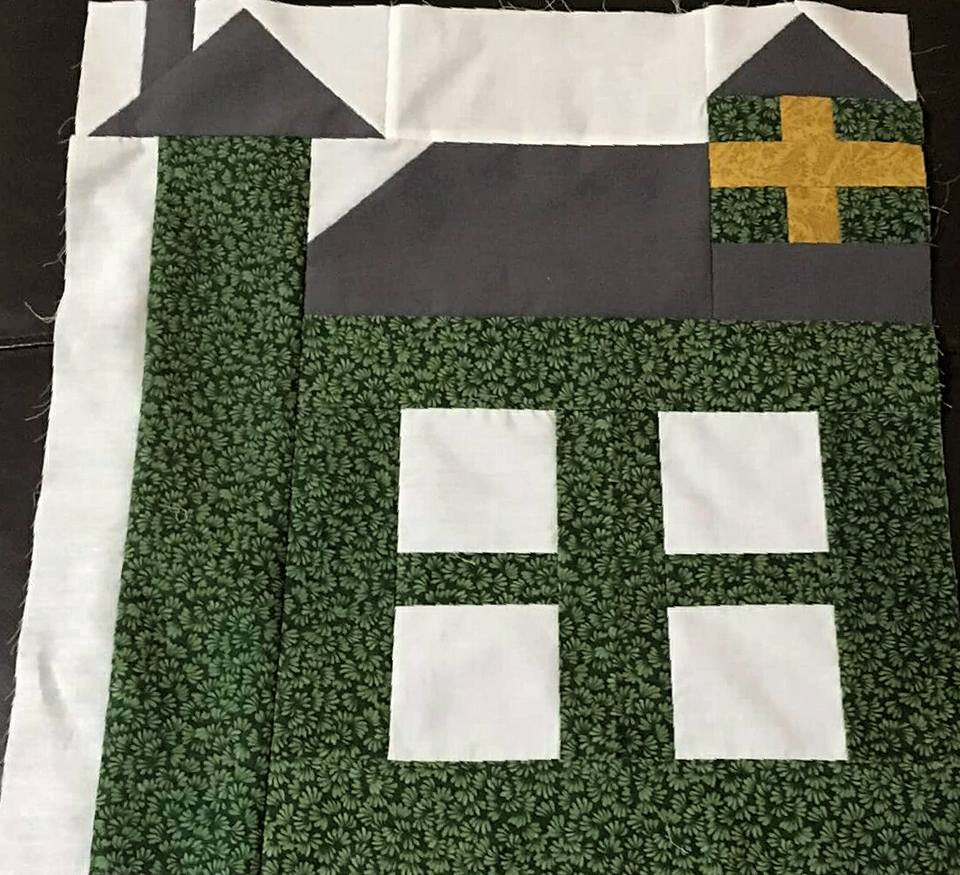
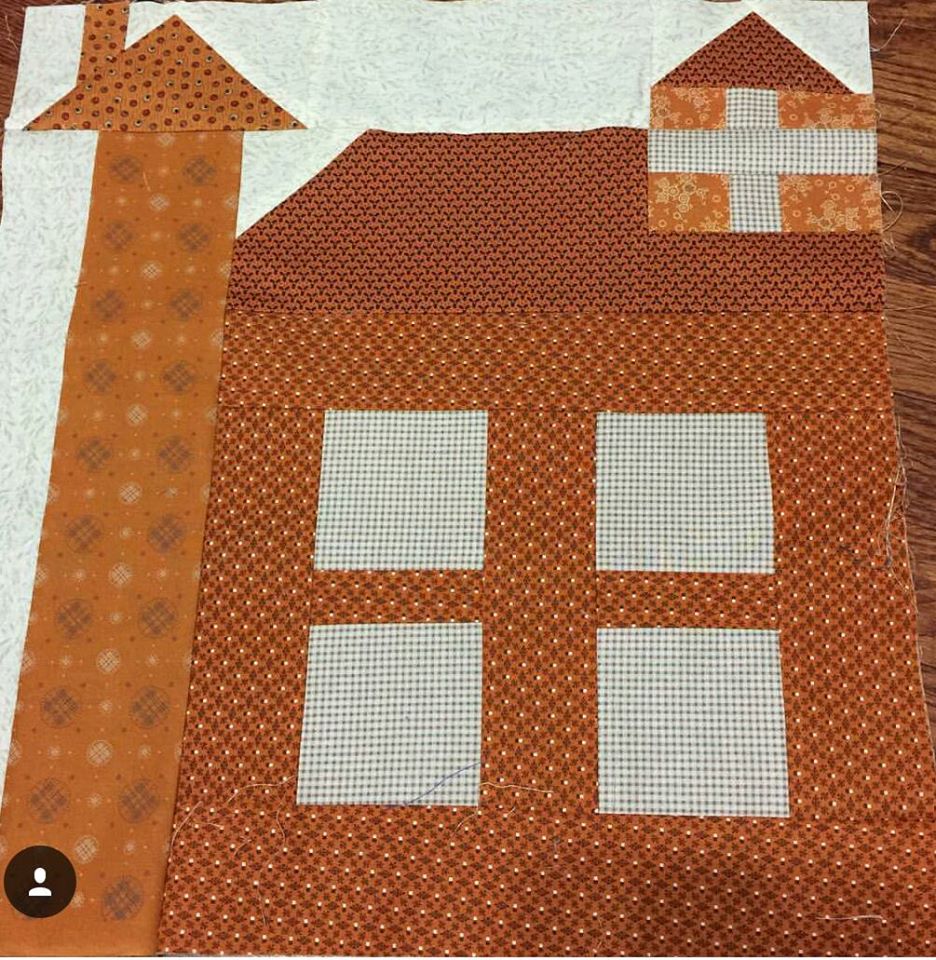
What an enjoyable group of participants we have had for the Be My Neighbor Quilt-A-Long.  It really does feel like a neighborhood community of quilters.  Thank you so much to everyone who has been a part of it. Today is the release of your final pattern #16; The Meeting House.  You will find the download below - and if you want to set your blocks together like the folks at Moda did, once again we have the setting pattern here on this blog post for you to download.

If you have just discovered this quilt along and need ALL 16 patterns, below is a button for you to get the printable downloads for every block in this quilt(we would love to see pictures of your blocks, whenever you get them stitched up).


BLOCK 16 PATTERN DOWNLOAD

BLOCK 16 PATTERN DOWNLOAD

CLICK TO DOWNLOAD QUILT SETTING PATTERN

CLICK TO DOWNLOAD QUILT SETTING PATTERN


Are you quilting along with us?

If you're building your neighborhood we want to see your blocks too. If you'll share a photo of your block  16 with us this week you could win a prize. Read how below:

READ ABOUT THE PRIZES:
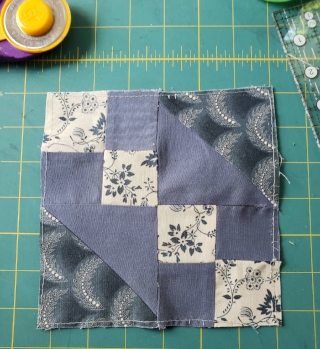
  • get your free  downloadable blueprint for Block 16 here on the blog today .

  • Stitch up your house block.

  •  Share a picture of this completed house block with us by  Sunday, December 25th ,  at 12 Noon (see below how to share a photo )

  • We'll enter your name into a random drawing for a prize.  Winner  for this last week's Prize will be announced  on a blog post soon after that DEC. 25th end time  (Merry Christmas ☺)

  • Every Monday for 16 weeks we have started fresh with a NEW  house blueprint to download and a NEW contest to enter.  You can send a photo from anywhere. if your name is chosen as the weekly winner we can and will ship prizes  all over the world so that opens the fun up to our international friends too! - We are a global neighborhood☺

  • This is the final week and so begins the LAST contest for a new prize.  The entry period for this final photo share ends Sunday, Dec. 25th. at Noon at which time we will have a random drawing from all the names of people who shared a photo during the week.  AND THEN the Be My Neighbor Quilt - A - Long is  ALL DONE, sigh.


WAYS TO SHARE YOUR WEEKLY BLOCK PHOTO:

  • send your photo in an email to me : Carol@RockingChairQuilts.com
  • post your photo on our Facebook page- CLICK HERE to get to the Facebook page.
  • Tweet a photo @makeaquilt  or tag us in your tweet @MakeAQuilt
  • Post your photo on Instagram and tag us  # rockingchairquilts 
  • If you live nearby you can pop in during SHOP HOURS and we'll take photo of your block for you.

PRIZE WINNER FROM WEEK 15

A RANDOM DRAWING WAS HELD AND THE WINNER FOR WEEK fifTEEN IS:

Katherine Irwin

CONGRATULATIONS KATHERINE !   YOU HAVE WON  A copy of  Winter Wonderland by Sherri Falls of This and That Pattern Company • AND • A Christmas Fat Quarter Bundle to get you started playing with some of the sweet Christmas block patterns in the festive book  . Please contact us privately with your complete shipping address and we will get your prize shipped out to you. You can email your address to me here:carol@rockingchairquilts.com


NEIGHBORHOOD PHOTO GALLERY

UPLOADS OF BLOCK 16 FROM QUILT-A-LONG PARTICIPANTS

(you can click on each block to enlarge it)


A NEW WEEK HAS BEGUN AND WE HAVE A NEW PRIZE!

•THIS WEEKS GOODIES •

Everything you need to make a Charm Party tote bag: Charm Party Pattern, Polka Dots and Paisleys Charm Pack, Polkas Dots and Paisleys yardage for your lining & pockets etc., and some hardware to finish!

Everything you need to make a Charm Party tote bag: Charm Party Pattern, Polka Dots and Paisleys Charm Pack, Polkas Dots and Paisleys yardage for your lining & pockets etc., and some hardware to finish!

Here's a photo of the Charm Party Tote that we made, hanging in the shop (finished tote is not included in the prize package).

Here's a photo of the Charm Party Tote that we made, hanging in the shop (finished tote is not included in the prize package).

Share a photo of Block #16 with us by Sunday , December 25th, and we'll add your name to the drawing for this prize ☺


Thank you for reading! I have been enjoying the quilt a long immensely and wanted to extend my thanks and appreciation to everyone who has followed along -  We are just about finished with Be My Neighbor , Now that you have your final Block #16-  I hope some of you will  then share a photo of your finished quilt- No hurry on when to get finished - please think about sharing some pictures when you get them put together . I am not the only one who would like to see the blocks all put together. ☺

Happy Holidays!

 Carol