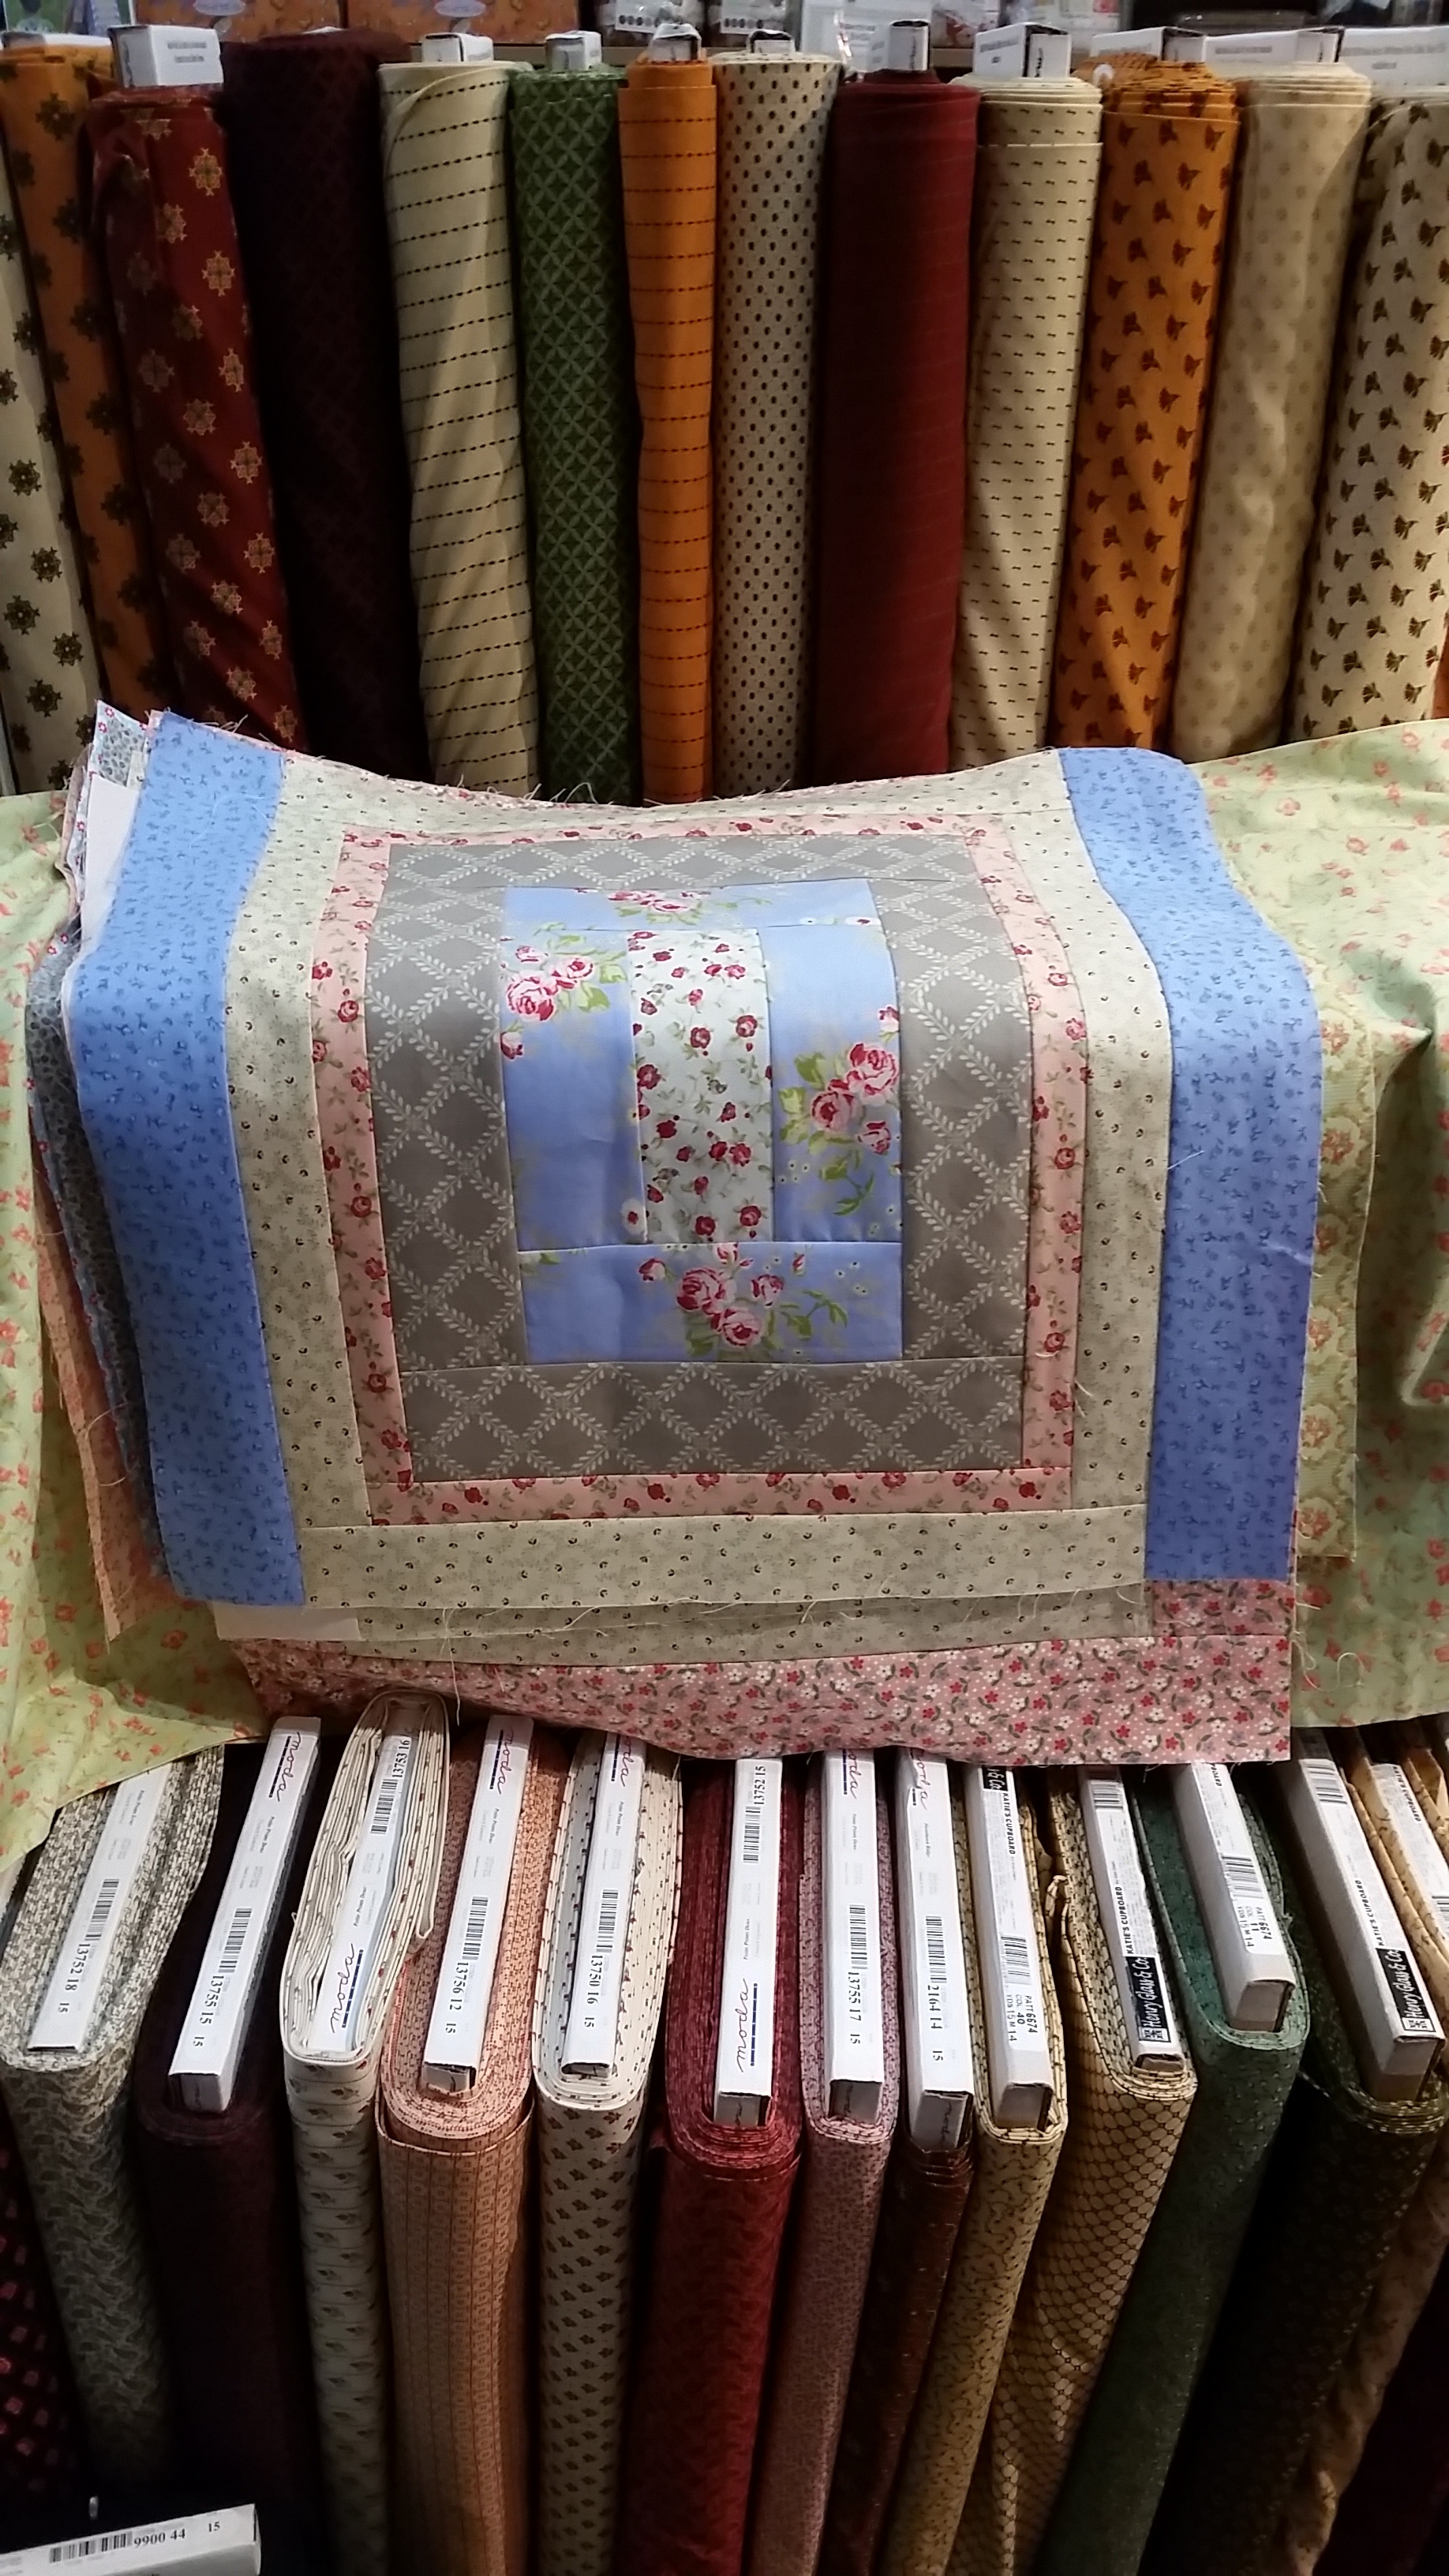
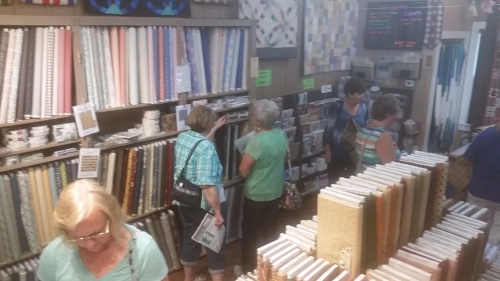
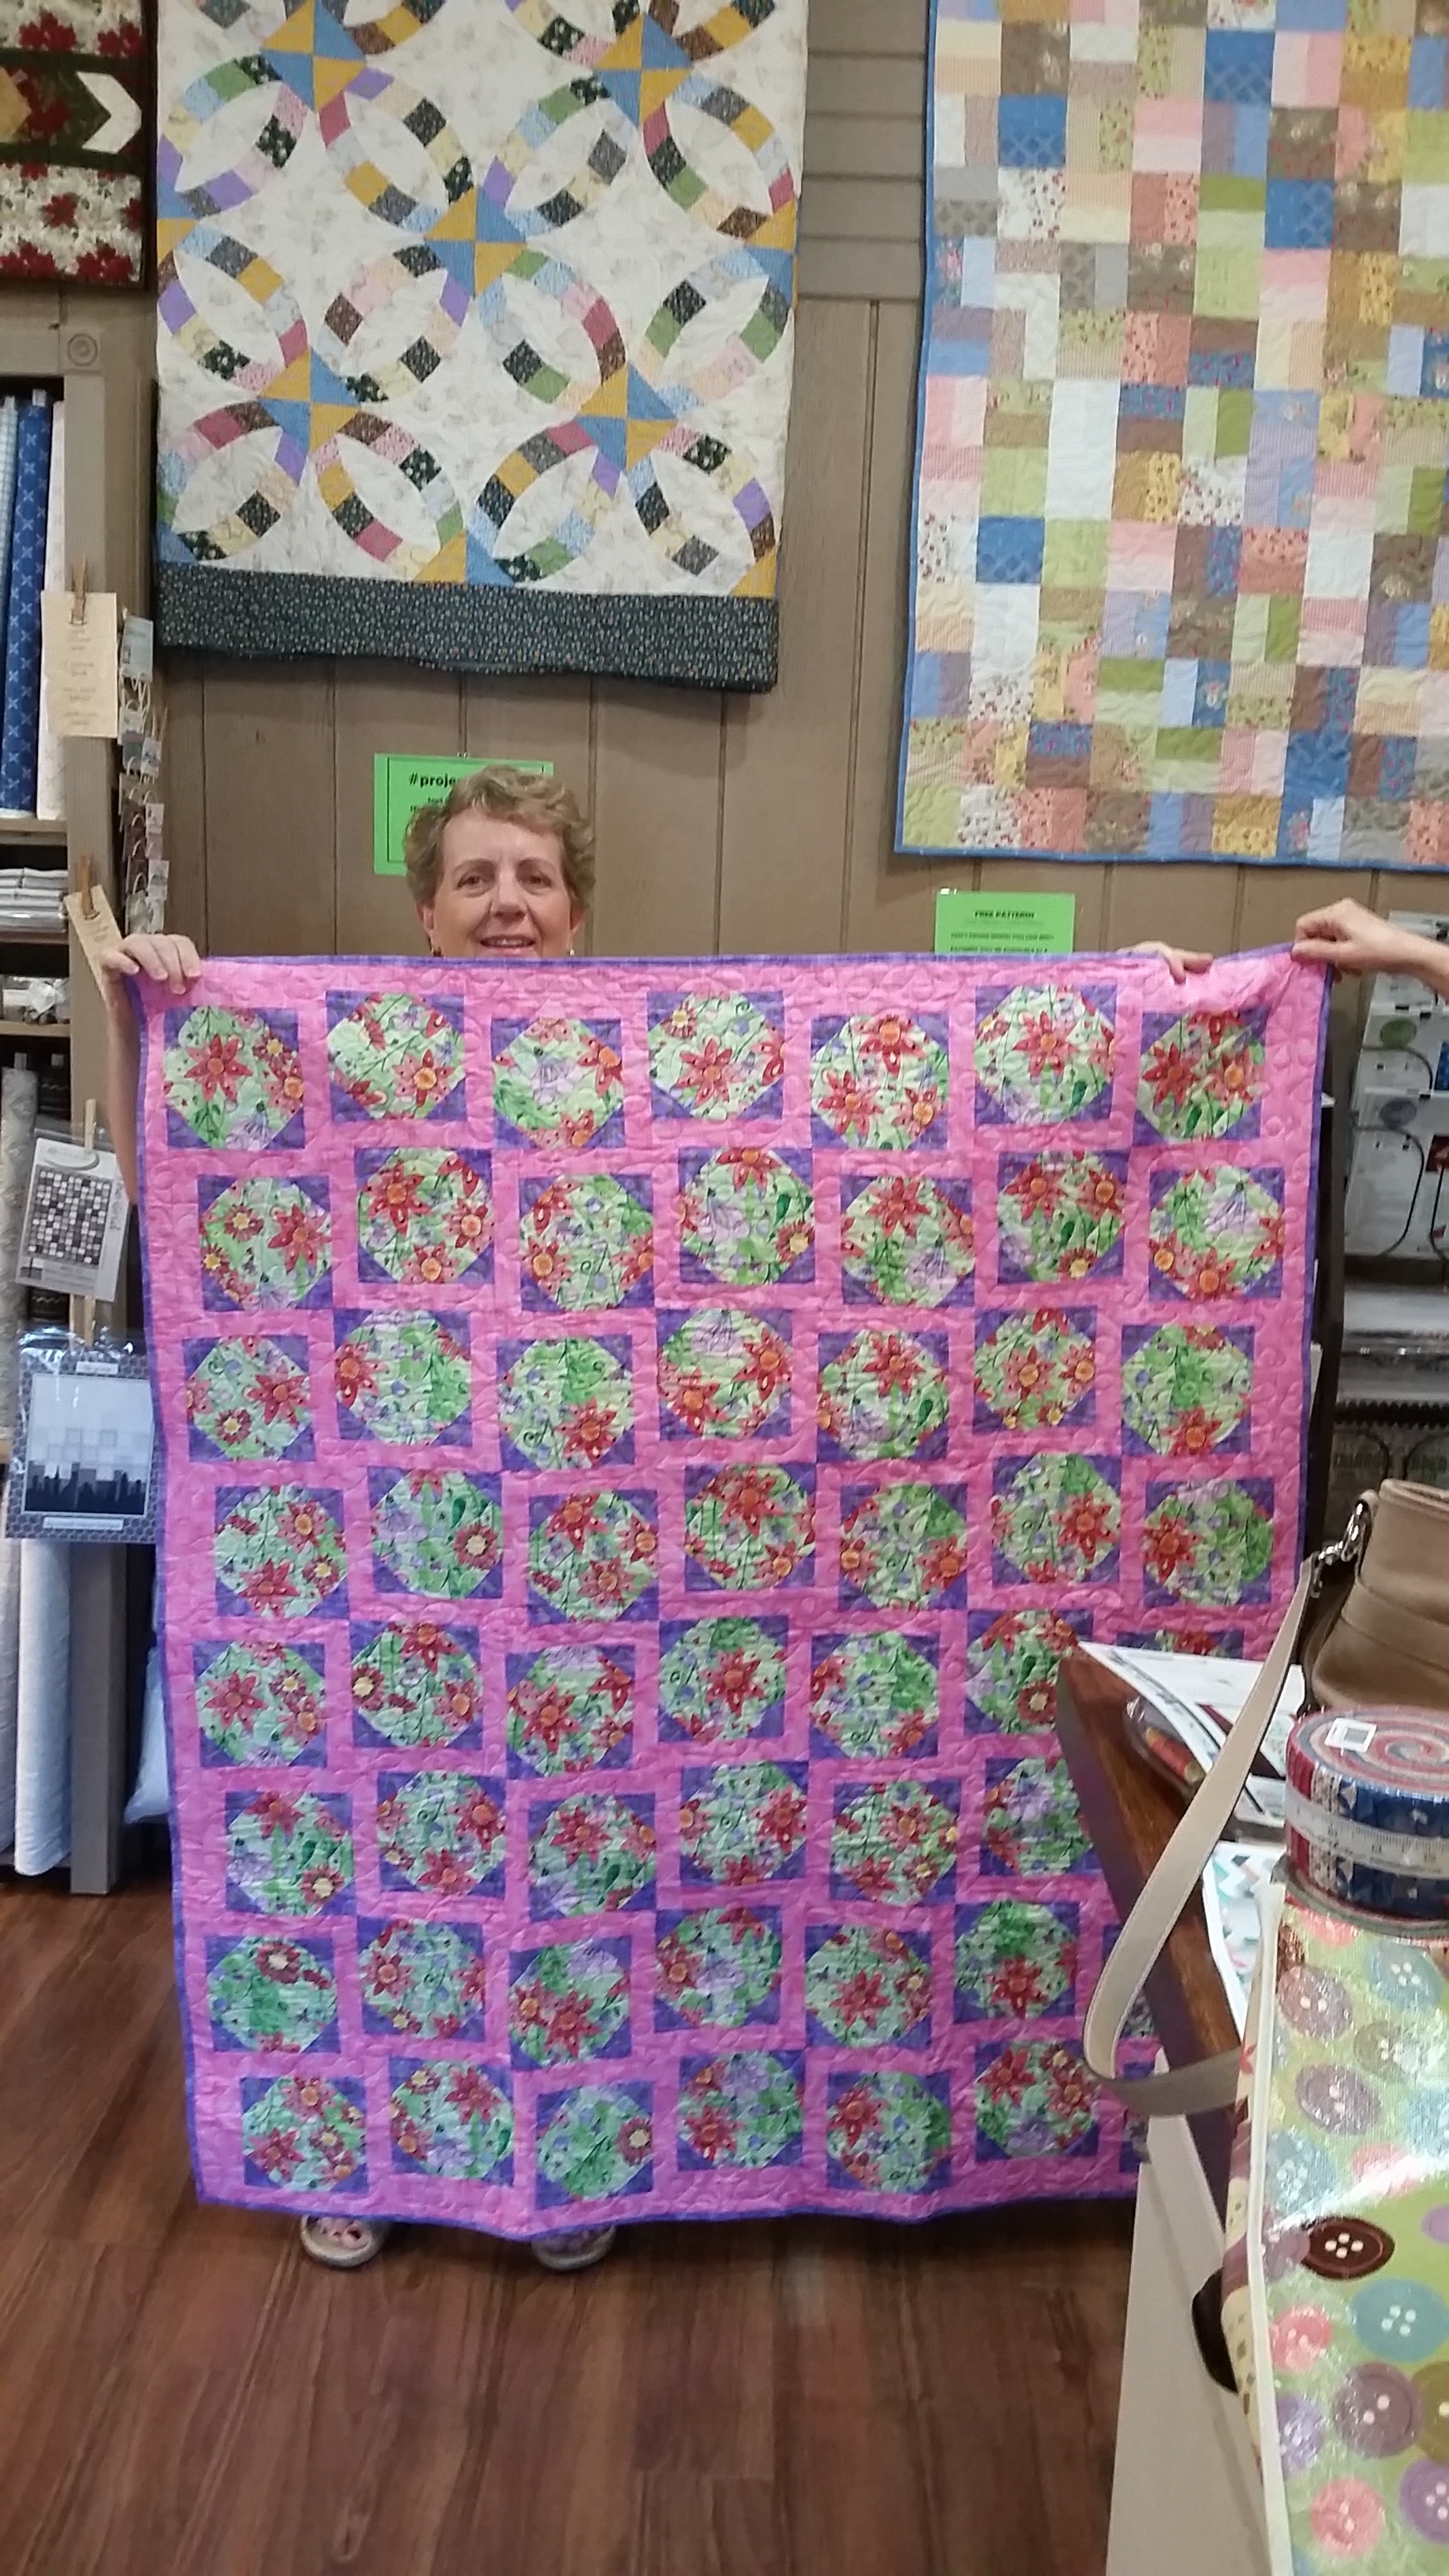
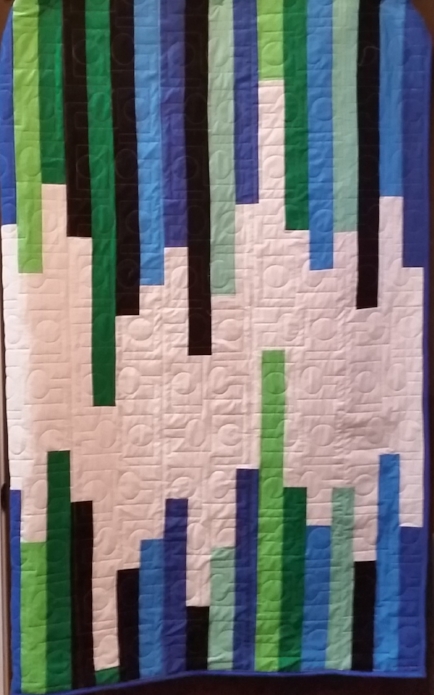
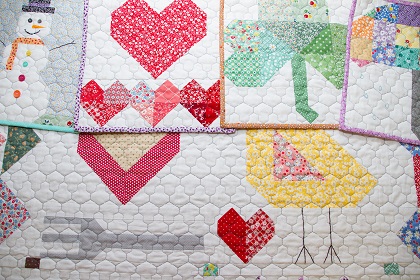
It's time to share the first Bear Paw block project we have put together for the summer shop hop season.
Read more#PROJECTJELLYROLL PATTERNS
NOW AVAILABLE FOR DOWNLOAD
We woke up this morning with the happy realization that the first annual National Jelly Roll Day had finally arrived. A banner day was thoroughly enjoyed by everyone here at RCQ and all our guests.
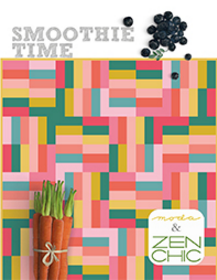
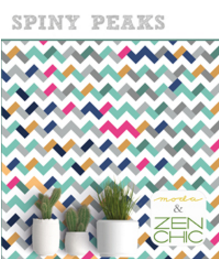
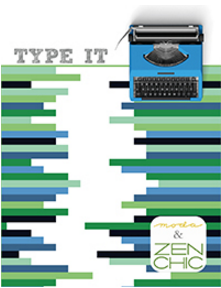
Now that the daylight has vanished from the Illinois prairie we can, with Moda Fabrics United Notions' permission, release the much anticipated #projectjellyroll patterns here for you as free downloads
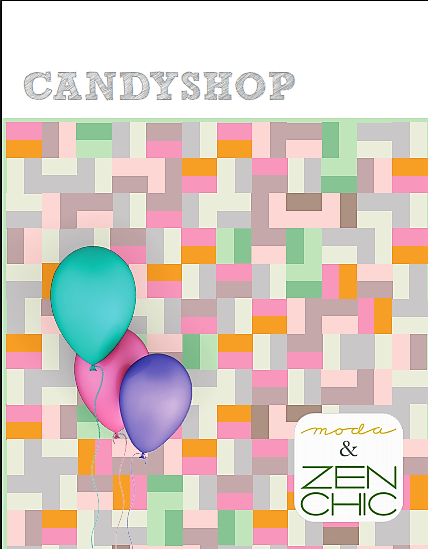
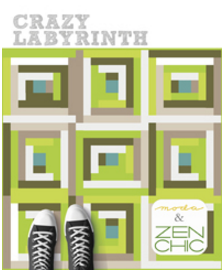
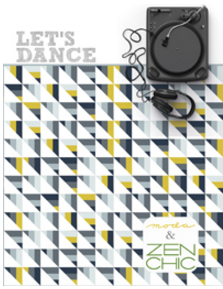
A BIG thank you to Brigette Heiland of Zen Chic and Moda for providing these NSAJRD patterns.
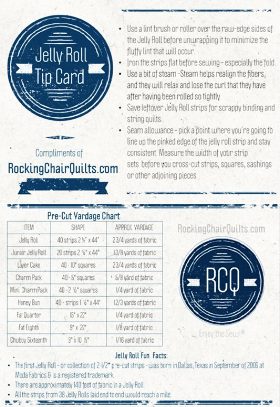
To start you off - here is a little gift from RockingChairQuilts.com : A Jelly Roll Tip Card and pre-cut yardage chart for you to download and keep as a handy reference. If you are nearby and can come into the shop we will give you one when you buy a Jelly Roll (while supplies last)
jelly roll GIVEAWAY • congratulations to our 20 winners
Maxine Euto
Debbie Chenoweth
Sandra Dzurny
Jennifer Kralik
Tessa Hutchinson
Justine Wills
Lisa Soderland Fitzgerald
Allison Church Bird
Lynette Kleinau
Janie McCombs
Kay Opilka
Paula Fortino
Rene' Gorbold
Cheryl Paarlberg
Kathy Chynoweth
Connie Overlay
Sandie Swartz
James Adams
Kathryn Frederick
Penny Stromberg
HERE ARE 10 IDEAS FOR JELLY ROLL STRIPS AND SCRAPS:
- Make strip sets for 9-patch blocks
- Make strip sets for 4-patch blocks
- Cut strips 4 1/2" long. Use with 2 1/2" squares (Moda Candy squares work great) to create scrappy Flying Geese blocks.
- Sew strips together for a scrappy back.
- Make "framed" 9-patch blocks (1 Jelly Roll strip is enough to frame a 6" finished 9-patch.
- Make a "coins" quilt using left over Jelly Roll pieces.
- Make Log Cabin blocks.
- Make piano key borders for a scrappy quilt.
- Make kitchen accessories: pot holders, place mats, mug rugs, or coasters.
- Make scrappy binding by cutting Jelly Roll strips into fourths and then sewing together as many pieces as needed for the length desired.
- ___________________________ Fill in # 11 with your own amazing JELLY ROLL TIP . Please enter your tip by commenting below:
HERE ARE YOUR FREE PATTERNS courtesy of zen chic and moda fabrics - HOO-RAY!
Post pictures of any Jelly Roll projects you are working on (or even the ones that you finish ) on Facebook , Instagram, Twitter. Use the #projectjellyroll to share your fun with everyone who enjoys a Moda Jelly Roll.
Love a Jelly Roll? If you are hungry for more Jelly Roll goodness be sure and visit ModaBakeShop.com
Lots of jelly roll patterns there, all free for you to enjoy.
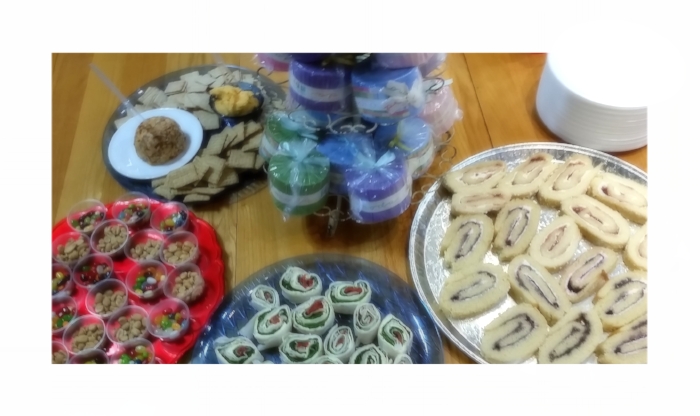
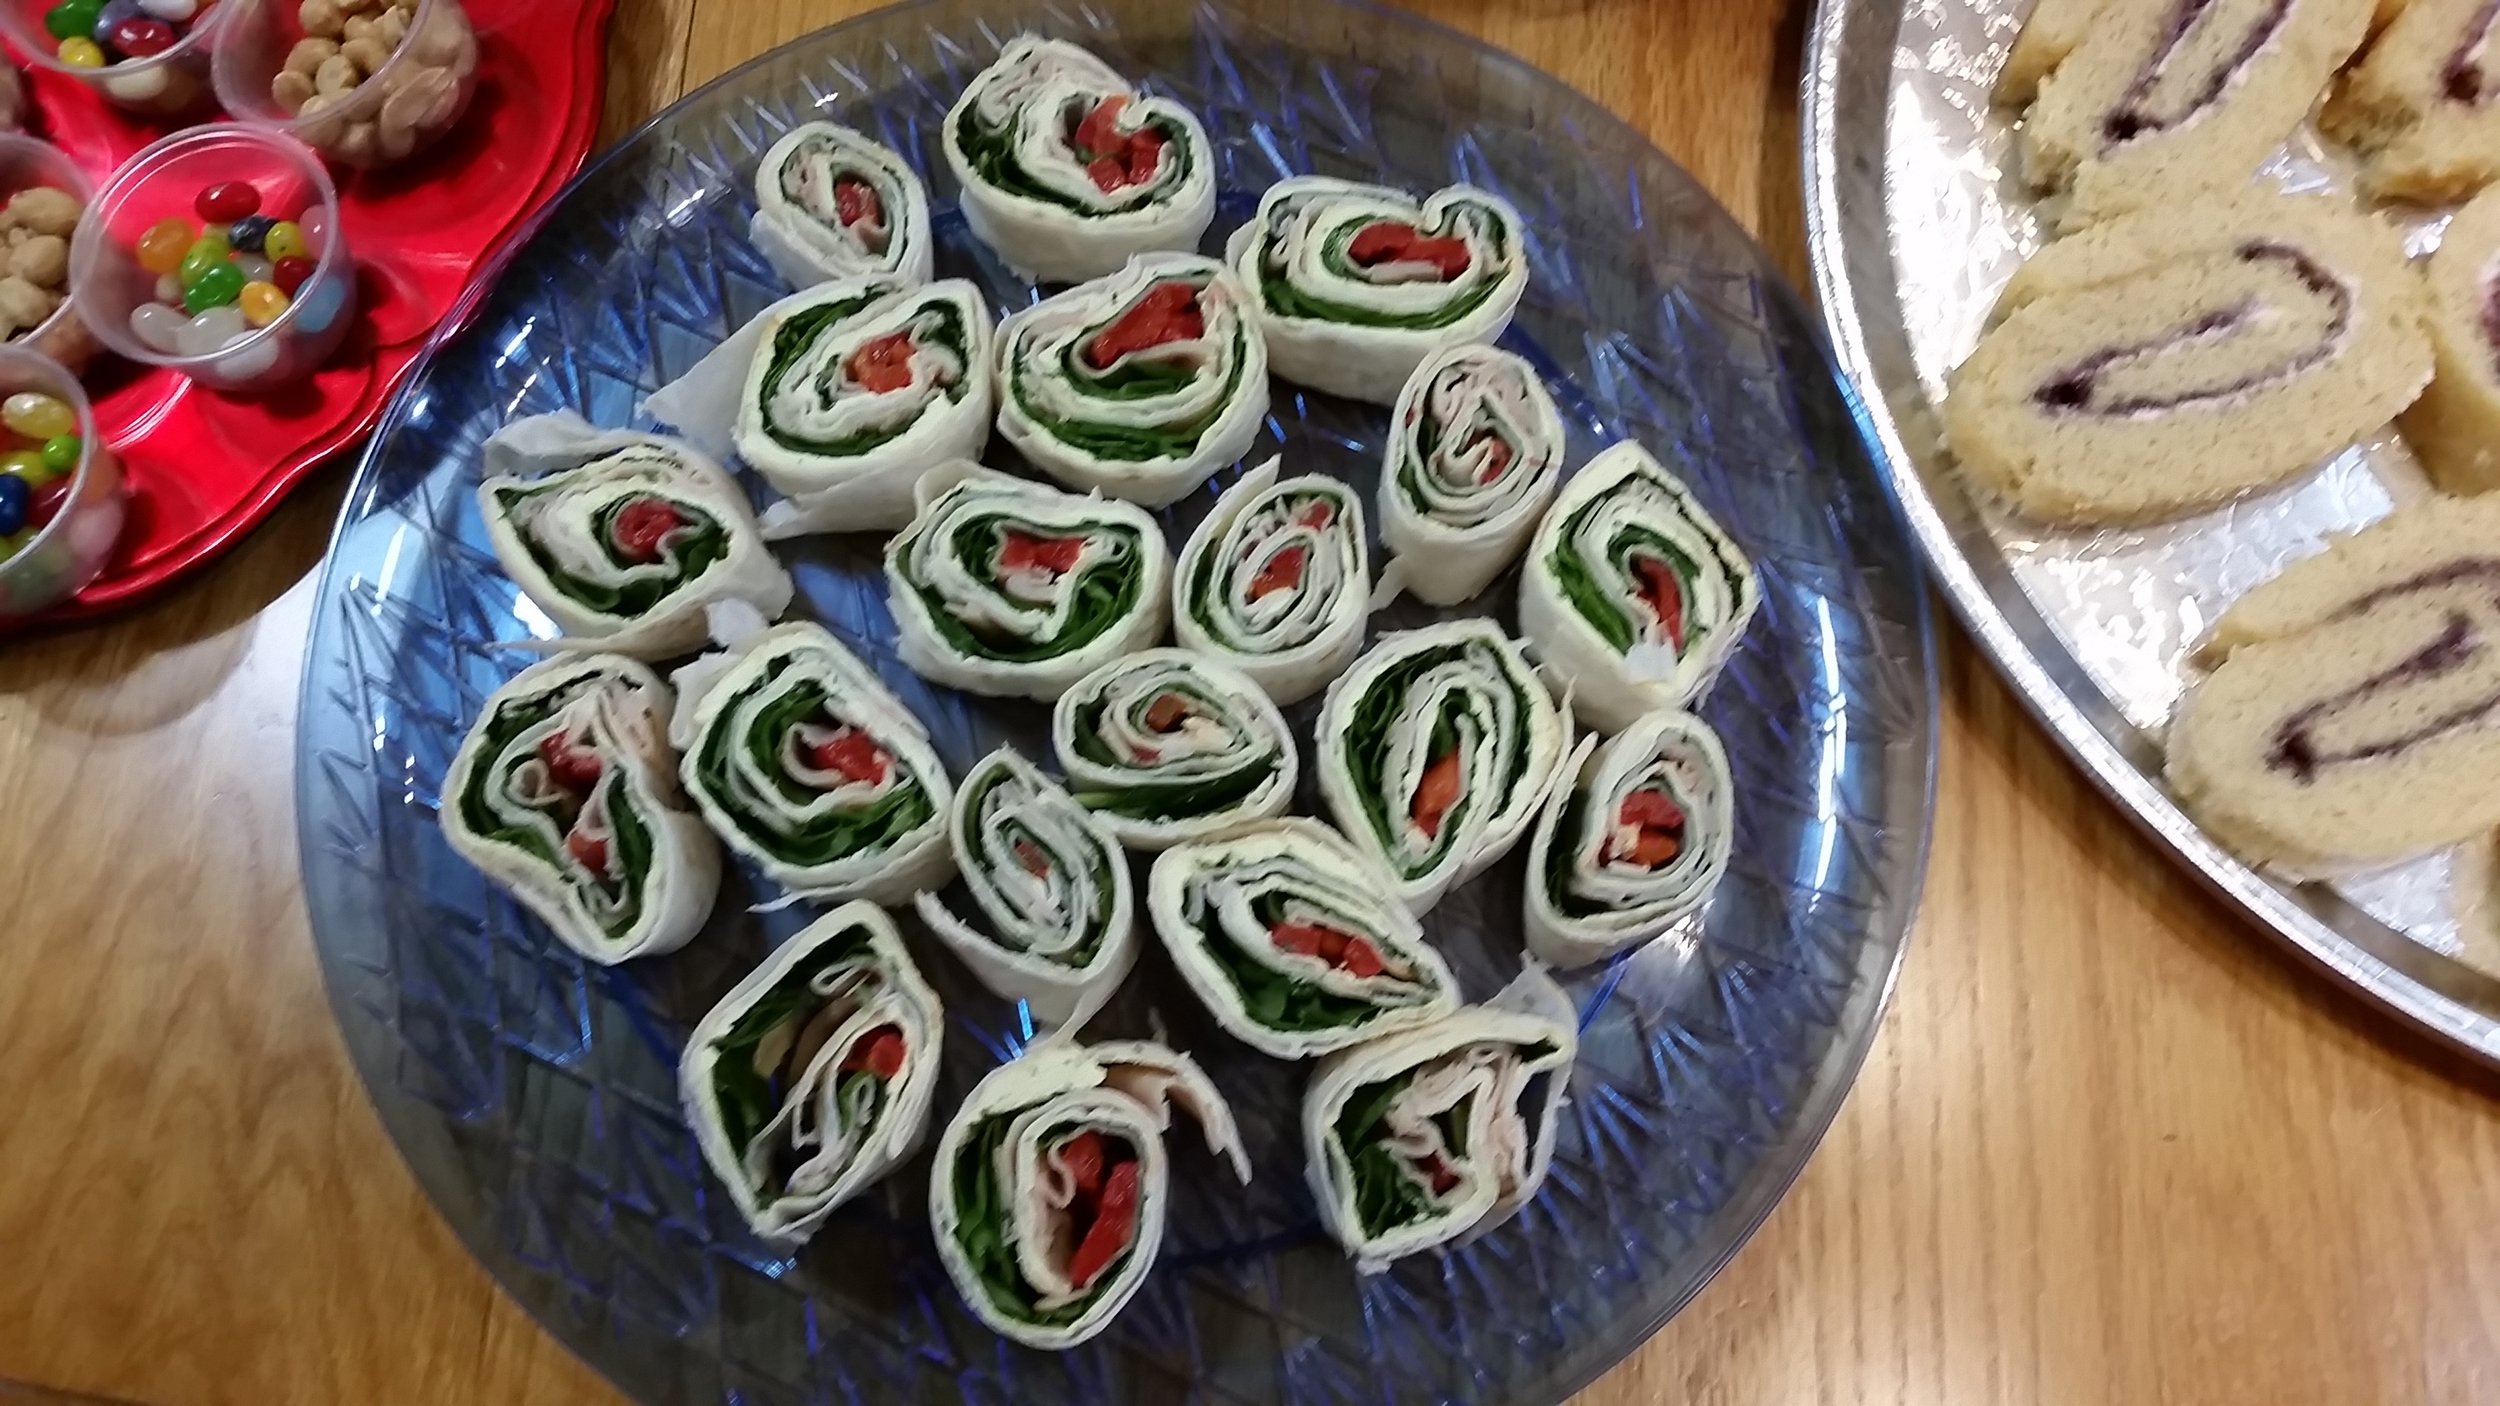
We enjoyed some yummy Jelly Roll themed snacks here at the quilt shop today. If you got too busy to stop by ( or just live somewhere else in the world ) we thought it would be nice to share the recipes here.
Thank you Kathy for bringning us cookies!
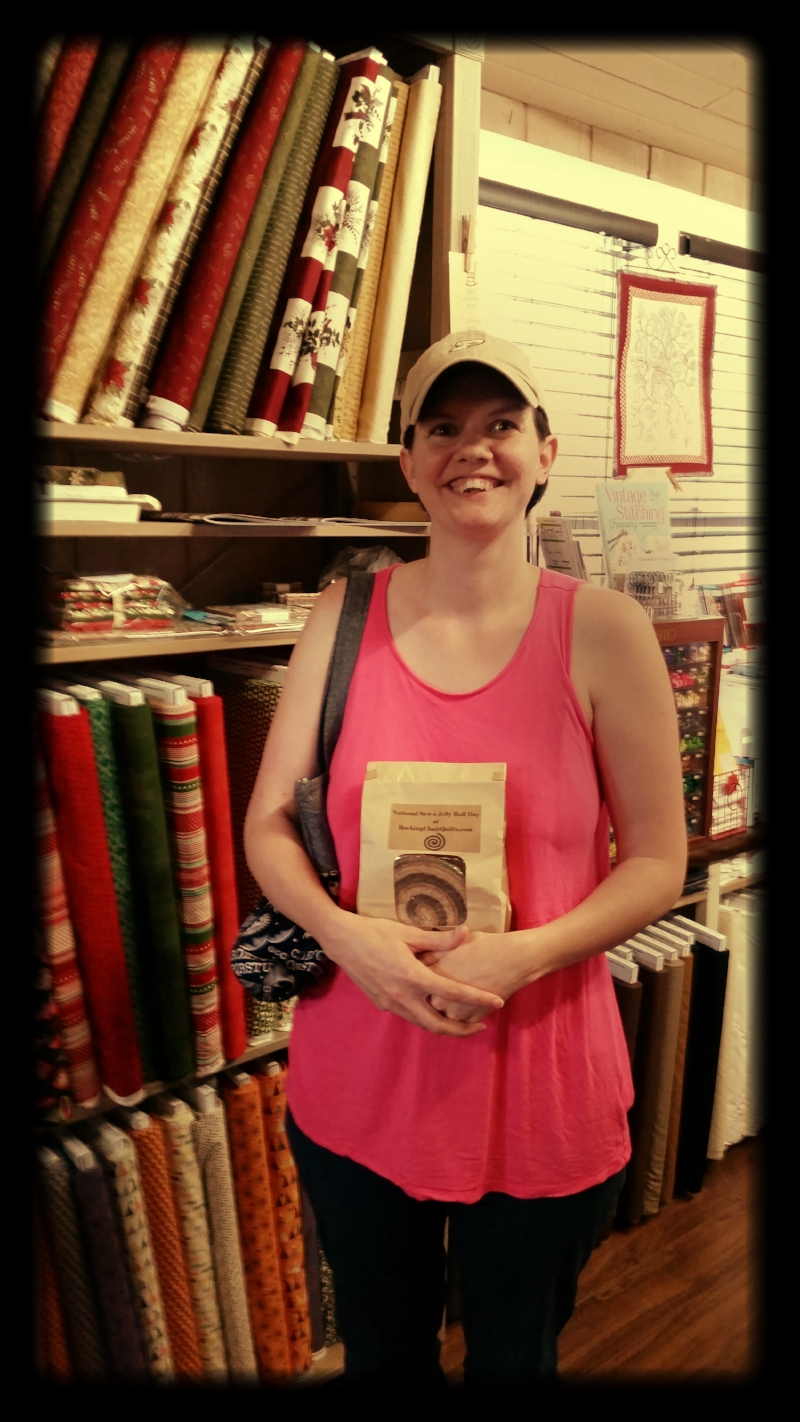
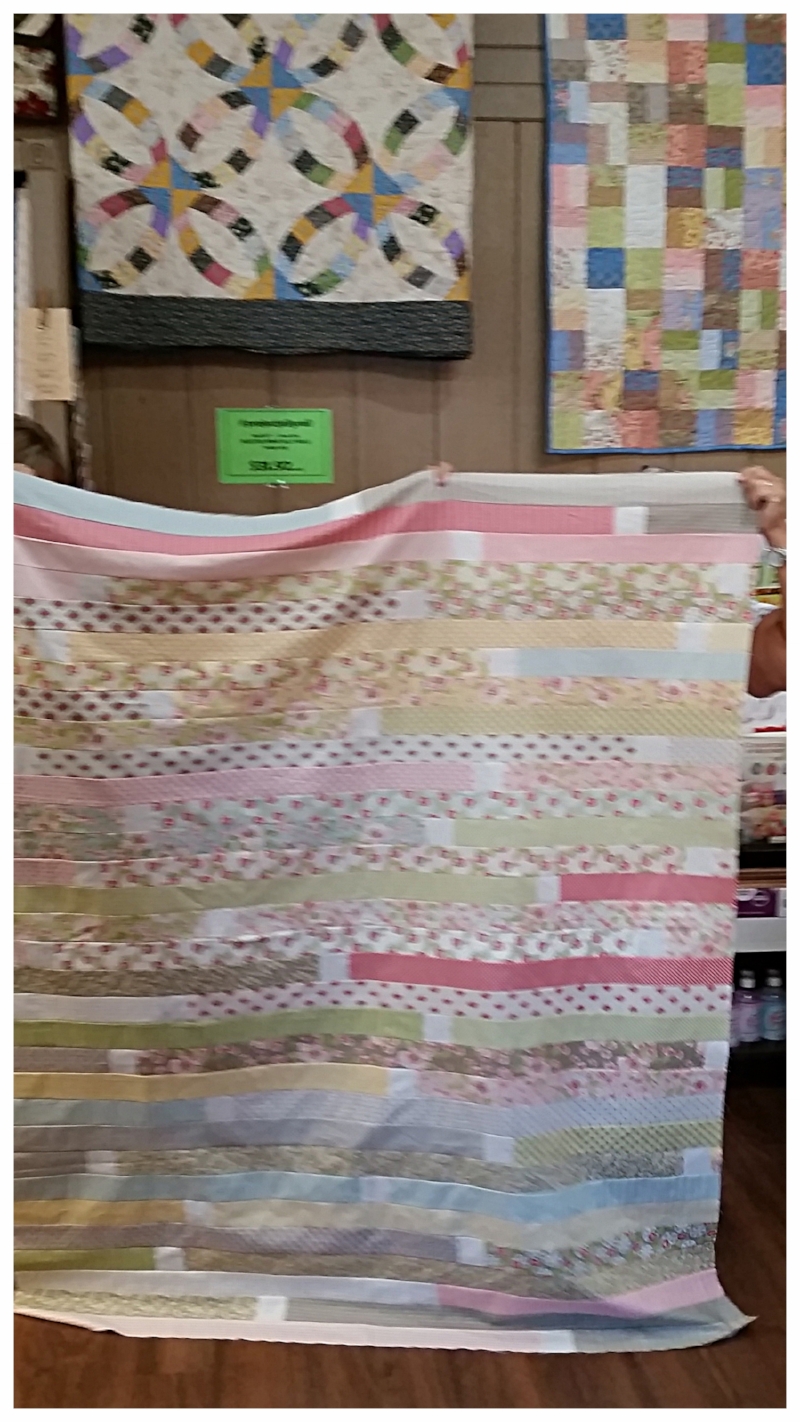
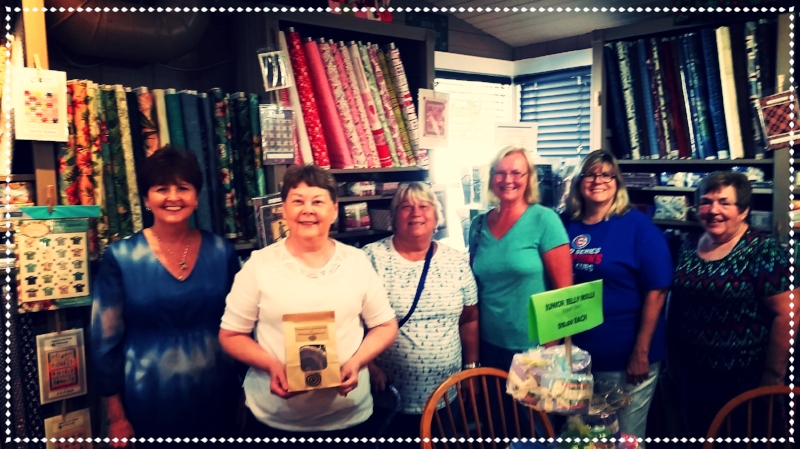
#projectjellyroll 2017 SNAPSHOT GALLERY
Thanks so much for your participation in the the big JR day, and thank you for reading my blog . Until we blog again, please take some time out to Enjoy the Sew!®
-Carol
If you would like to receive an email when a new blog post is published you can sign up below:
#PROJECTJELLYROLL GOODY BAG GIVEAWAY
THIS GIVEAWAY HAS ENDED. CONGRATULATIONS TO OUR WINNERS
9/16/17 • Save the Date
Enter for a chance to win a Jelly Roll
Celebrate National Sew A Jelly Roll Day with RockingChairquilts.com
You can enter to win one of 20 #projectjellyroll goody bags. Use the Rafflecopter widget below to enter online.
And a handy-dandy Jelly Roll Tip card & precut yardage chart, compliments of RockingChairQuilts.com.
specials
#projectjellyroll sale prices
You can enter online AND enter in person in our quilt shop (one entry per visit to the shop). 10 goody bags will be awarded from the pool of online entries and 10 will be awarded from the entries we receive in our quilt shop. Only one goody bag prize can be awarded per winner . Giveaway ends on 9•16•2017. READ COMPLETE RULES HERE
THIS GIVEAWAY HAS ENDED. CONGRATULATIONS TO OUR WINNERS
Our 10 online winners :
Maxine Euto
Debbie Chenoweth
Sandra Dzurny
Jennifer Kralik
Tessa Hutchinson
Justine Wills
Lisa Soderland Fitzgerald
Allison Church Bird
Lynette Kleinau
Janie McCombs
Our 10 in store winners:
Kay Opilka
Paula Fortino
Rene' Gorbold
Cheryl Paarlberg
Kathy Chynoweth
Connie Overlay
Sandie Swartz
James Adams
Kathryn Frederick
Penny Stromberg
The winners shown in the Raffle copter box made their entries online:
Here's a sneak peek of the free patterns from Moda and Zen Chic that will be available on Jelly Roll Day. Yay!
Good luck to everyone in the giveaway. Thank you for reading. Until we blog again be sure and make some time to Enjoy the Sew!®
-Carol
Sign up below to receive an email when a new blog post is published:
#projectjellyroll JELLY ROLL BAKE
Save the Date, Saturday, September 16th, 2017 • National Sew a Jelly Roll Day
VISIT the Moda Bake Shop to get Megan Pohlar-McGuire's pattern for her Tumbling Mug Rug. Thanks to my daughter, Katie Knecht, for making the one you see here - I keep it in my kitchen always ♥
Have you made plans for Jelly Roll Day?
Will you visit a participating quilt shop that day to join in the fun?
Visit Moda's ProjectJellyRoll.com website and use the STORE LOCATOR to find a shop near you.
Have you organized a day to get together with friends and sew? A CLICK HERE to download Moda's planning checklist can get you started.
Will you have some snacks and treats as part of your day? I would love to hear your ideas of what you are thinking of stirring up for Jelly Roll Day snacks. Please share in the comments here on this blog post.
I have been googling around the web to find some recipes appropriate to the occasion. I found this easy to do Jelly Roll Cake recipe at Food. com (I was thinking a rolled up cake would be hard to make).It is made from simple ingredients and not overly sweet. I was ALSO thinking my first go-round would be a practice run and I would likely end up with lopsided pile of jelly and cake, but it was easy & it came out pretty nice looking. I used blackberry Jam for this one but I am off to the store to get a more jellies so I can make a variety of jelly roll cakes for our day of fun.
Jelly Roll Cake
from food.com
Tumbling Mug Rug
at ModaBakeShop.com
Thank you for reading. Until we blog again be sure and make some time to Enjoy the Sew!®
-Carol
Sign up below to receive an email when a new blog post is published:
2017 Summer Christmas Challenge • Celebrating the maker at RockingChairQuilts.com
Earlier this summer we invited customers to create a challenge project .
The entries are in & in just a few weeks the challenge will come to an end , if you haven't already done so, please cast your vote today.
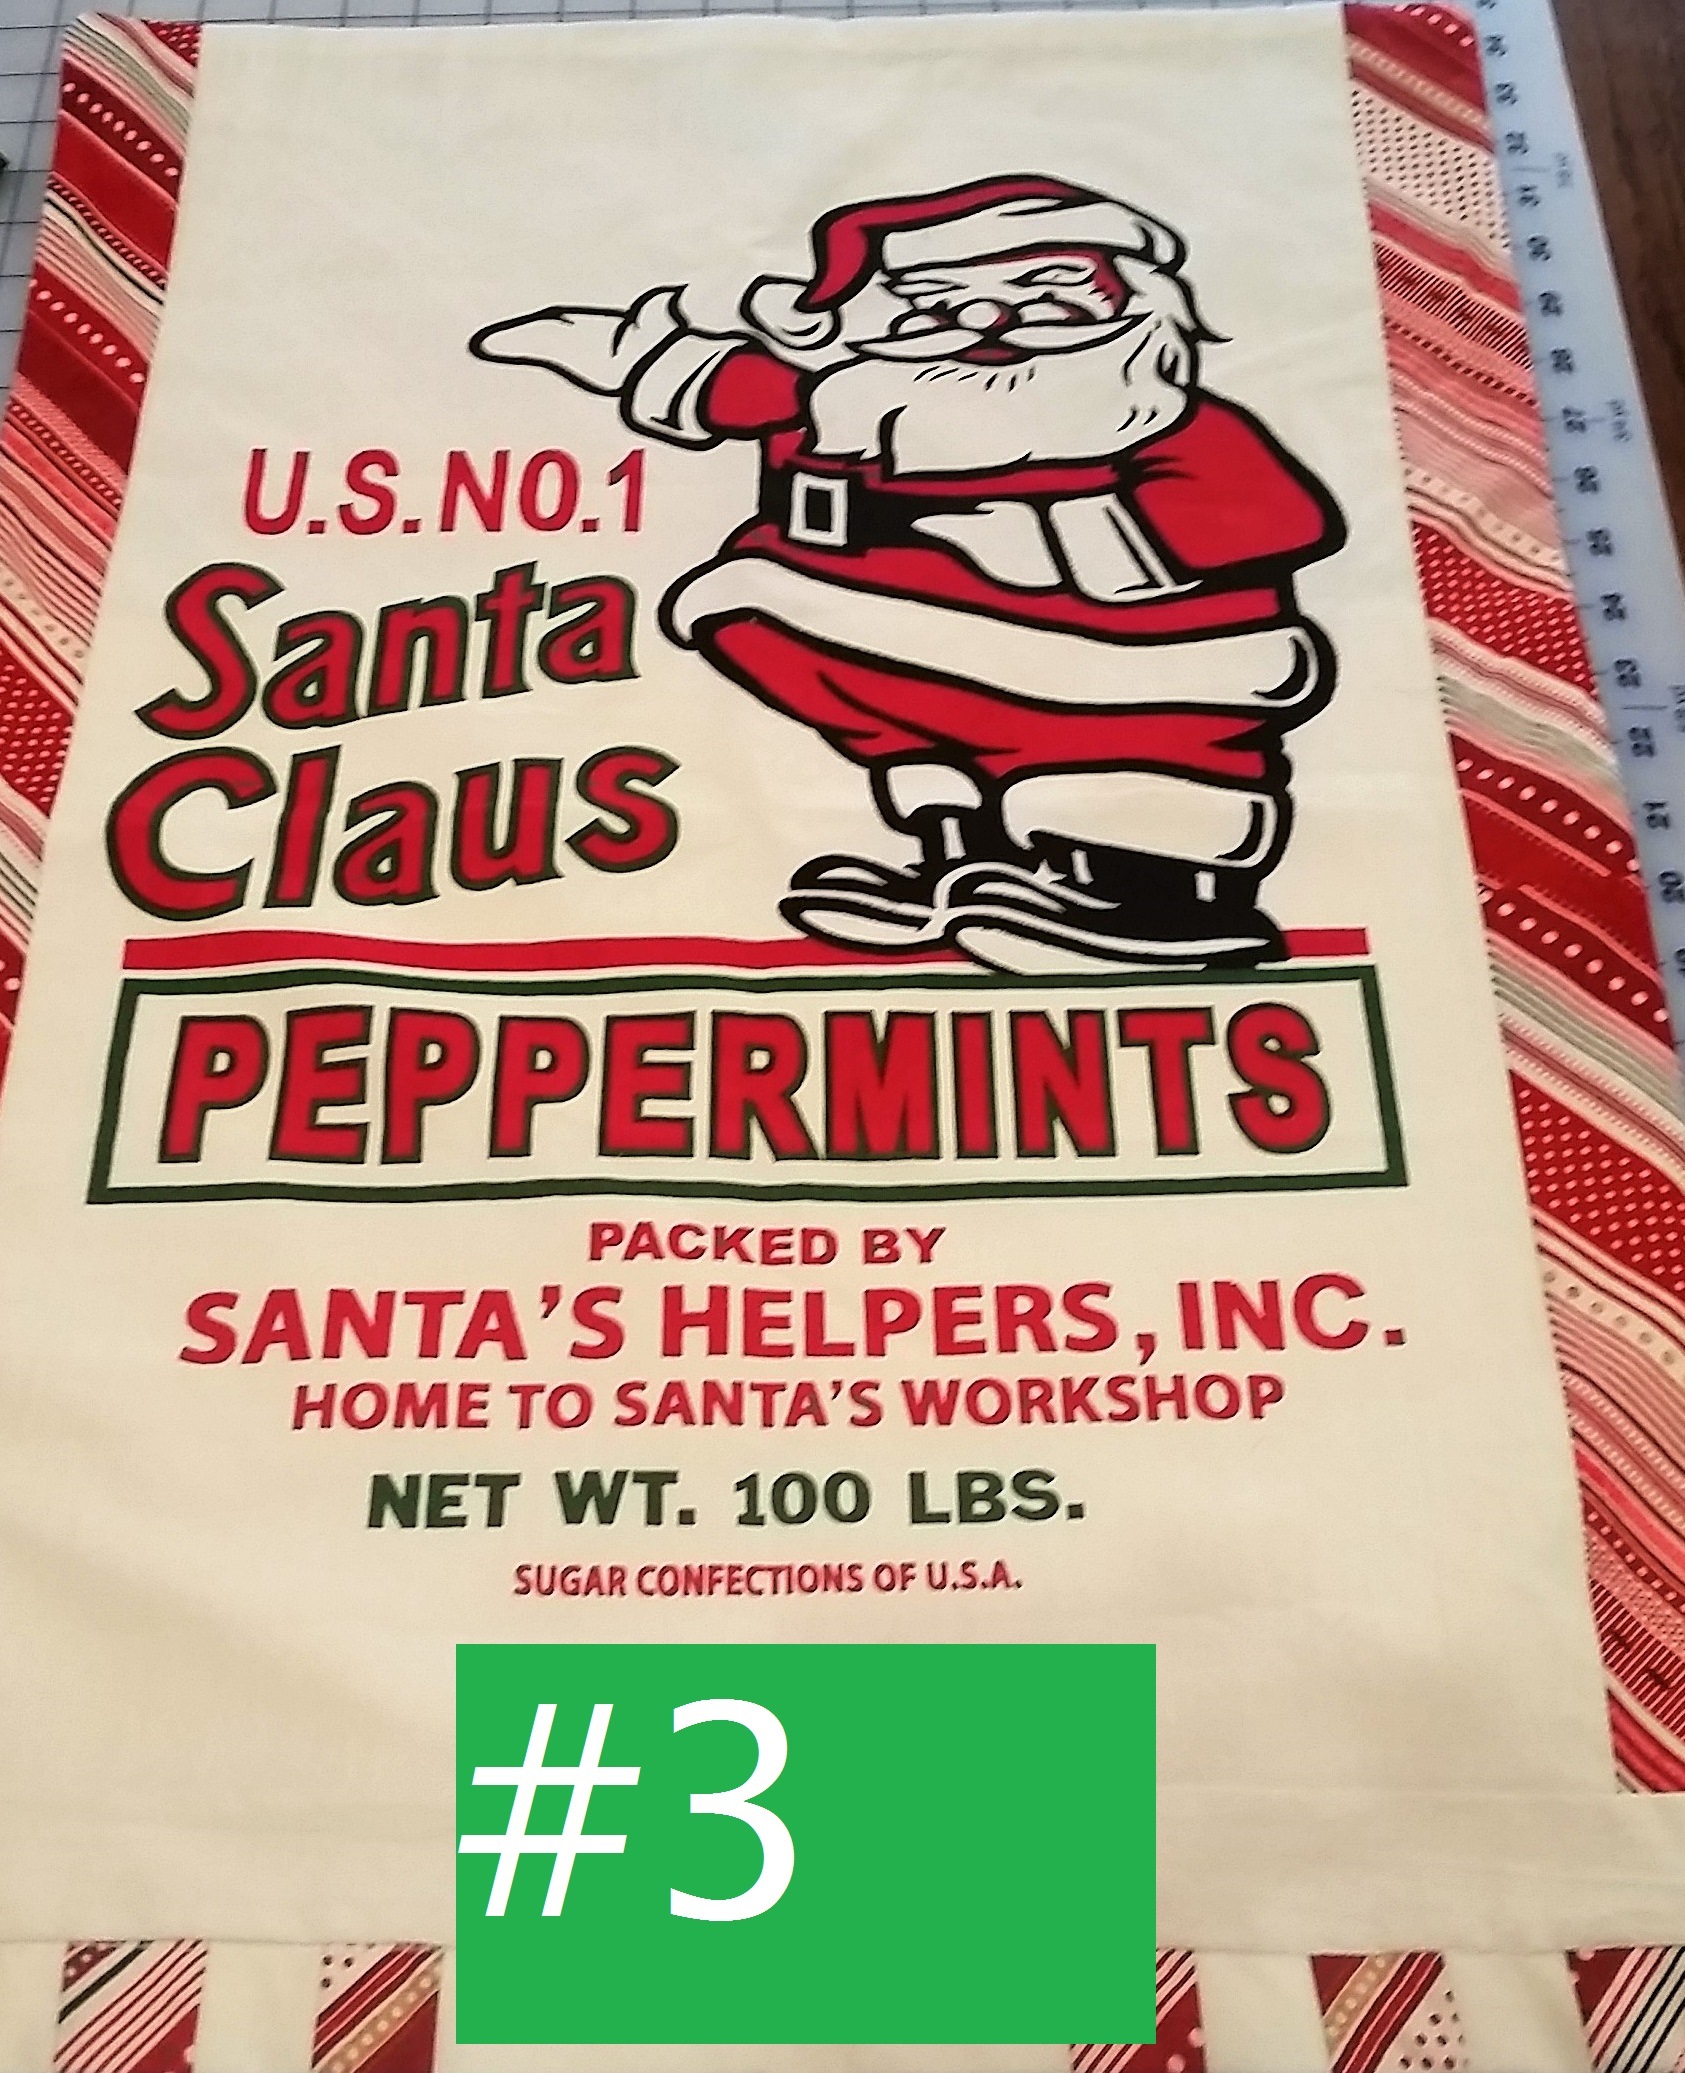
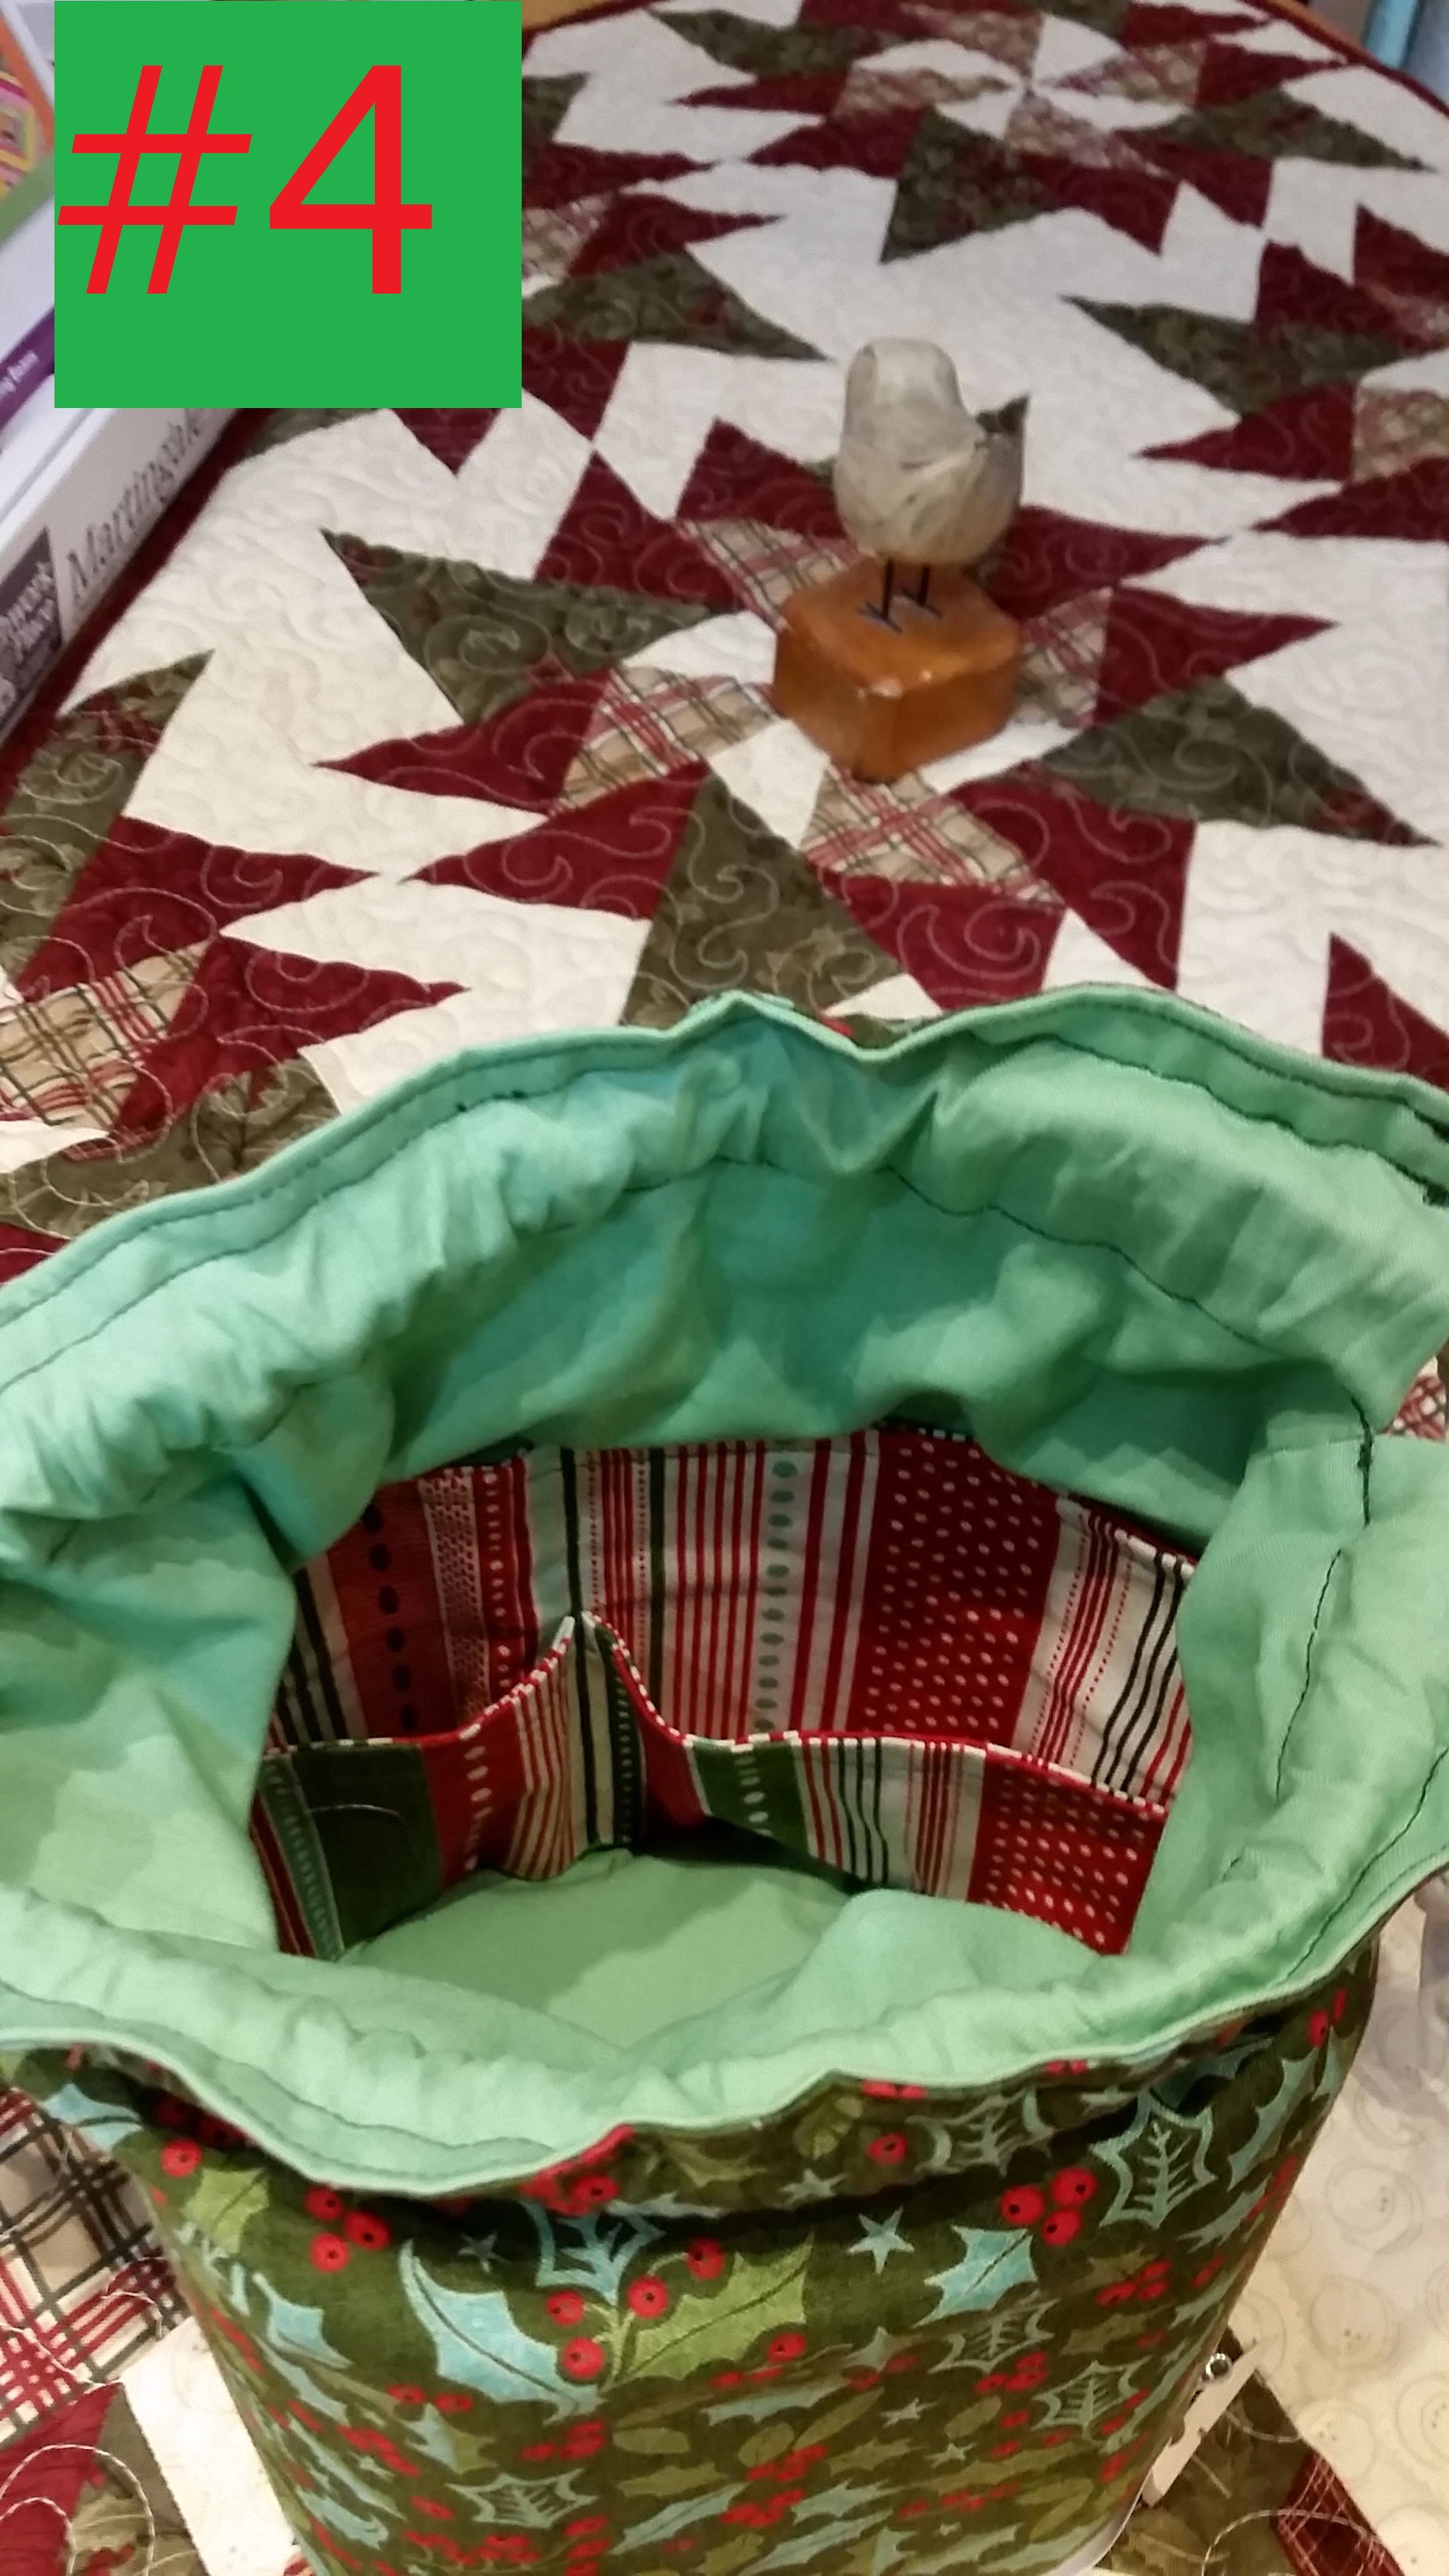
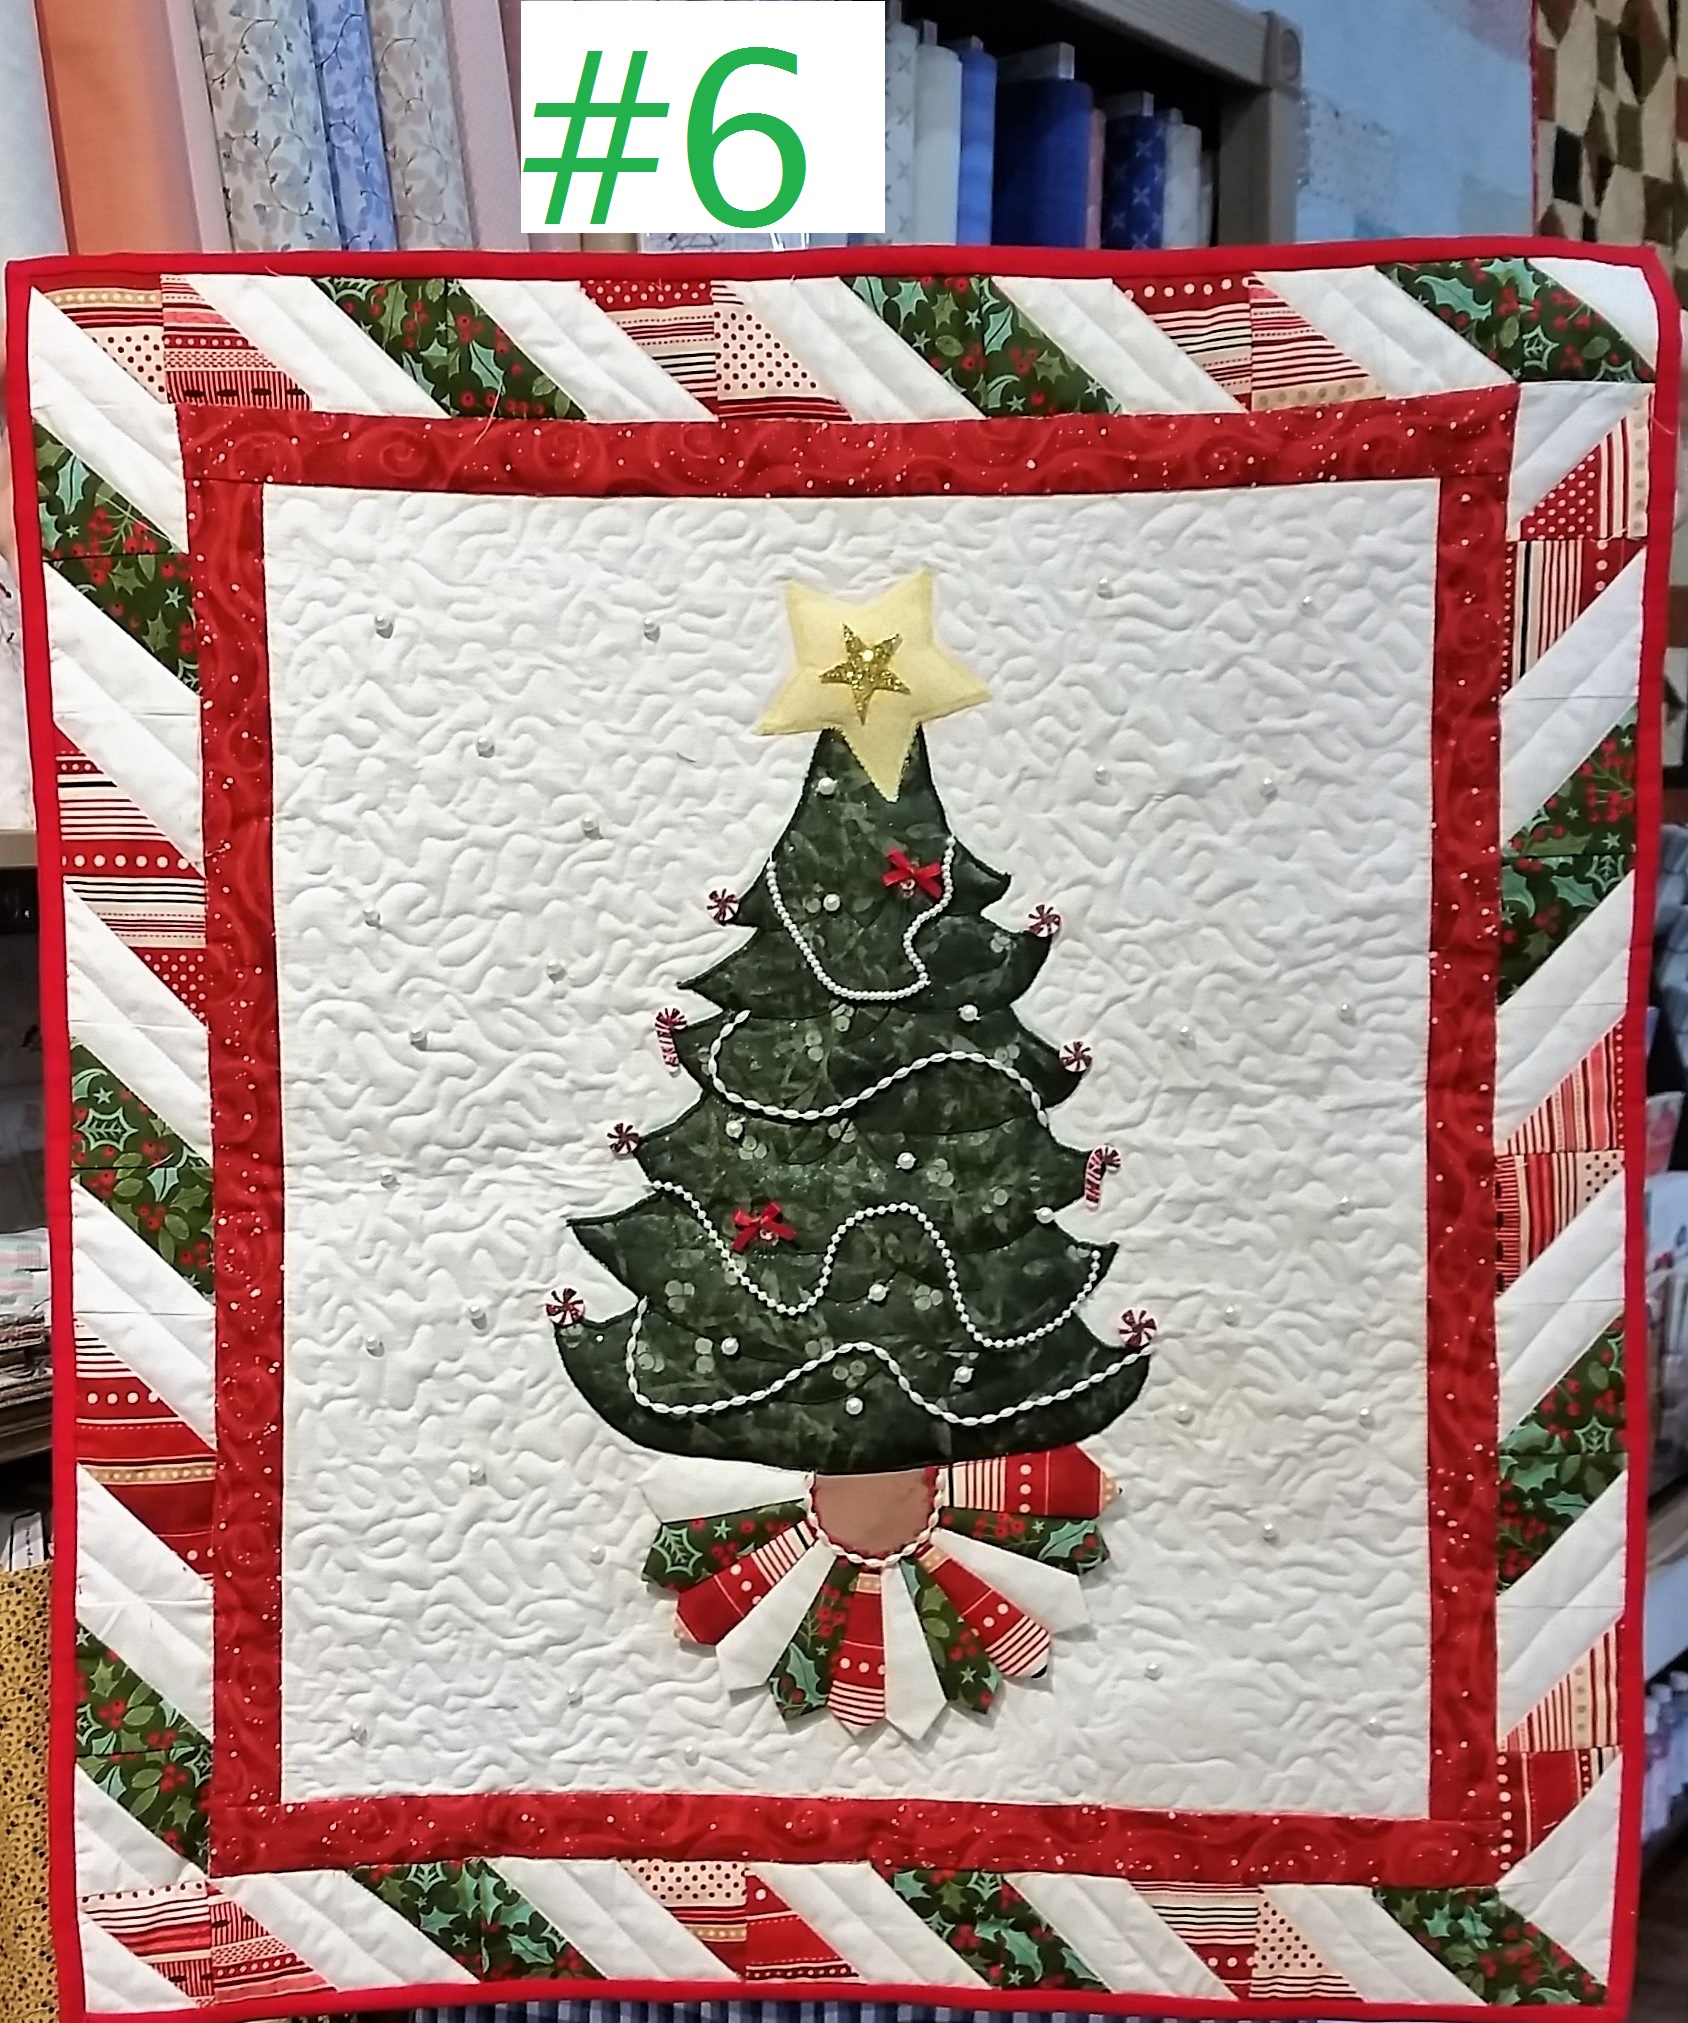
Have a look at the gallery of six projects that our makers submitted , then please vote by posting the number of your favorite creation in the comments section of this blog
You can also vote in person when you visit the shop OR Visit our facebook page AND hit the like button on each photo you want to vote for (like the photo). CLICK HERE to get to the Facebook album
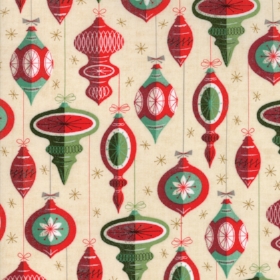
THE CHALLENGE: Create a project using at least some of each of this a bundle of 3 Moda Fabrics United Notions Christmas fat quarters. This is Berry Merry by Basic Grey for Moda and Bella Solid Snow.
THE DETAILS: (Guidelines that participants were asked to follow)
- You must use some of all 3 of the challenge fat quarter fabrics in your project.
- You can add ANY other fabric of your choosing to complete your project.
- must be your own design and not from a commercial pattern- (It is OK to use public domain quilt blocks, like stars and log cabins etc).
- THINK SMALL: for a quilt, the perimeter (all four sides added together) must be 160” or smaller. OR consider designing a stocking, pillow, tote bag, purse, a set of snack mats, a mini tree skirt etc. Your project must be completed and returned to the shop by Saturday, August 12th, 2017.
Voting will end on Sept 15. The maker with the most votes in the shop AND on line will win a bundle of 12 Fat Quarters. You can vote for as many as you like.
Thanks so much for adding your votes!
thank you for reading. until we blog again, Enjoy the Sew!
sign up here to receive an email when a new blog post is published
National Sew a Jelly Roll Day• SAVE THE DATE • September 16, 2017
Save the date: SEPTEMBER 16. 2017
F3
#projectjellyroll
Plan to visit Rocking Chair Qullts, in store & online to be a part of National Sew a Jelly Roll Day and to experience F3
Wait, what?
What is F3 ?
Wait a minute - that looks like math.
F3= fabric + fun + food
(OK, that still looks like math , but I think I like this kind of math) ☺ read on.........
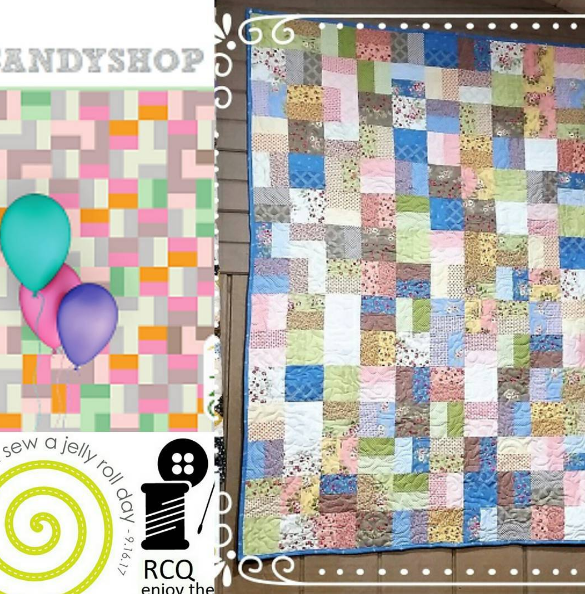
Moda Fabrics / United Notions has designated the 3rd Saturday in September of every year as National Sew A Jelly Roll Day to encourage collectors to tear open a Moda Jelly Roll and make something for themselves, as a gift or for charity! It can be a quilt or a tote bag, a pillowcase or something to wear, it doesn’t matter so long as we seize the day and celebrate the joy of being a maker. Share your day on social media with #projectjellyroll. You might even win a prize!
HERE'S WHAT'S HAPPENING AT ROCKINGCHAIRQUILTS.COM TO CELEBRATE NATIONAL SEW A JELLY ROLL DAY:
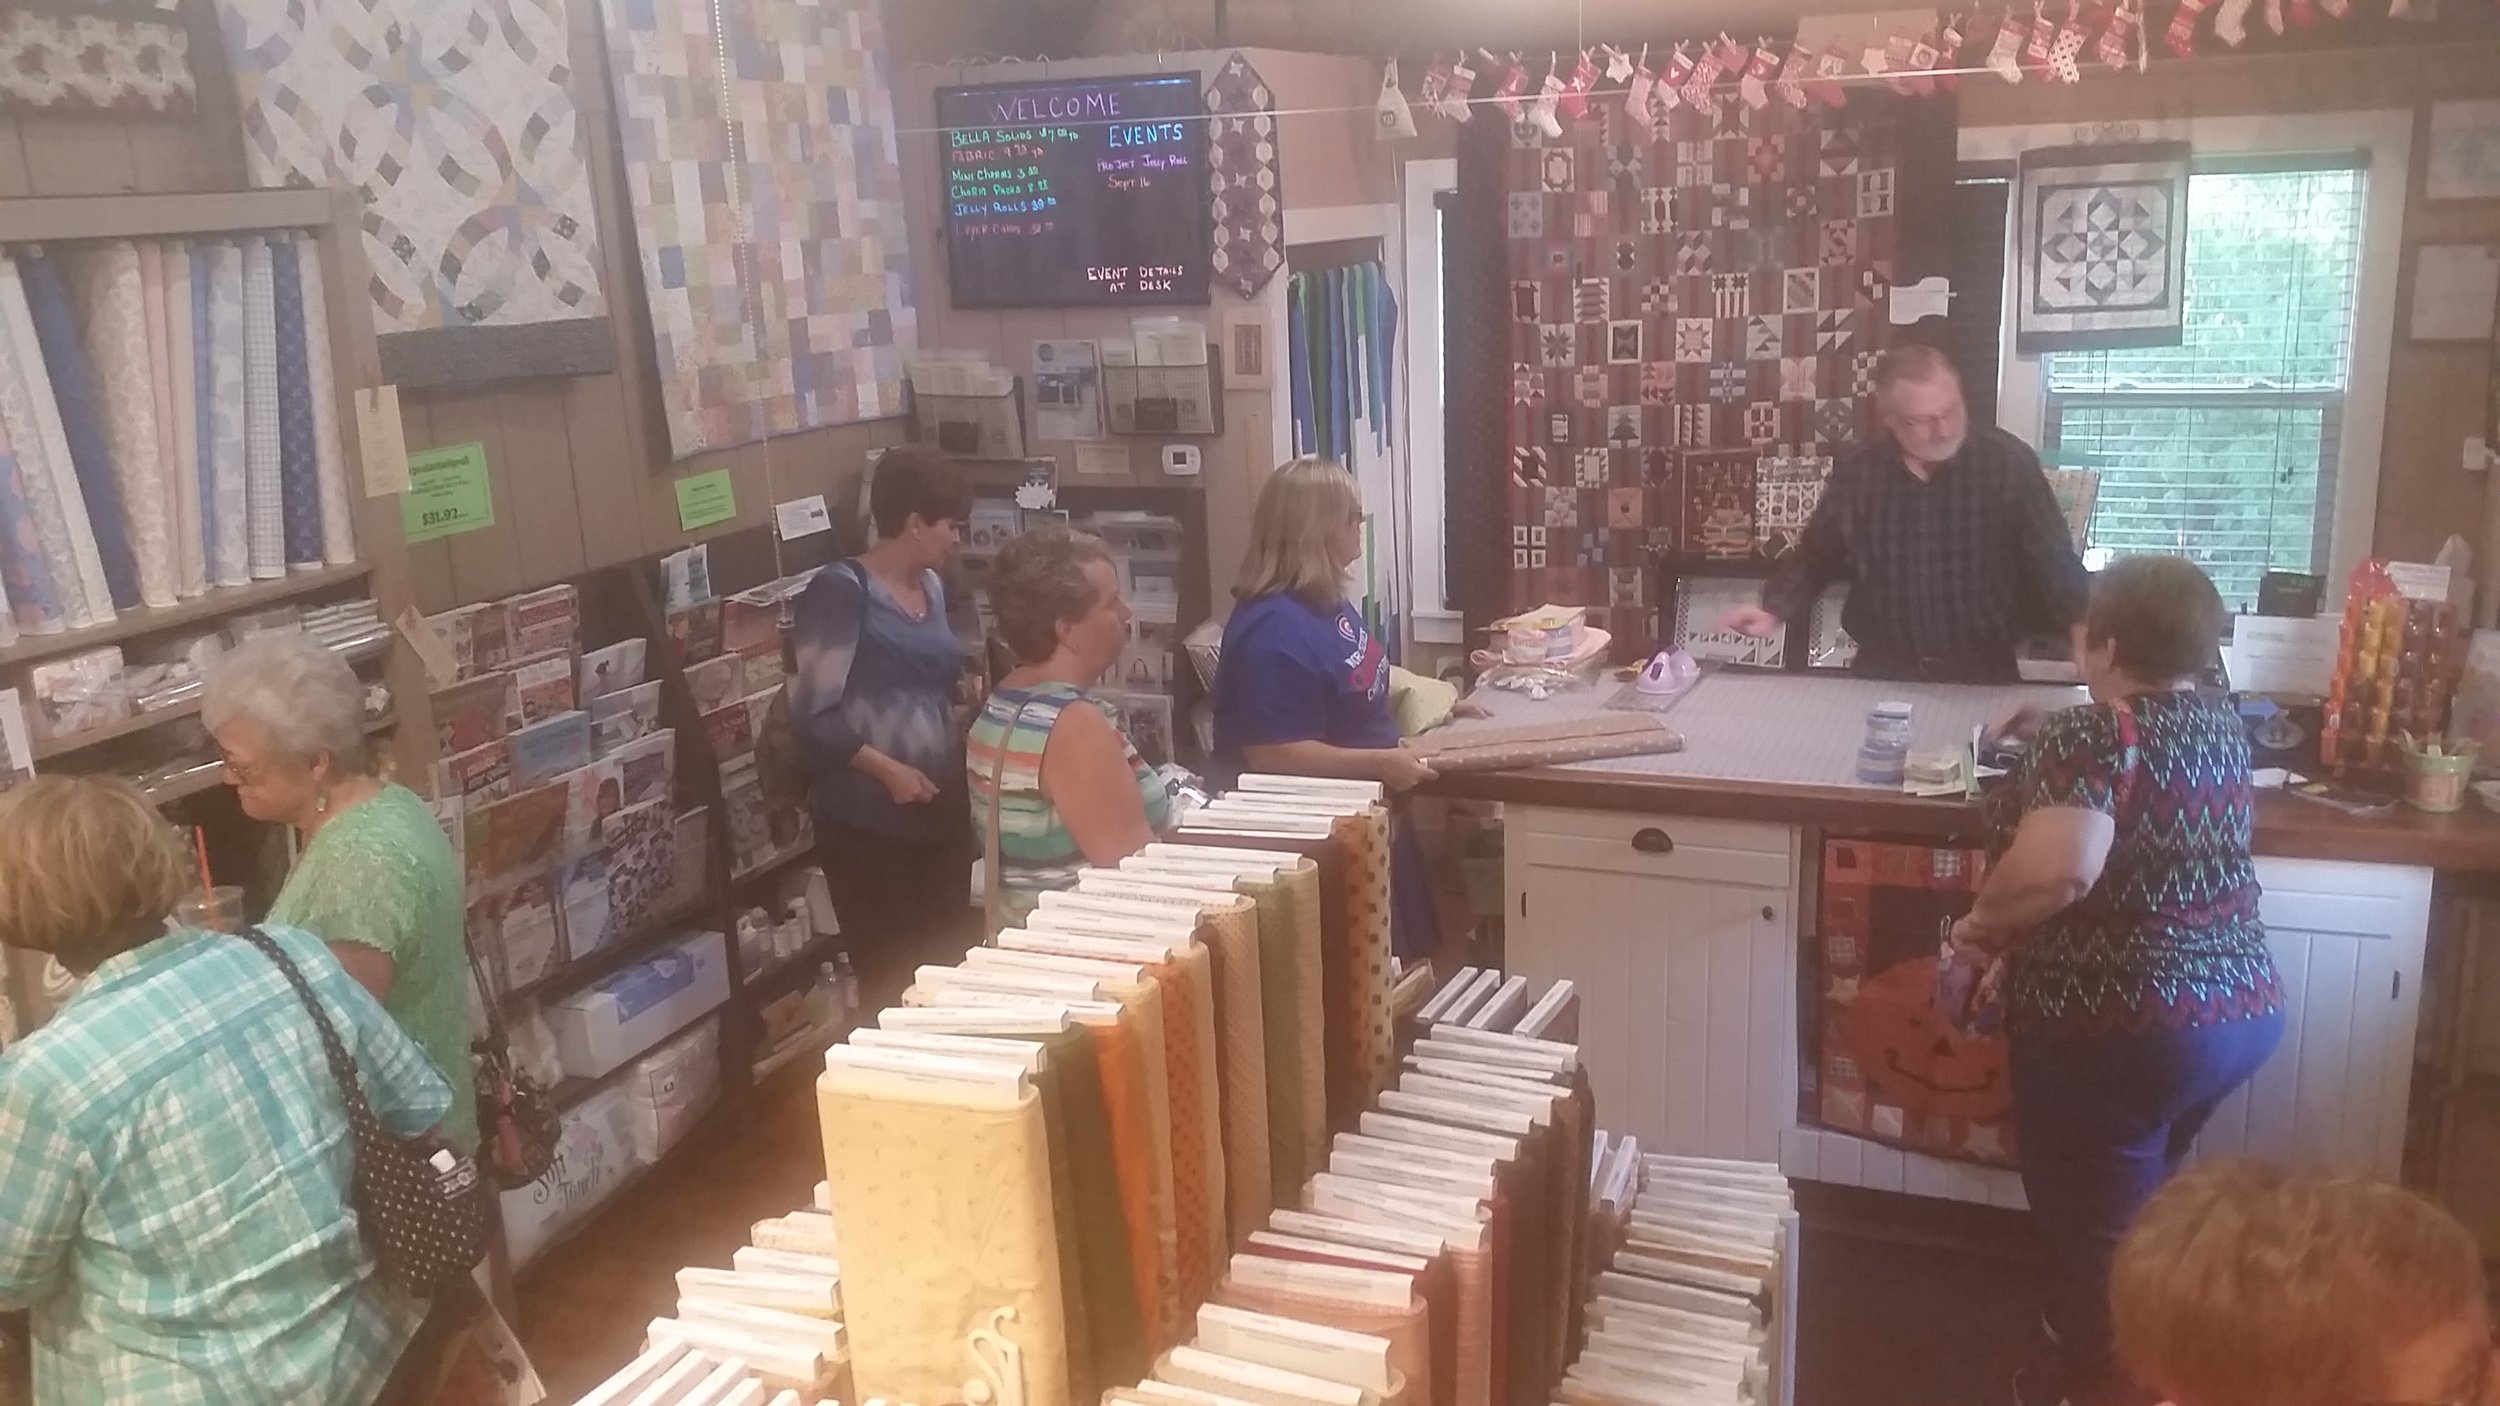
September 16th, come and party with us @ the Rocking Chair Quilts storefront in Grant Park, Illinois.
- Door Prizes
- Free Jelly Roll Patterns - courtesy of Moda Fabrics
- $ave on Jelly Rolls
- Snacks
If you are not nearby we'll offer the same enjoyment for our online friends:
- Jelly Roll Giveaways (your online version of door prizes ☺)
- Free downloadable Jelly Roll patterns- courtesy of Moda Fabrics
- $ave on Jelly Rolls in our online store
- Snacks. So....maybe we can't send a snack through the interwebs, but we will share our jelly roll day recipes with you .
- Plan your own event! If you can't visit a local shop that has an event, make plans, shake it down , roll it up, play and sew with friends.
- -start planning with Moda's free checklist (download it below)
FABRIC+ FUN + FOOD = HOO-RAY!
At this writing, National Jelly Roll Day is still about a month away - but thanks to the folks at Moda, you can start planning for your Jelly Roll Day with this handy checklist:
Stay Tuned: We will be hosting these events and have Jelly Roll "Specials" in store and online. To find out when things get started in September:
Like us on Facebook, subscribe to this blog below or sign up for our newsletter to stay updated on when these fun activities begin.
Moda has a website dedicated to #projectjellyroll. CLICK HERE to visit. It is SO pretty!
Thanks for reading - I hope you make some plans to join us , or plan your own jolly jelly event .
*Share photos of all your jelly doings with #projectjellyroll ON SOCIAL MEDIA
(and you may even win a prize - PROVIDED by Moda Fabrics United Notions)
Not on Facebook, Instagram or Twitter? You can email your pictures to me and I will share them for you. EMAIL me here: Carol@RockingChairQuilts.com
Until we blog again, Enjoy the Sew!®
-Carol
SUBSCRIBE TO THE RCQ BLOG : WHEN YOU SIGN UP HERE YOU"LL RECEIVE AN EMAIL WHEN A NEW BLOG POST IS PUBLISHED:
The Sharktown Dash: Baby quilt tutorial
FEATURING SHARKTOWN FABRICS FROM #RILEYBLAKEDESIGNS
Sharktown Dash Quilt 40" x 54"
Make this quick baby quilt, perfect for summertime naps, play or a gift for that special little one. This quilt features Sharktown fabrics by Shawn Wallace for Riley Blake Designs
It is so much fun to have this playful Riley Blake collection in the quilt shop this summer. I stitched up this campshirt and sundress (with matching doll dress) using patterns from Olive Ann and Fishsticks .
These fabrics are adorable so I couldn't stop there. I wanted to make a quilt with Sharktown . I wanted it to be something easy and sized right for little ones.
We have been featuring the churn dash block in our summer programs here in the shop this year, so I started my design with that . I plumped up the size of the block pieces to make it quick to do and to feature the prints in the collection without cutting them into squares that were too small, and the Chubby Churn Dash block was the result
SHARKTOWN + CHURN DASH = SHARKTOWN DASH
The Sharktown Dash Quilt is so quick to make you'll have it put together in no time at all. Start with some of fabric designer Shawn Wallace's Sharktown collection - stitch up six chubby churn dash blocks, add sashing, borders and you get this sweet Sharktown Dash quilt. (you could add more chubby churn dash blocks for a bigger quilt).
I fussy cut the 3" x 3" center squares
Sewing the 6 blocks:
Start by making 24 Half Square Triangle (HST) units using the 5 7/8" block squares and background squares.
Take one background square and one blue block square . Place squares RST (notice how my blue block fabric has a directional print)
Draw a diagonal line on the back of the light squares. Please note that because my blue block fabric is directional , I need to draw one of my diagonal lines in the opposite direction of the other line, This will keep all my HST positioned correctly in the finished block.....or it is much easier to say it keeps all my sharks swimming in the right direction ☺
Stitch 1/4" seam on either side of your drawn line.
Cut apart on the drawn line.
Press your HSTs open and position them as shown.
Arrange your HSts, the 3" center square, four 3" blue block squares and four 3" background squares as shown.
Sew all the block pieces together and press well, Square up your blocks to 13" x 13" (unfinished size)
quilt assembly
Use the diagram below to add your sashing strips and outer borders.
Quilt assembly diagram.
Layer your quilt top with batting and backing. Quilt as desired.
Bind, add a label and enjoy your finished quilt.
I quilted bubbles all over to finish my quilt.
Thank you so much for reading this blog post. If you decide to make this quilt, I hope you have as much fun as I did,
Until we blog again take time out to Enjoy the Sew!®- Carol
SIGN UP HERE TO RECEIVE AN EMAIL WHEN A NEW BLOG POST IS PUBLISHED:
#MODAFABRICS #AURIFILTHREAD Christmas in July Prize Bundle Giveaway
This giveaway has ended. Congratulations to our winner Kathy C!
Thanks so much to everyone who participated.
HERE'S THE PRIZE BUNDLE: FAT QUARTER BUNDLE OF SNOWFALL FABRICS BY MINICK & SIMPSON FOR MODA & AURIFIL THREADS
“Don’t forget your mittens!”
Ooh what could be better on a hot summer afternoon than breaking open this festive bundle of holiday fabrics? Get your summertime stitch on and get started on some holiday quilting projects. The Snowfall collection has a great holiday color palette - cool crisp blues, fresh wintergreens, Christmas reds and creams captured on fabric in snowflakes , candy canes, holly leaves and happy dots.
And....... 3 BIg Beautiful spools of Aurifil thread to stitch it all together! 3210 Light Beige, 2250 Red, 2805 Light Turqoise
Like us on Facebook to be entered to win this prize. More ways to enter below. Subscribe to this blog- so you will know when a new giveaway begins.
This giveaway has ended. Congratulations to our winner Kathy C!
Thanks so much to everyone who participated.
On Instagram? You can enter there too:
This giveaway ended on Sunday, July 30th, 2017, at 11:59 p.m. CST.
To read All the usual rules that apply to our regular giveaways and sew on and sew forth CLICK HERE
Thank you so much for reading this and being a part of our giveaway.
Until we blog again take time out to Enjoy the Sew!®- Carol
SIGN UP HERE TO RECEIVE AN EMAIL WHEN A NEW BLOG POST IS PUBLISHED:
A PRESSING SITUATION
A favorite customer popped into the shop recently and asked for tips about pressing quilt blocks. Here is a sharing of some different pressing tips that I have learned and used along the way. ALL of these have all been talked about & learned by most of you at one time or another,. but I guess it never hurts to review some of the basic things that can help us make our finished quilt projects come out neat and as close to perfect as a girl can manage to get them.☺
Read on and if you try some of these tips, let me know if you achieve a more righteous quilt block then you did beforehand. (Use the comments section below. Oh and please share any other tips or suggestions that you can think of.)
PRESSING Q & A
Which brand of iron is the best?
- Any brand of iron that gets hot and stays hot will work.
Should I use steam?
- Steam is personal preference. Use steam, OR if you like to use a dry iron, keep a spray bottle of water handy for those stubborn creases.
Should I use starch?
- Starch or spray product like Best Press, can also be a personal choice . They can keep your piecing crisp and square as you work and are certainly optional, and not a 'must-do' part of quilt block pressing. There are some types of patch work that are going to benefit from using a starch product. For instance I do like to get out starch (or a similar spray product ) when I am working with really small pieces, OR when the cotton fabrics I am piecing seem especially soft or unstable.
UNFOLDED FAT QUARTER NEEDS YOUR PRESSING ATTENTION
PRESS BEFORE CUTTING?
- Pressing fabric that has comes off the bolt, or has been folded as a Fat Quarter, or scraps that have been bunched up, is important before cutting into it. Fabric that has been on the bolt is almost always creased sharply at the fold.
- Quilters like who pre-wash their yardage find that pressing it when fabric comes out of the laundry is often a necessity. If you pre-wash and are going to press the entire length of your yardage, Consider using steam and starch, this can really help avoid problems later. Avoid the dreaded strip "elbow" and get your yardage smoothed out before cutting
Why is the seam that I stitched as a straight line now a curve?
- This can happen when you are IRONING and not PRESSING. If straight seams are now curved, or strip sets are no longer straight, then too much pressure is being applied and the iron is being pushed across the fabric.
- PRESSING requires a motion where you bring your iron straight down onto your fabric from above with light pressure, letting the heat of your iron do the work. It is the best way to press the seams of your quilt blocks.
- IRONING is a motion where you have placed your iron onto your fabric and you are moving the iron to to and fro and from side to side without lifting it off of the fabric very much. It works well when you are ironing the folds out of your new fat quarters and yardage, or when you have just fetched a wadded up ball of scrappy bits from one of your stash bins and you need to get them put back to rights before cutting out some quilt pieces. Also it's how you would use your iron on clothing - but it is not the best motion for ironing quilt blocks as it may distort your seams.
- If you are getting distortion when pressing strip sets, try laying the strip set on top of a striped fabric to see where things are not staying straight. Lining up the strip set along the printed stripes of the fabric will help you to straighten it out again.
SETTING THE STITCHES FIRST
- Do this step first to get straight, flat seams:
- press the seam while closed, before pressing to the side ( or pressing open if that's what you are doing). Leaving your patchwork unit just as you have sewn it , press along the stitching line.Your stitches are set in place and the seam is nice and flat.
PRESSING SEAM ALLOWANCES TO THE DARK SIDE?
- It's always a help to me when a pattern shows which direction is best to press your seam allowances . It can be a simple note usually saying that seams should be pressed toward the dark fabric, or a pattern may have more detailed instructions, sometimes including illustrations with arrows (my favorite). Pressing seam allowances toward the dark keeps the darker colors from "shadowing through" the lighter colors when the quilt is finished.
NESTING SEAMS
- When seam allowances are pressed toward the darker fabric THEY will then face opposite seam allowances on the piece that they will be sewn to when building your block. Having seams nest, or face away from each other at intersections helps to reduce bulk and increase accuracy. Reducing bulk at intersections will help your completed block come out to be the right size.
- Do we ever NOT press our seams towards the darker fabric?
- Sure ! - A quilt pattern may tell you to press your seams in a specific direction You may find that you will have to press some seams away from the darker fabric so that you can "nest" your seams when needed.
PRESS TO THE DARK SIDE: START WITH DARK FABRIC ON TOP, FINGER PRESS OPEN, SET WITH HOT IRON.
ON THE BACK OF YOUR PIECE THE SEAM ALLOWANCE IS NOW PRESSED TOWARDS THE DARKER FABRIC ☺
PRESSING SEAM ALLOWANCES OPEN?
- If your pattern calls for pressing seam open, should you? Yes- whoever wrote this pattern knows this particular quilt block will work well within the quilt & look its best with the seams pressed open. HOWEVER- Pressing all your seams open, for all your work, all the time is not the best practice. Seams that have been pressed open are not as strong or durable as seam allowances that have been pressed to the side. But when your pattern or situation calls for pressed open seams try these tips:
- Using the tip of the iron, or a TOOL to open the seam will prevent burns to finger tips. Go slowly, and with a light touch. Too much pressure will distort your seam.
- Turn the patchwork over and press again from the front to really set everything into place. Open seams can reduce bulk and bumpy intersections in some types of piecing.
PRESSING SEAM INTERSECTIONS- tips:
- If you have ever struggled with a bump in the middle back of your quilt block? These two bump reducing techniques may help.
- MINI 4-PATCH CENTER: on the back of a 4-Patch unit you will see that there are a couple of threads keeping the two middle seams together. Clip out only those couple of threads stitched just into the seam allowance. Now press the clipped seams in two different directions. This pressing creates a miniature 4-Patch design which helps reduce that 'bump' in your block.
- TRIANGLE or PINWHEEL CENTER- This works in the same way to reduce bulk (as shown above ) for the back of a half square triangle block (or pinwheel block). Clip those few threads in the seam allowance on the back of your block, press the seam allowances in opposing directions - This pressing creates a miniature pinwheel on the back of your block and really does reduce bulk and minimize the bump on the front of your block.
Please use the comments area below to share any other tips or suggestions that you can think of.
Thank you for reading, until we blog again, take some time to Enjoy the Sew!® - Carol
SIGN UP HERE IF YOU'D LIKE TO RECEIVE AN EMAIL WHEN A NEW BLOG POST IS PUBLISHED
Farm Girl Vintage Round Up
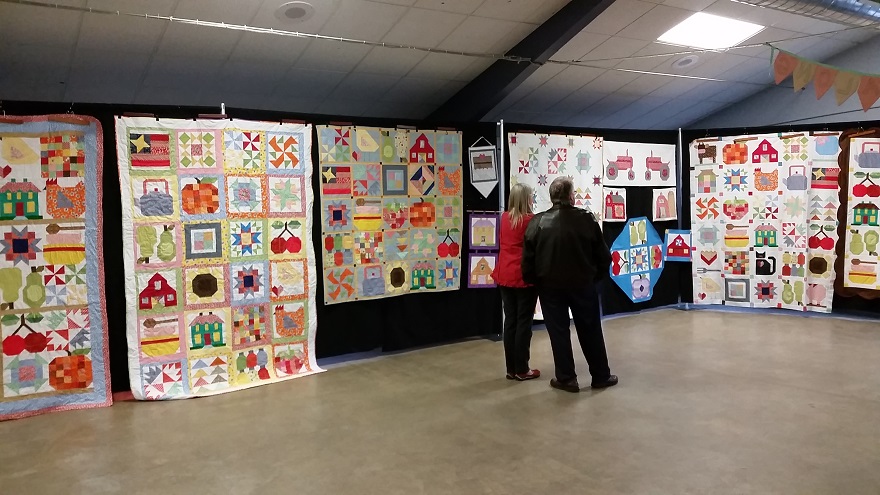
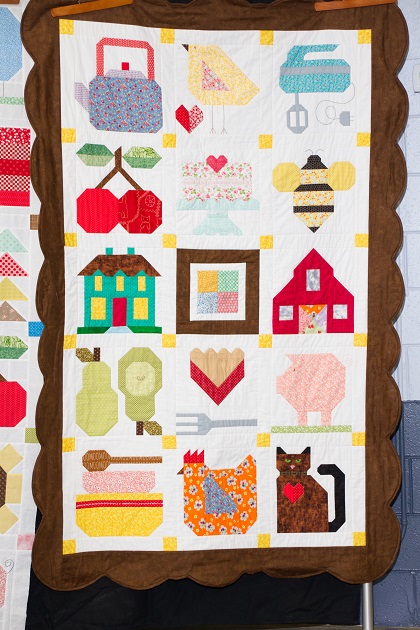
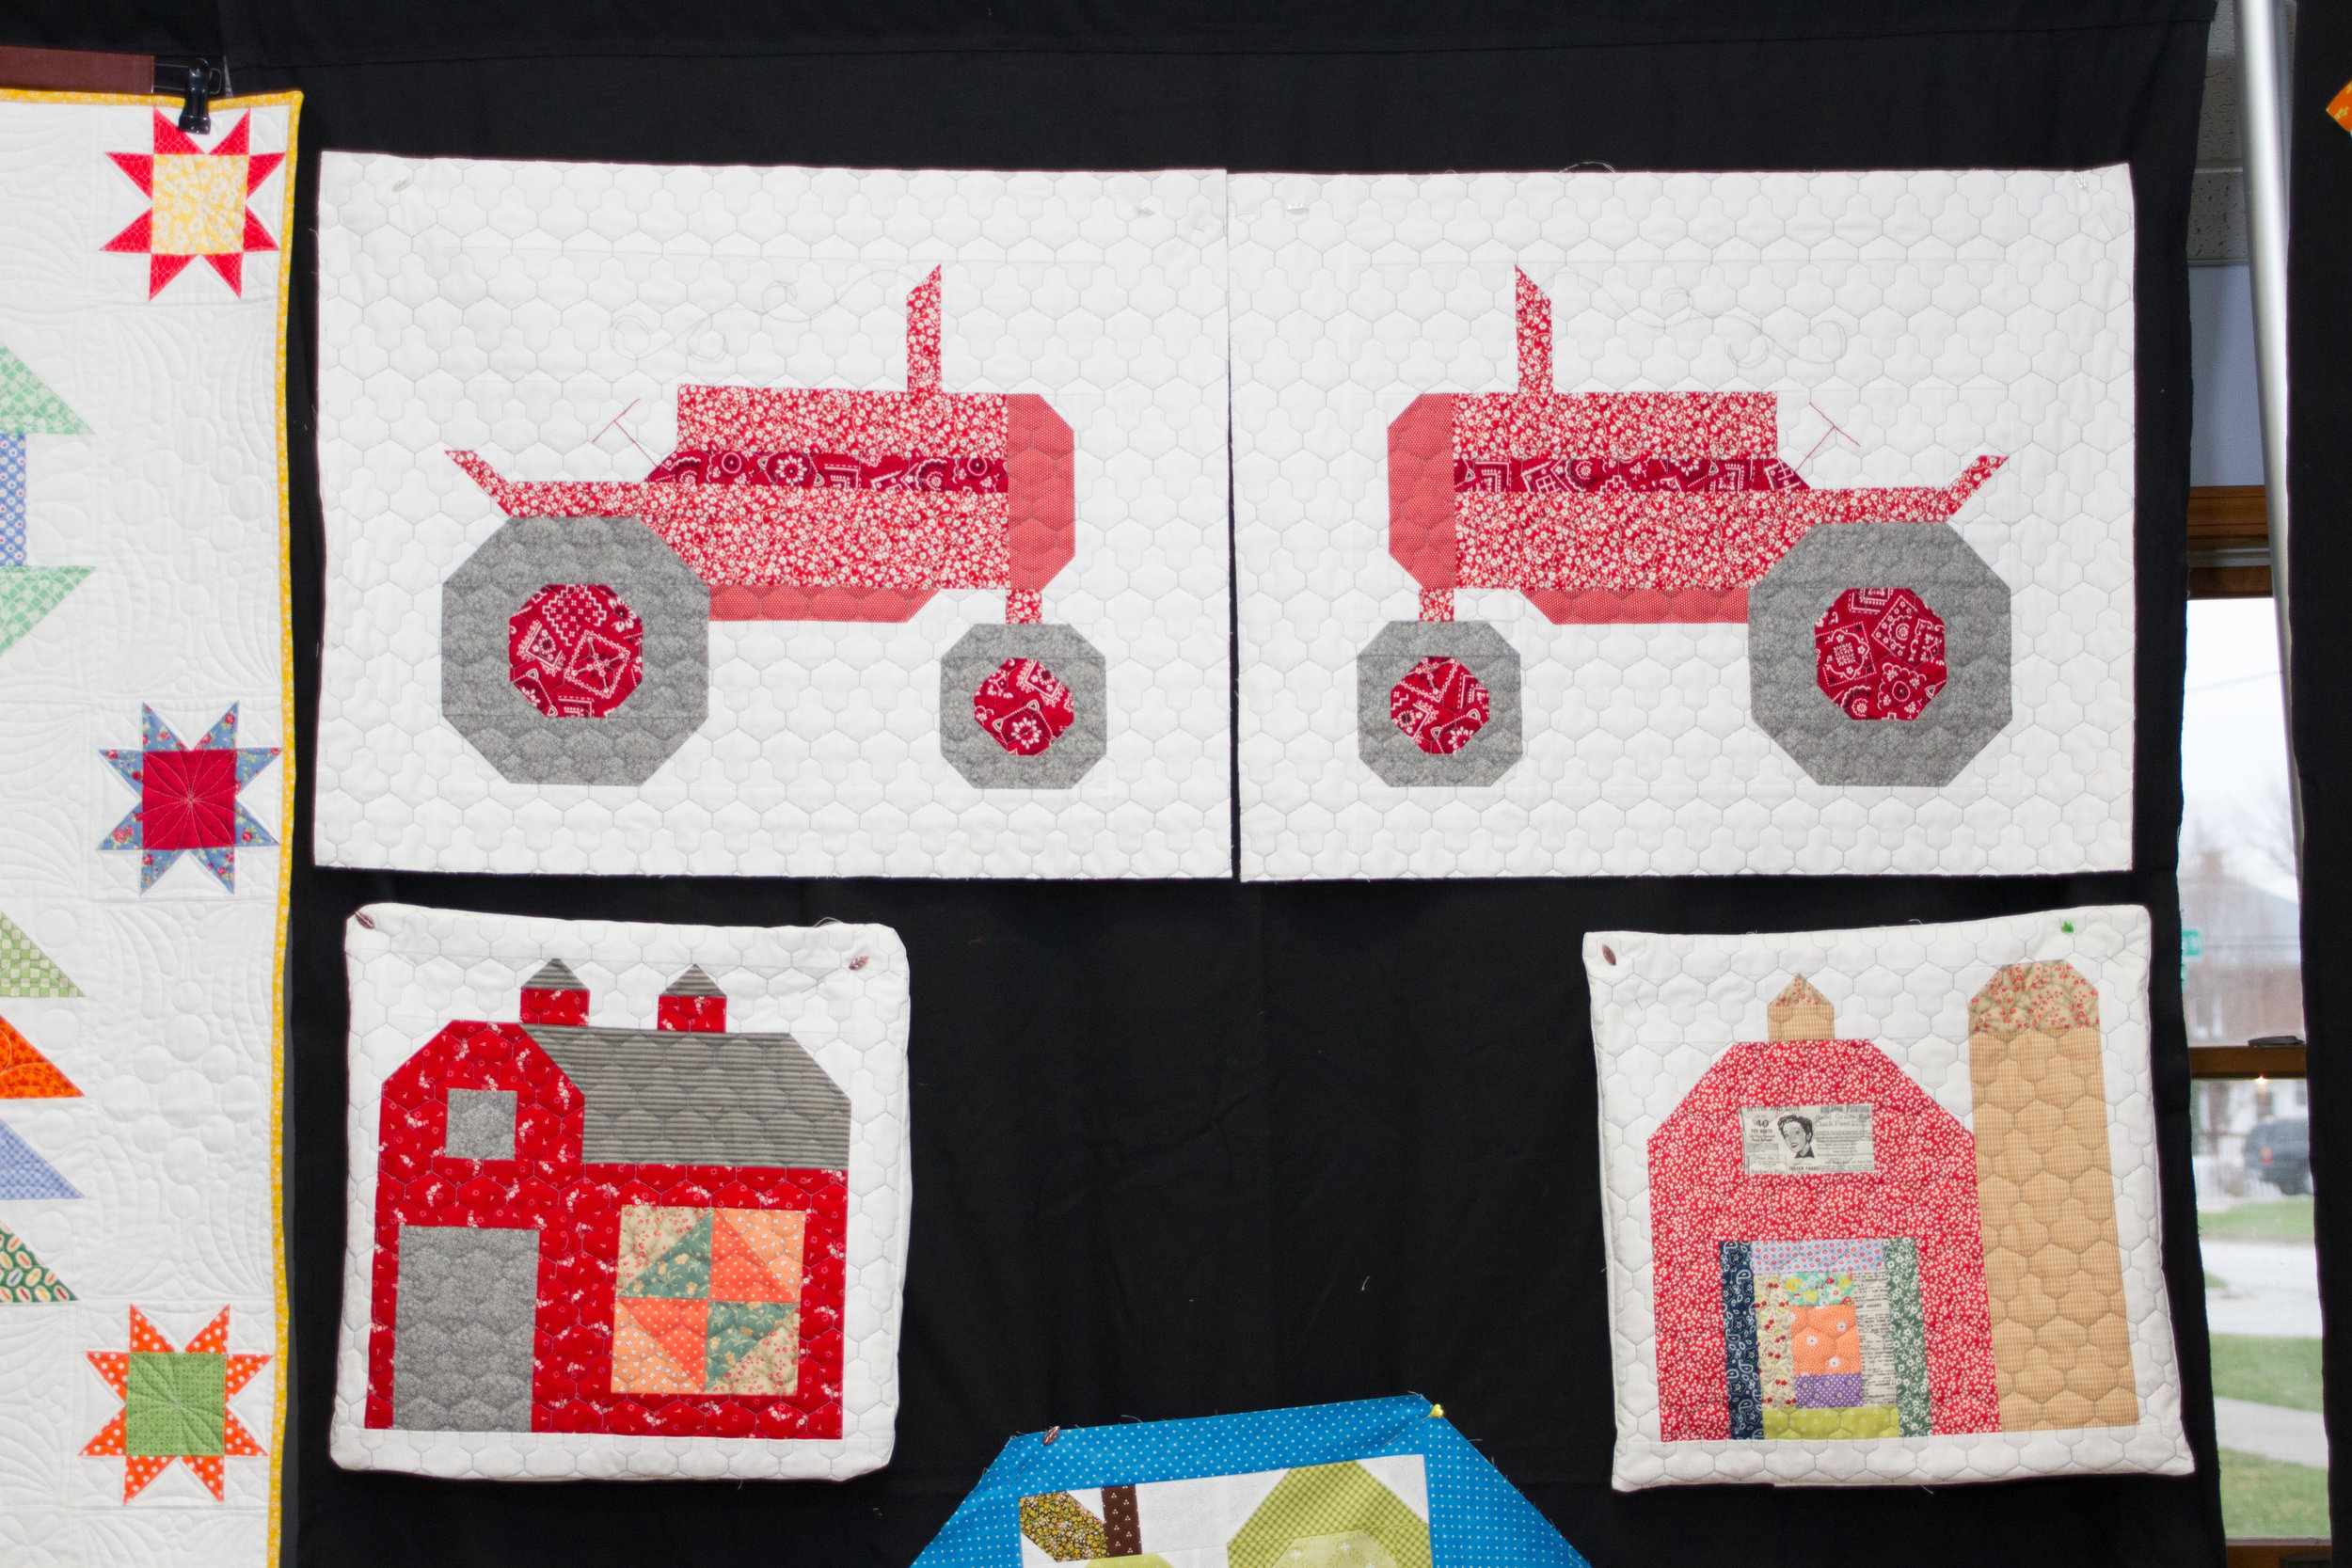
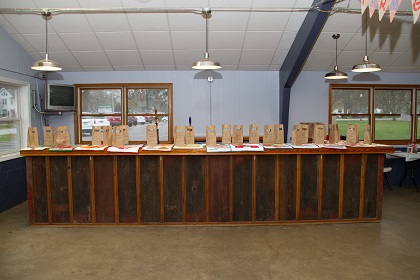
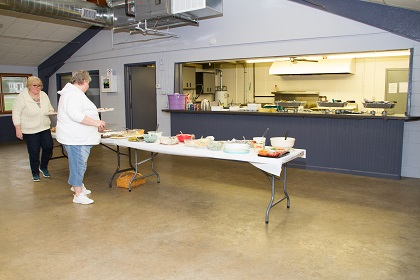
Last month, Rocking Chair Quilts was honored to be able to host a get together for all of our 2016 Farm Girl Vintage club members. Our club spent a year sewing charming quilt blocks from Lori Holt's Farm Girl Vintage Book. This event was an ideal way for everyone to get together and share the quilts and projects that they had put together with their blocks.
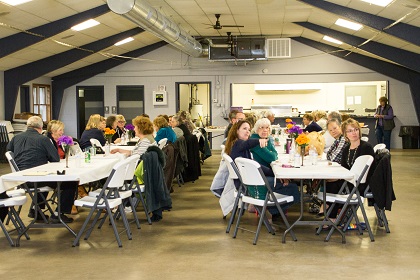
An evening of good company, good food, wonderful quilts and a silent auction was shared by all of our club members and their guests. Thanks so much to all our club members and everyone who attended. Here, for your enjoyment, is a gallery of candid photos from the event.
Photo credit to Wendy Smith.
A special thank you and shout out to Justine, Connie, Wyatt, Wendy and Steve for hanging out late and helping us mop up☺
Happy Spring!
Bunnies and Cream fabric collection from Penny Rose Fabrics by designer Lauren Nash
Somebunnies are ready to sew. Enjoy a springtime sewing project with Lauren's enchanting debut fabric collection.
Visit Lauren's Transient Art Blog and take a spin on the Bunnies and Cream Blog Tour - see all the cuteness and bunny ideas the blog designers have put together for you ☺
Photo from Lauren's Transient Art Blog
Little Lambkin - Ellis and Higgs Blog
SIGN UP HERE IF YOU'D LIKE TO RECEIVE AN EMAIL WHEN A NEW BLOG POST IS PUBLISHED
♥ ♥ ♥ Churning for You ♥ ♥ ♥
Happy Valentine's! Here's a darling mini Churn Dash quilt pattern for you to stitch. It's a scrappy happy little quilt. These miniature blocks (3" finished) don't need very big amounts of fabric to complete. You can probably find the fabrics you'll need in your scrap box.
A little more fabric is needed for the sashing and borders & binding -1/2 yard should do.
A Fat Quarter is enough for backing on this wee quilt.
For Valentine's I am starting with a pile of pinks, reds and some lights for background in my blocks. Look at all that delicious Moda Fabric! This mini would be charming made up in brights, low volume, civil war, ....almost any fabric that makes your quilter's heart happy♥
You'll need to make some Half Square Triangles (HSTs) for your mini Churn Dash blocks. In this tutorial I will showcase using the Creative Grids 4 in 1 Half Square Triangle Ruler CGRBH1 to make my HSTs......But you can create your your HST using any method you like for your little quilt. As long as they will finish to 1" x 1" size .
♥♥CHURNING FOR YOU ♥♥
Valentine Mini Pattern from RockingChairQuilts.com
14 ½” x 18” finished Size
Tools: Rotary cutter, straight ruler and cutting mat
Creative Grids® Half-Square 4-in-1 Triangle Ruler - CGRBH1 (option A) Aurifil Threads to match or any color of Aurifil thread that makes you happy today☺
Fabrics:
½ yard for Border, blocks, sashing, binding:
Cutting:
Cut two 2 ½” x WOF (border)
Cut two 2 ½” x WOF (binding)
Cut three 1” x WOF (sashing)
Cut two 1” x WOF (blocks, cut in half at fold to make 4 pieces 1: x 21”)
Background -12” x 21” piece (or can be scrappy)
Cutting:
Cut four 1” x 21” (Blocks)
TO MAKE THE Half Square Triangles for your blocks use one of the following OPTIONS:
If using the Creative Grids® Half-Square 4-in-1 Triangle Ruler - CGRBH1. FOR EACH BLOCK you will need to cut strips of background and prints 1 ½” x 5” and pair them RST then use your 4 in 1 ruler to cut your HST segments (see illustrated steps below) each 1 ½” x 5” strip will make 4 HSTs – enough for one churndash block. If you want 12 different blocks you can use 12 different prints with your background fabric or you could make all your blocks alike and use only one color print strip with your background strips, or any combination in between.
Use triangle paper that makes 1” finished size HST.
Cut three 1 7/8” x 21”, from these strips cut 24 – 1 7/8” squares then cut on the diagonal to make 48 triangles. These background triangles will then be paired with print triangles to make 4 half square triangle units (HST) for each of your 12 blocks.
Use your OWN preferred method to make the 48 HST units
Blocks – up to 12 different prints - you’ll need a piece 3 x 7 for each block
Cutting:
Cut one 1 ½” square from a variety of prints (this is the center square) you will need 12
See Step 1 under the background cutting. Whichever method you want to use to make 48 HSTs you will need to cut the same size and amount from your variety of prints as you cut have cut from your background fabric.
I will be using the Creative Grids 4 in 1 ruler so I will cut a strip 1 ½” x 5” for each block I want to make. In my sample quilt, I made two or 3 blocks from each of 5 prints until I had a total of 12 blocks
Backing – Fat Quarter will work for your backing
Sewing:
MAKE BARS AND BACKGROUND UNITS: Using the 1” x 21” background and border strips. Pair a background strip to a border strip and sew with ¼” seam allowance. Repeat to make a total of four. Cut the sewn strip sets into 48) 1 ½” segments. They should measure 1 ½” x 1 ½” when pressed open.
USING THE CREATIVE GRIDS 4 IN 1 RULER TO MAKE YOUR HALF SQUARE TRIANGLES
MAKING HALF SQUARE TRIANGLE UNITS (HSTs) Pair each print 1 ½” wide strip RST (right sides together) with a 1 ½” background strip. Use your CGR 4 in 1 ruler* to cut sets of triangles. Chain piece paired triangles using a ¼” seam along the longest edge of the triangle pair. Press open and admire your work ☺*refer to markings on the ruler OR the printed instructions that come with the ruler for placement before cutting
ASSEMBLE BLOCKS:
Place one 1 1/2" center square, 4 HSTs & 4 Bars and Background units as shown here.
Stitch together as shown, use 1/4" seams throughout. Press and square up to 3 1/2" (unfinished size) if needed. Make 12 Blocks
QUILT ASSEMBLY:
Layout your blocks in 4 rows of 3, in an arrangement that pleases you. Using a 1” x WOF sashing strip, Cut 8) 1” x 3 ½” pieces. Sew these pieces to the right side of the first 2 blocks in each row. Press toward the sashing. Sew the rows of 3 together and press toward the sashing. Using the rest of the 1” sashing strips sew a strip between the rows as pictured.
Add the 2 1/2" border strips to the sides, press towards the border
Add the 2 1/2" border strips to the top and bottom. Press to the border. Layer, quilt, bind and then LOVE your quilt♥
If you make this mini , we'd love to see your version, please share a photo with us:
WAYS TO SHARE a photo with us:
Post your photo on Instagram and tag us # rockingchairquilts
post your photo on our Facebook page- CLICK HERE to get to the Facebook page.
Tweet a photo @makeaquilt or tag us in your tweet @MakeAQuilt
send your photo in an email to me : Carol@RockingChairQuilts.com
If you live nearby you can pop in during SHOP HOURS each week we'll take photo of your quilt for you.
Please use the comments area below for comments and questions
CLICK BELOW TO LIKE US ON FACEBOOK
Thank you for reading, until we blog again, take some time to Enjoy the Sew!® - Carol
SIGN UP HERE IF YOU'D LIKE TO RECEIVE AN EMAIL WHEN A NEW BLOG POST IS PUBLISHED

